Query history
You don’t need to manually save every query you run—even scheduled queries, such as monthly tasks—in a separate document. The Studio automatically captures and stores key details of your executed SQL commands in the query history.
You can review, modify, and search past queries executed on the database. The query history also records who ran each query and when. This query history is especially useful when you need to trace past activity—for example, during investigations, backup log reviews, or recovering queries after an SQL Server failure.
To open the query history, select View > Other Windows > Query History.
To learn more about various methods for obtaining query history, see How to Check SQL Server Query History in our blog.
Note
By default, query history is stored in the
%appdata%\Devart\dbForge Studio for SQL Server\ExecutedQueries\ExecutedQueries.dbfile. You can specify a different path for the query history file in the query history settings.Note that this file doesn’t store your connection passwords.
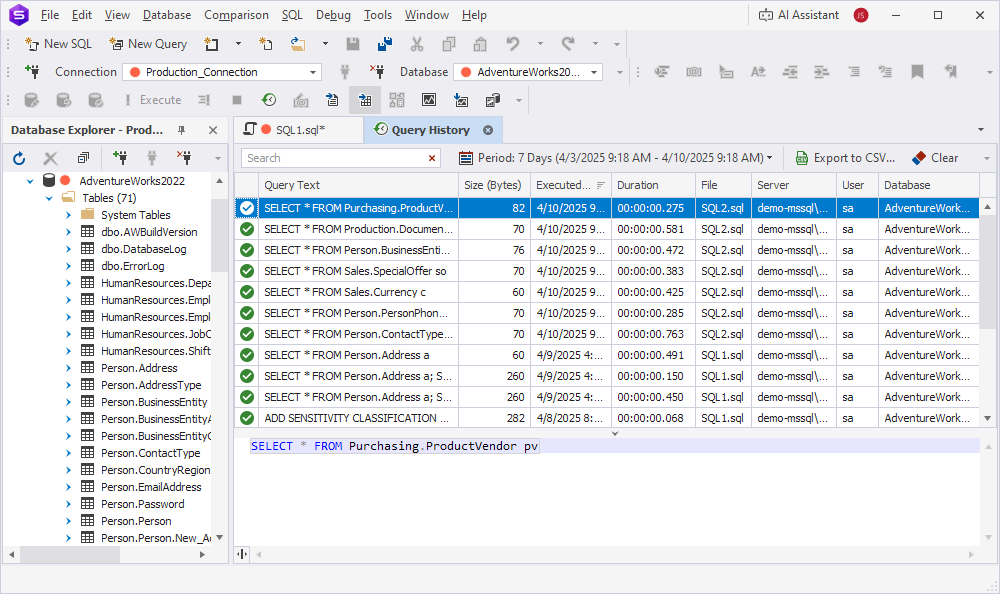
Query History window overview
The Query History window includes two main areas and additional controls for refining the displayed history records.
-
Query history grid – This area presents a tabular view of all previously executed queries. It includes the following columns:
- Status – The indication of whether the query execution was successful or failed.
- Query Text – The text of the executed query.
- Size (Bytes) – The memory footprint of the query.
- Executed On – The time and date the query was run.
- Duration – The time it took for the query to run.
- File – The name of the file containing the query.
- Server – The server on which the query was run.
- User – The user who initiated the query.
- Database – The database on which the query was run.
- Preview pane – This area displays the query details.
- Search – This field lets you search for queries by text.
- Period – This menu lets you specify the needed history output timeframe.
- Export to CSV – This button saves the displayed query history to your computer in a .csv file.
- Clear – This button deletes all records from the query history.
Tip
To copy a statement or section of code, select it in the preview pane and press Ctrl+C.
Edit a SQL query
To edit a previously executed SQL query, right-click it in the query history grid and select To New SQL Window.
Alternatively, double-click the query in the query history grid.
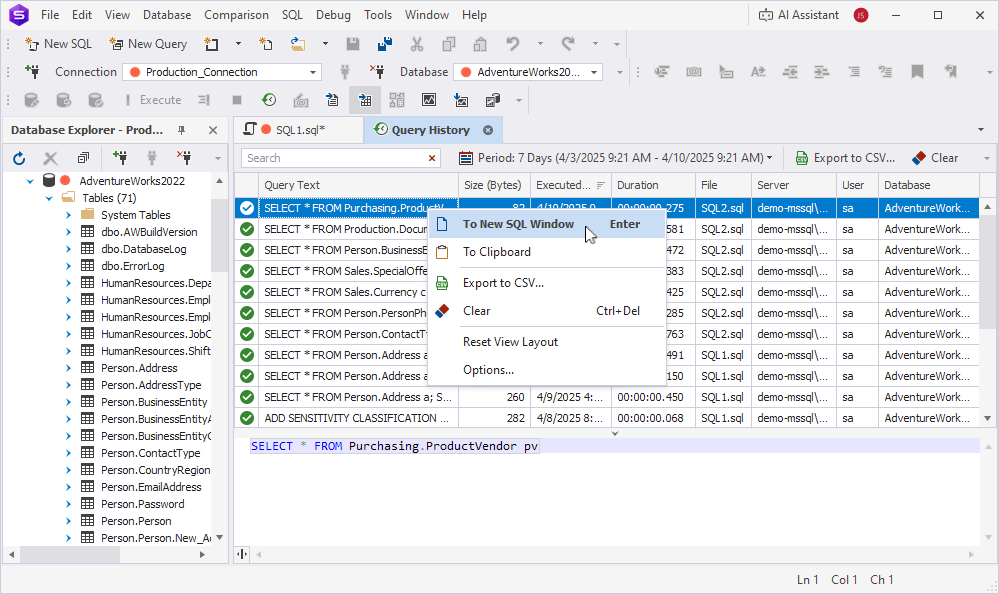
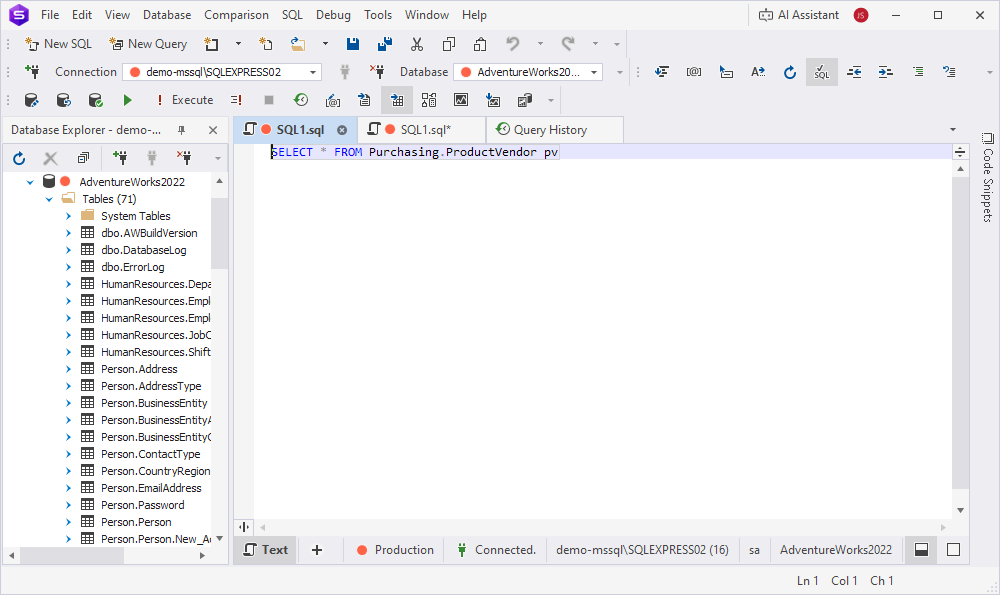
The query opens in a new SQL document, where you can modify its text.
Filter the query history
1. Hover over the column name.
2. Click the funnel icon.
3. Select the filtering options.
Filtering options differ depending on a column. The following table lists the available filters and how to apply them for each column type.
| Column | Filtering instructions |
|---|---|
| Status | Choose the status of the queries to be displayed. |
| Query Text | The Values tab: Choose from the options. The Text Filters tab: Select a condition from the list and enter the value you’re looking for. |
| Size (Bytes) | The Values tab: Enter the minimum and maximum values or use the slider. The Numeric Filters tab: Select a condition from the list and enter the value you’re looking for. |
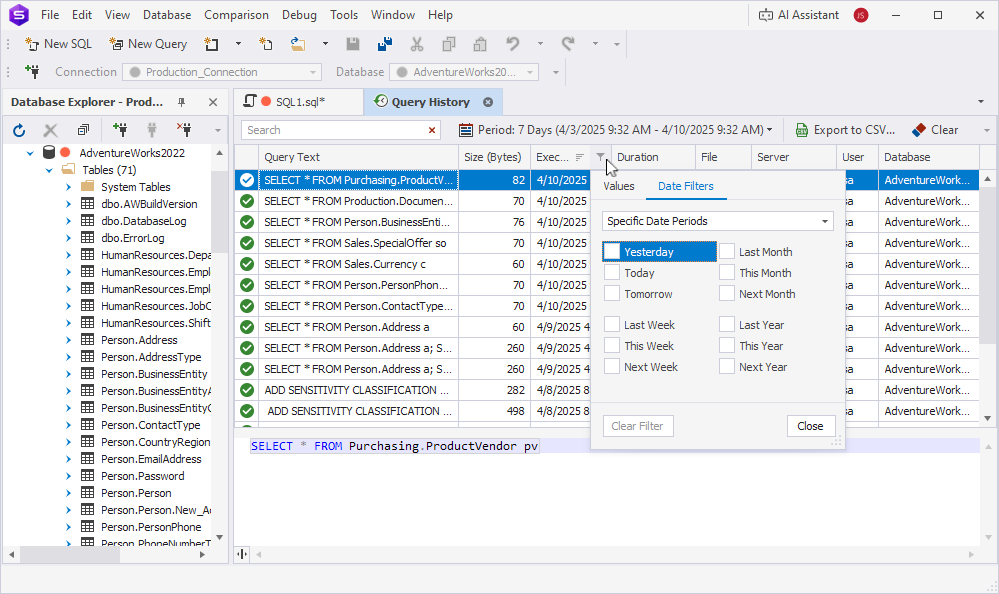
| Executed On | The Values tab: Select the date range from the list. The Date Filters tab: Select a condition from the list and enter the value you’re looking for. |
| Duration | The Values tab: Select the query duration from the list. The Filters tab: Select a condition from the list and enter the value you’re looking for. |
| File | The Values tab: Select the desired file from the list. The Text Filters tab: Select a condition from the list and enter the value you’re looking for. |
| Server | The Values tab: Select one or more servers from the list. The Text Filters tab: Select a condition from the list and enter the value you’re looking for. |
| User | The Values tab: Select a user from the list. The Text Filters tab: Select a condition from the list and enter the value you’re looking for. |
Create a custom filter
1. Right-click a column heading in the grid and select Filter Editor.
2. Click the operator and select And, Or, Not And, or Not Or.
3. To configure the filter, select the conditions in the orange and blue boxes and enter a value in the green box.
4. To add a condition or a condition group, hover over the operator and click the plus button next to it.
5. Click Apply.

Organize the grid
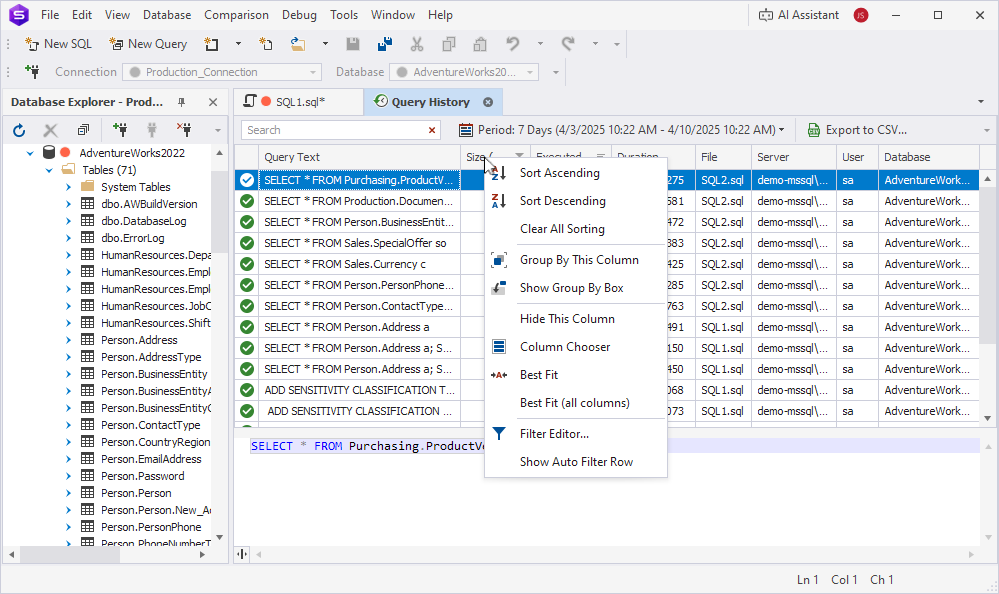
To adjust the query history grid view, right-click a column heading and select an option from the shortcut menu:
- Sort Ascending – Applies ascending sort order to any column.
- Sort Descending – Applies descending sort order to any column.
- Clear Sorting – Resets sorting to default for the selected column.
- Clear All Sorting – Resets sorting to default for all columns.
- Group By This Column – Groups completed statements by the selected column.
- Show/Hide Group By Box – Adds or hides a box to which you can drag a column header to group data by that column.
- Hide This Column – Hides the selected column from the grid.
- Column Chooser – Opens a customization list to choose the columns to be displayed on the grid.
- Best Fit – Adjusts the width of the selected column to fit the value with maximum characters.
- Best Fit (all columns) – Adjusts the width of all columns to fit the value with maximum characters.
- Filter Editor – Opens an editor with rich filtering options.
- Show/Hide Auto Filter Row – Shows or hides a row for filtering data directly from the grid.
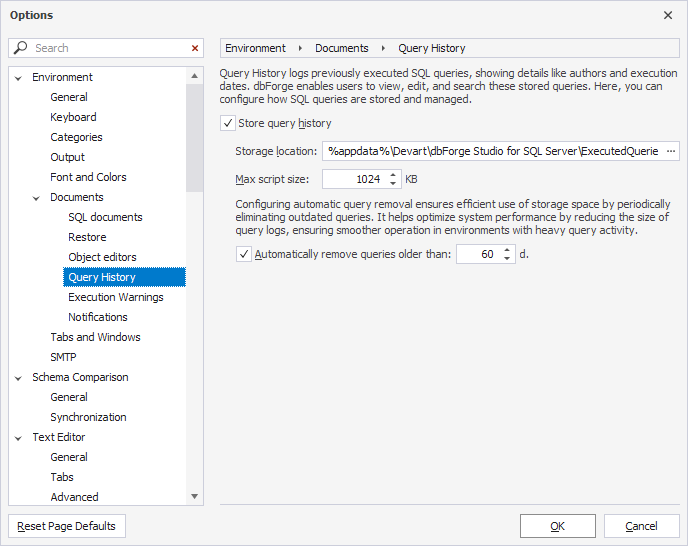
Set up the query history
1. Select Tools > Options.
2. Select Environment > Documents > Query History.
3. Adjust the settings:
- Store query history – Specifies whether to track the query history tracking. Enabled by default.
- Storage location – The path to the folder where the query history file is stored. The default path is
%appdata%\Devart\dbForge Studio for SQL Server\ExecutedQueries. - Max script size – The maximum script size to store. The default value is 1024 KB.
-
Automatically remove queries older than – The number of days after which the history of executed queries is deleted. The default value is 60.
To disable automatic history removal, clear the checkbox.