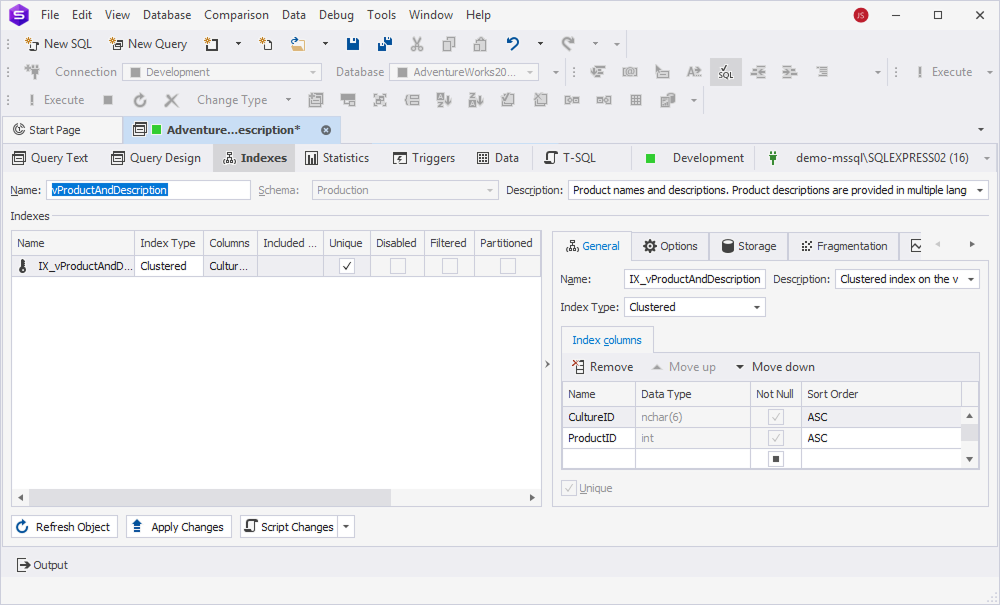
View Editor tab - Indexes
The Indexes tab allows you to create, modify, or delete indexes to optimize query performance.
Create a clustered index
To create a clustered index:
1. In the left grid, right-click the row or anywhere in the grid and select Add Clustered Index.
2. In the right grid, specify the general properties:
- In the Name box, enter the index name.
- In the Description box, enter the index description and select OK to save the description or select Cancel to discard the changes.
- In the Index columns grid, select the columns to be indexed from the Name list and choose an ascending (default) or descending order from the Sort Order list.
- In the Included columns grid, select additional columns to be stored in the index from the Name list.
- Unique – Select the checkbox to prevent duplicate values in the indexed column. This property is usually used for primary keys and unique constraints.
3. On the Options tab, select or clear the checkboxes next to the options to customize the default behavior of indexes.
4. On the Storage tab, define how and where the index is stored within the database.
5. On the Fragmentation tab, measure how scattered the index pages are on the disk.
6. On the Usage Statistics tab, view how often the index is used in queries.
7. To save the index, on the View Editor toolbar, select Apply Changes.
Create a non-clustered index
To create a non-clustered index:
1. In the left grid, right-click the row or anywhere in the grid and select Add Non-Clustered Index.
Alternatively, press Ins.
2. Follow the steps 2 - 7 from the Create a clustered index procedure.
Edit an index
In the left grid, select the index you want to update and modify its properties in the right grid.
View index properties
To view index properties, go to the Indexes grid:
- Included columns – Specifies additional columns to be stored in a non-clustered index.
- Unique – Identifies whether the index is unique. When selected, it prevents duplicate values in the indexed column. This property is usually used for primary keys and unique constraints.
- Disabled – Indicates whether the index is turned on or off. The index remains in the database and can be re-enabled when needed.
- Filtered – When selected, the index is created with a WHERE clause to include only specific rows.
- Partitioned – When selected, the index is split into smaller, manageable parts (partitions) based on a specified column.
- Auto Recompute Statistics – When selected, index statistics are automatically updated when significant data changes occur. By default, it is selected.
- Ignore Duplicates – When selected, duplicate rows are ignored instead of causing an error. This option is applied to unique indexes.
- Fill Factor – Determines how much space is left free in index pages to allow for future inserts. The default value is 0.
View additional index settings
General
The General settings display the name, description, and type of the index, and the columns it includes.
You can perform the following actions:
- Remove a column from the index.
- Reorder columns by moving them up or down in the grid.
- Set sort order for each column (ascending or descending).
- Identify whether the index is unique.
In addition, this section displays the data type of the indexed column and whether it is defined as NOT NULL.
Options
The following table displays the additional options of the index, which you can view and manage.
| Category | Name | Description | Default state |
|---|---|---|---|
| General | Auto recompute statistics | Updates index statistics automatically when significant data changes occur. | On |
| General | Ignore duplicate values | Ignores duplicate rows. | Off |
| Locks | Allow page locks | Allows you to use page-level locks when accessing the index. | On |
| Locks | Allow row locks | Allows you to lock all rows on a page when accessing the index. | On |
| Operation | Maximum degree of parallelism | Determines how many processor cores SQL Server can use in parallel when creating or rebuilding that index. | 0 |
| Storage | Fill Factor | Determines how full each page in the index will be. | 0 |
| Storage | Pad Index | Controls whether the Fill Factor setting also applies to non-leaf (intermediate) pages of an index—not just the leaf (data) pages. | Off |
| Storage | Sort tempdb | Determines where the sort operation takes place when creating or rebuilding an index. | Off |
| Filter | Expression | Determines whether the index is filtered. | Off |
Storage
The Storage section displays detailed information about where different parts of the table or index data are stored. This includes:
- Regular data space–The primary filegroup used for storing table or index data.
- Partition column–The column used to define data partitions, if partitioning is enabled.
- FILESTREAM data space–The location used for storing binary large objects (BLOBs) when using FILESTREAM.
- Text/Image filegroup–The filegroup assigned for storing TEXT, NTEXT, or IMAGE data types.
To refresh the data, select Refresh next to the setting or press Ctrl+R.
Fragmentation
The Fragmentation settings allow you to view the general settings, including partition ID, size in MB, leaf-level rows, average row size, depth, forwarded and ghost rows, maximum and minimum row size, pages, and version ghost rows, and fragmentation metrics, such as page fullness and total fragmentation.
Usage statistics
The Usage statistics settings display index operations that track how often and in what way SQL Server uses an index.
Remove an index
To remove the index, in the Indexes grid, right-click the row and select Remove Index.
Alternatively, press Ctrl+Del.
Save changes
An asterisk (*) in the object name on the tab title indicates unsaved changes. To save and apply them, select Apply Changes.
Refresh the view
To update the view to reflect the latest changes, on the View Editor toolbar, select Refresh Object.
Generate a SQL script
To generate a SQL script:
1. On the View Editor toolbar, select the Show Script Changes arrow in the Script Changes list.
2. To open the generated script in a new SQL document, select To New SQL Window.
Alternatively, press Shift+Alt+C.
3. To copy the generated script to the clipboard, select To Clipboard.
This script allows you to review, modify, or execute the script manually instead of applying changes immediately.