Create a SQL Server database
You can create a database from Database Explorer and set it up according to your requirements.
Create a database
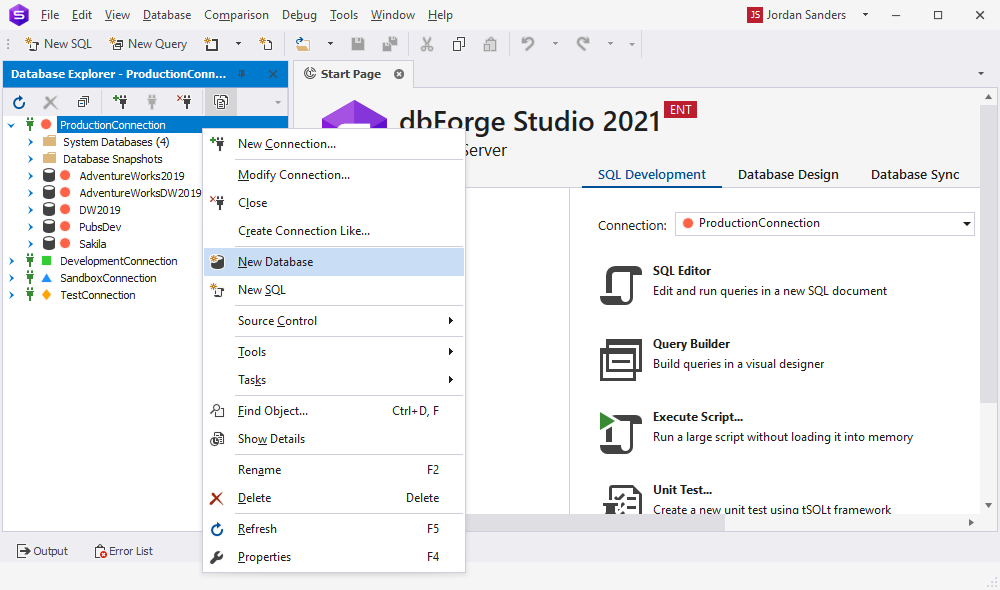
1. In Database Explorer, double-click a SQL Server instance to open the connection and expand the instance.
2. Right-click the instance and select New Database.
A new tab opens.
3. In Name, enter a database name.
4. Click Apply Changes.
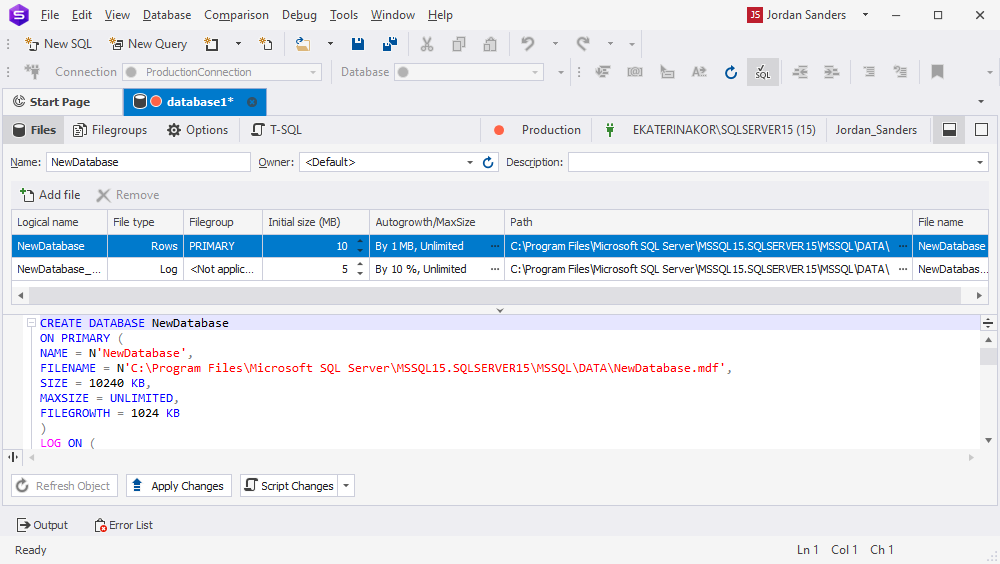
The database is created with default settings. You can configure it as you want.
Tip
To view the created database in Database Explorer, click
.
Configure a database
In the visual Database Editor, you can make the following changes to the database settings:
-
Change the owner name: In Owner, select the needed option.
-
Modify values of the primary data files: On the Files tab, click a cell in the grid and enter the new value.
-
Add a new filegroup: On the Filegroups tab, click Add Filegroup, then configure the filegroup settings.
-
Change the collation, recovery model, or other options of the database: On the Options tab, locate the needed option in the list and modify its value.
To save the settings, click Apply Changes.