Create a database diagram from a SQL Server database
dbForge Studio lets you create a database diagram and perform the following tasks:
- Drag objects to the diagram.
- Create or modify relations between database objects.
- Add, rename, or remove columns.
- Add, modify, rename, or remove indexes, keys, constraints, and triggers.
- Create containers to store logically related objects.
- Navigate between tables and their relations on a database diagram.
Create a SQL Server database diagram
To create a database diagram:
1. Open the diagram by doing one of the following:
- On the File menu, select New > Database Diagram.
- On the Database menu, select Database Diagram.
- In Database Explorer, right-click the table and select Send to > Database Diagram.
- On the Start Page, select Database Design > New Database Diagram.
2. Add existing or new database objects to the diagram by doing one of the following:
-
For existing objects: Drag them from Database Explorer. Alternatively, in Database Explorer, right-click a database object you want to add and select Send to > Database Diagram.
-
For new objects:
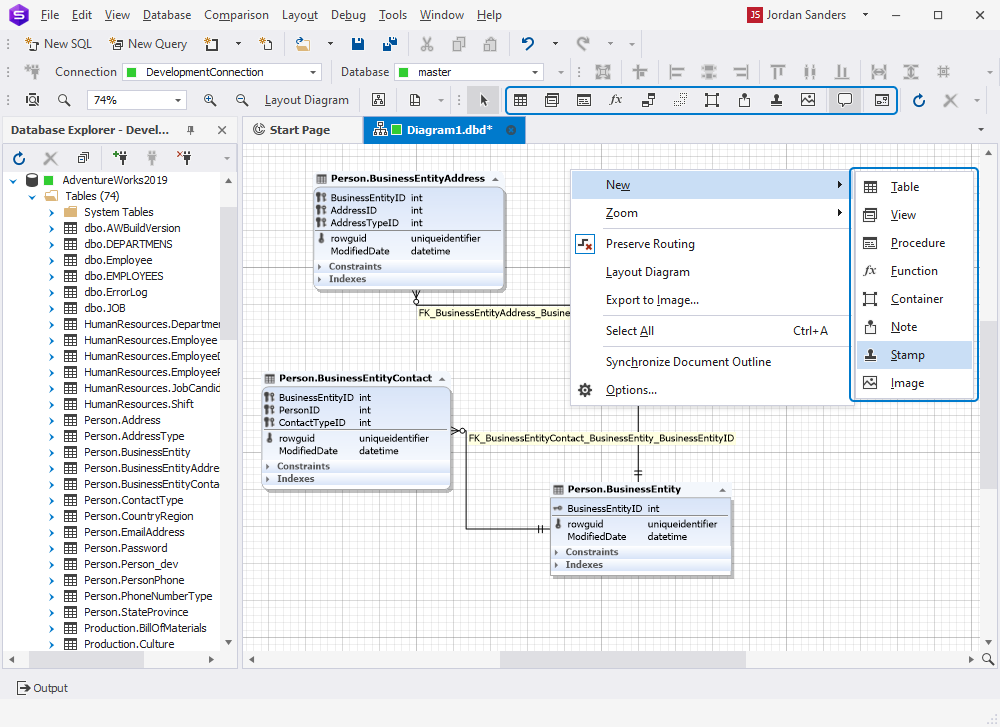
1. On the Database Diagram toolbar, select the desired object type. Alternatively, right-click the diagram and select New > desired object type.2. In the editor that opens, specify the object details.
3. On the editor toolbar, select Apply Changes to save the object. The object appears on the diagram.

3. Optional: To lay out a diagram, right-click the diagram or, on the Diagram toolbar, select Layout Diagram.
Alternatively, set the diagram layout manually by dragging shapes and moving the relations.
For more information, see Diagram shapes and layout and Work with containers on a diagram.
4. Optional: To display the diagram information, including company and project names, diagram author, version, date, and copyright, on the Database Diagram toolbar, select ![]() New Stamp. This adds a stamp to the diagram, where you can edit its fields and enter values by double-clicking the required boxes.
New Stamp. This adds a stamp to the diagram, where you can edit its fields and enter values by double-clicking the required boxes.
Tip
You can also add notes, a new database object, a container, an image from the shortcut menu of the diagram or from the Database Diagram toolbar. For more information, see Create additional elements on a diagram.
5. To save the changes, on the SQL toolbar, select Save.
Alternatively, right-click the file name tab and select Save [file_name].dbd.