Link a database to a Git repository in Azure DevOps
Azure DevOps is a cloud-based platform that provides a complete suite of development tools, including Git repositories. You can link a SQL Server database to a Git repository hosted in Azure DevOps to track changes, collaborate with your team, and manage version history.
Prerequisites
- Sign up for Azure DevOps.
- Create an Azure DevOps organization.
- Install Git for Windows on your machine.
Create a project
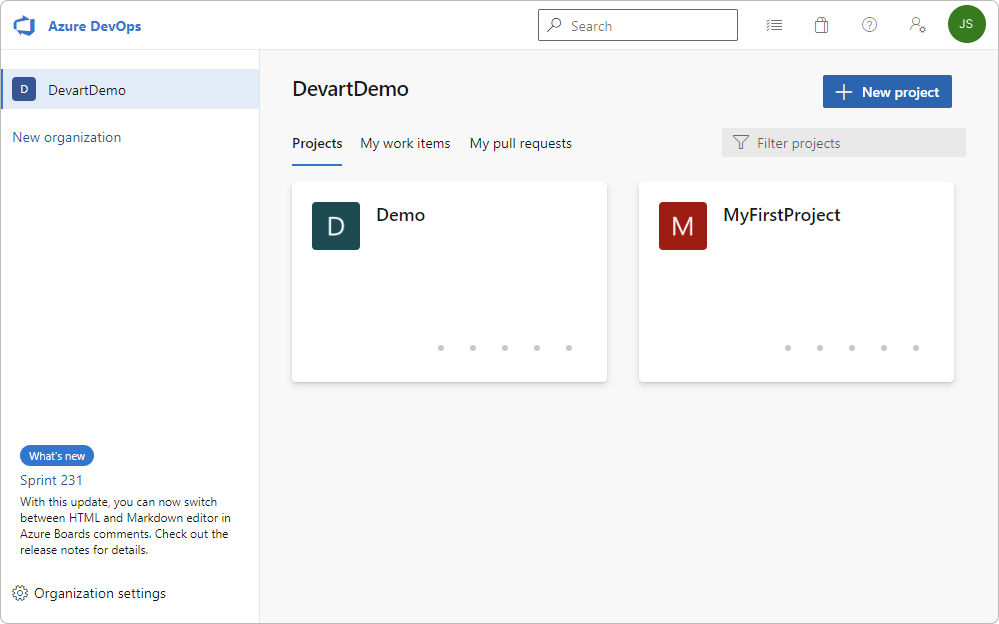
1. Sign in to your organization at https://dev.azure.com/YourOrganizationName.
2. In the upper-right corner, select + New project.
3. In the Create new project dialog:
- Project name – Enter the name for your project.
- Description (optional) – Provide a brief description of your project.
- Visibility – Choose one of the following:
- Private (default) – Only authorized users can access the project.
- Public – Anyone on the internet can access the project.
- Advanced (optional) – Expand the section to:
- Select Git as the version control system.
- Choose a Work item process.
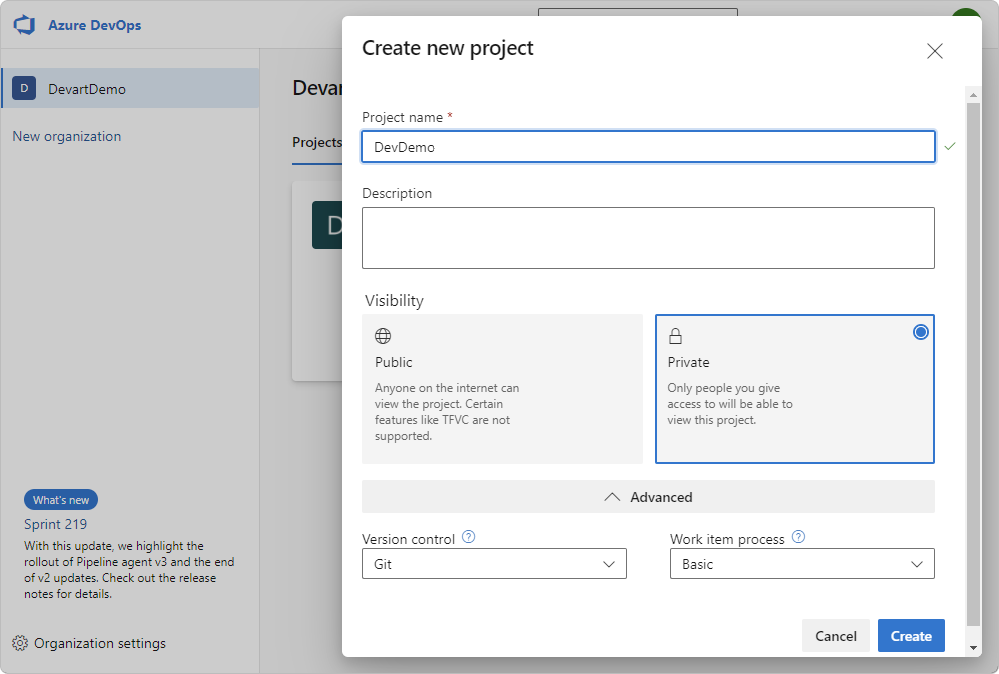
4. Click Create.
Create a repository
1. In https://dev.azure.com/YourOrganizationName, hover over your project and select Repos.
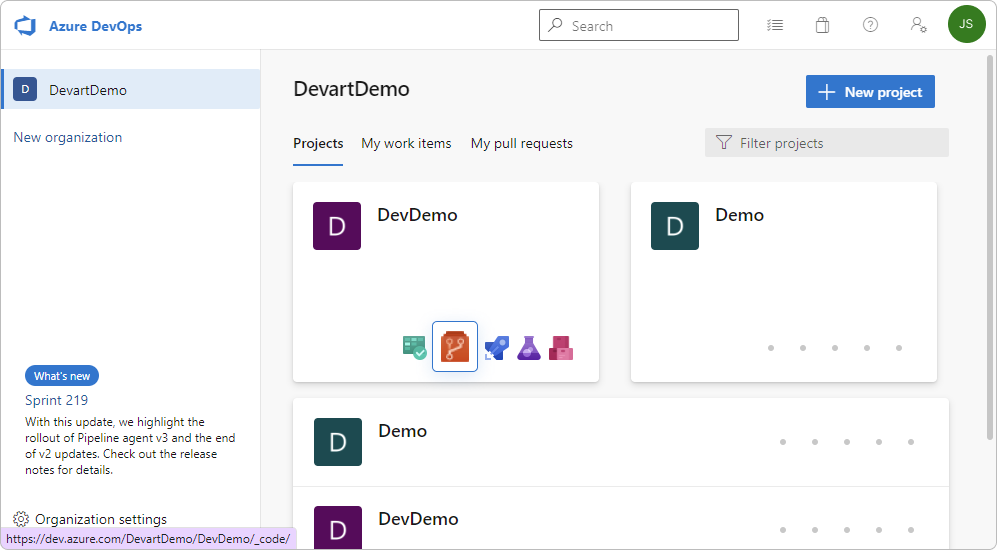
2. On the top menu, select DevDemo > + New repository.
3. In the Create a repository dialog, enter the required repository settings:
- Repository type – Select Git (default) or TFVC.
- Repository name – Enter the name for your repository.
- Add a README – Leave selected to create a README file with repository details.
- Add a .gitignore – Select a template that matches your development environment, or choose None to skip adding the file.
4. Click Create.
The repository is initialized with the default main branch.

Clone a repository using the command line
You can create a local copy of a remote Git repository by cloning it into a local folder on your computer. Cloning a remote repository links each branch in the local repository to its corresponding branch in the remote repository, enabling you to sync changes between them.
To clone a repository:
1. Create an empty folder on the drive of your computer to store the local repository.
For example, D:\azuredevops.
2. Go to https://dev.azure.com/YourOrganizationName and open the project that contains the repository you want to clone.
3. In the left menu, select Repos > Files.

4. In the upper-right corner, select Clone.
5. In the Clone Repository dialog, select HTTPS or SSH, then copy the repository URL.
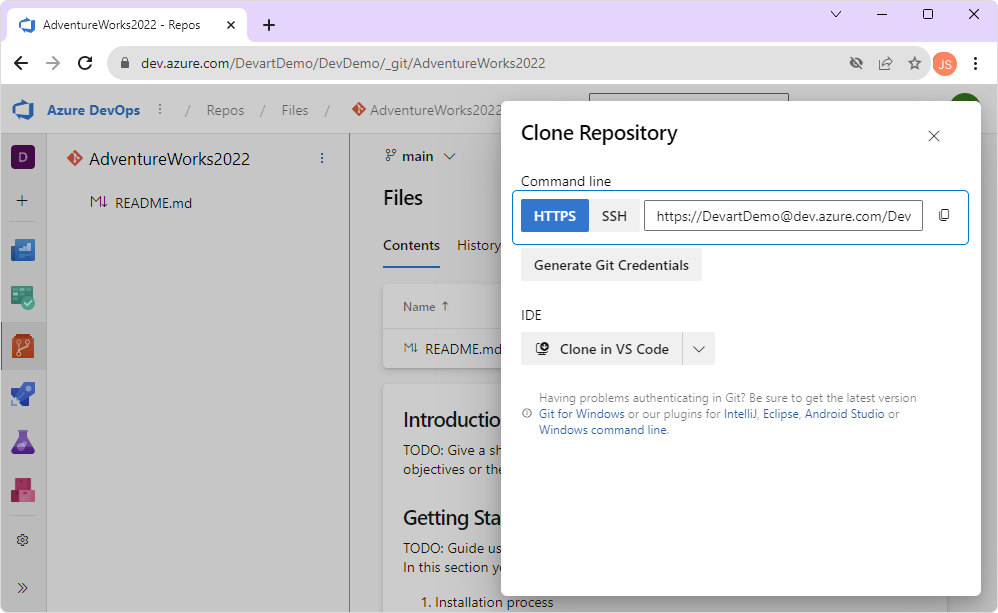
6. Open Command Prompt (CMD).
7. Navigate to the empty folder you created.
Tip
Use the
cdcommand to navigate to a specific folder in the command prompt.
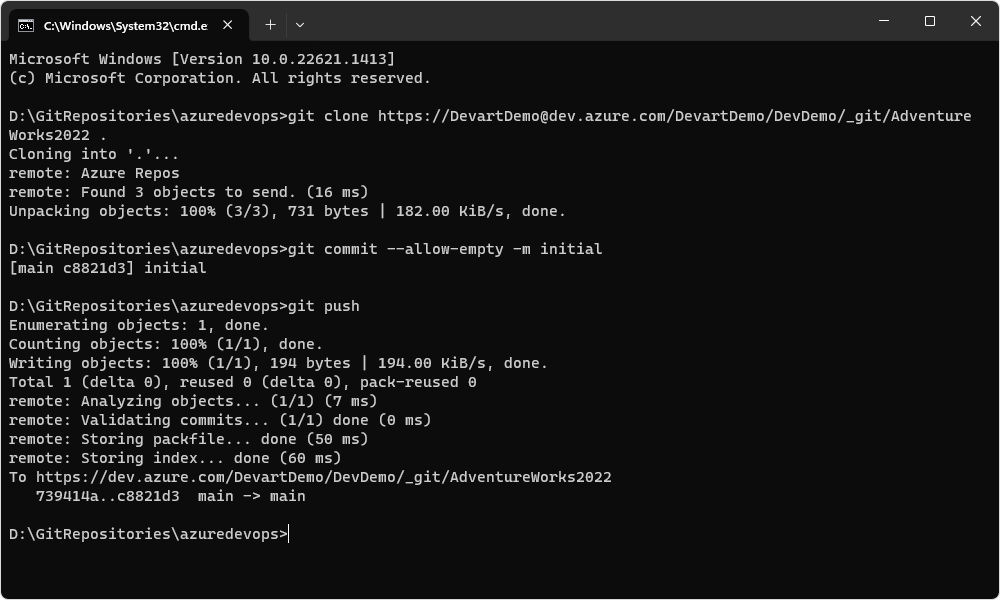
8. Clone the repository by running:
git clone <repository-url> .
Tip
Include a period (.) at the end of the command to clone the repository into the current folder.
9. If the repository is empty, run:
git commit --allow-empty -m initial
git push
Link the database to source control in dbForge Studio
After cloning the repository, you can link your database to the local repository folder.
To link a database to the source control:
1. In Database Explorer, right-click the database you want to link and select Source Control > Link Database to Source Control.
Alternatively, on the top menu, select Database > Link Database to Source Control.
2. In the Link Database to Source Control dialog, click + in the Source control repository field.
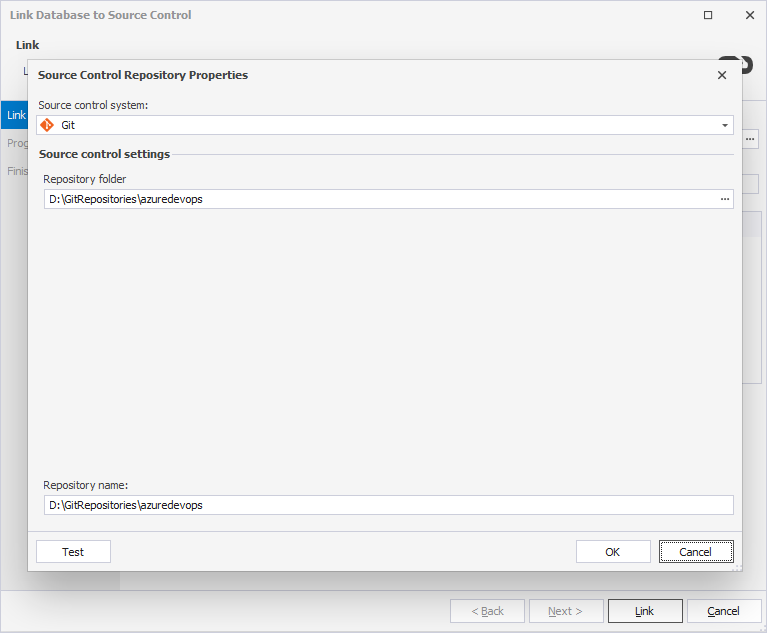
3. In the Source Control Repository Properties dialog, configure the repository settings:
- Set Source control system to Git.
- In the Repository folder field, enter the full path to the local clone of your Azure repository, or click the ellipsis (…).
Warning
The Repository folder must point to a local folder. Do not enter a remote URL.
-
By default, the selected folder name is used as the repository name. To specify a different name, enter it manually.
- Optional: To verify the repository settings, click Test.
- To save the settings and close the dialog, click OK.
4. Choose a database development model:
- Shared – Developers collaborate on a single shared database.
- Dedicated – Each developer works on a local copy of the database.
5. To connect the database to the repository, click Link.
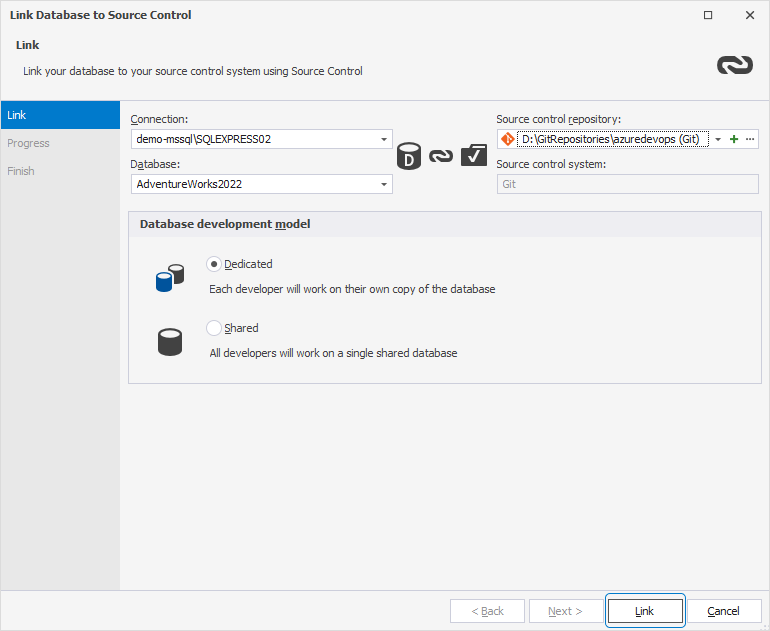
The Refresh window opens and displays the progress of the refresh operation.
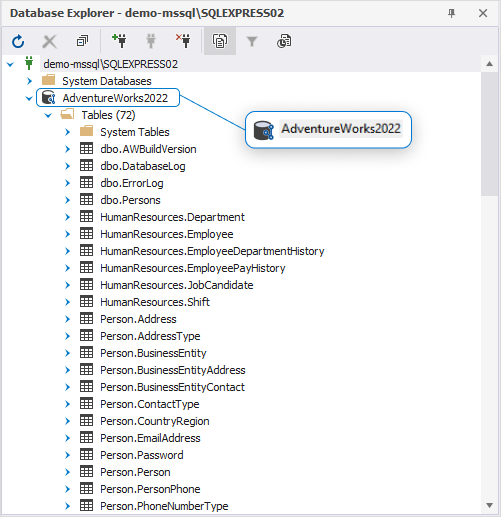
After the database is linked, it appears in Database Explorer with the source control icon:
Set up version control after linking
After linking the database, your next step depends on whether the repository is new or already in use by your team:
- If this is the first time the database is linked:
In the Local changes section of the Source Control Manager, select the objects you want to add to version control, then click Commit.
For instructions, see Commit changes.
- If the database is already under source control:
In the Remote changes section, select the objects you want to retrieve, then click Get Latest.
Note
The Get Latest option is available only in the dedicated development model.
For instructions, see Get the latest version.