Manipulate user accounts
This topic describes how to create, edit, or delete user accounts visually using Security Manager without typing SQL code.
Create a user
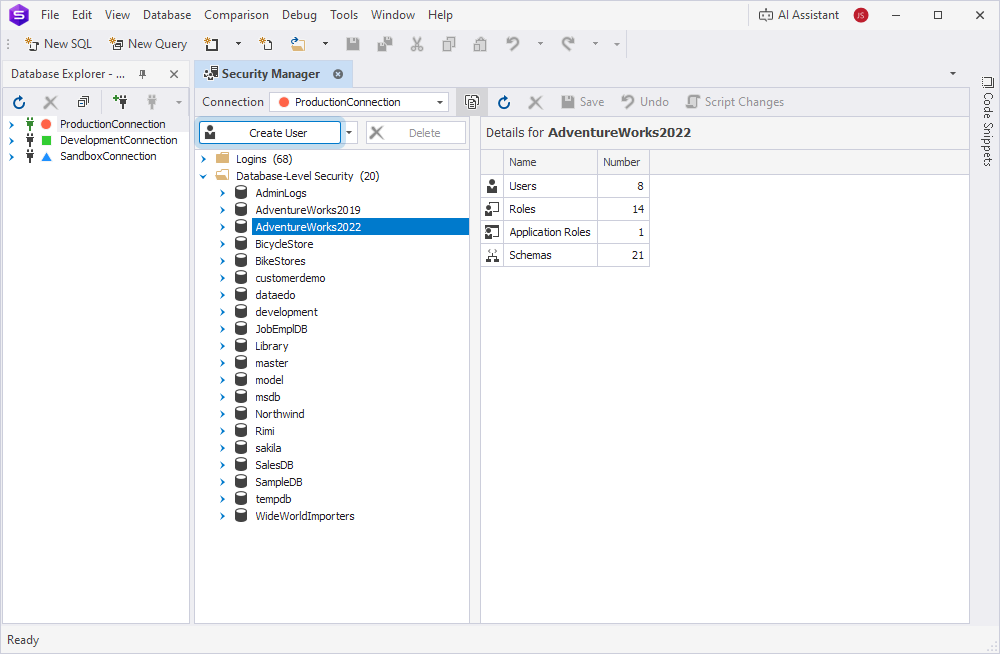
1. On the Database menu, select Security Manager.
2. Select the database where you want to create a user.
3. Above the tree, click Create User.
Alternatively, expand the database where you want to create a user, right-click the Users node, and select New User.
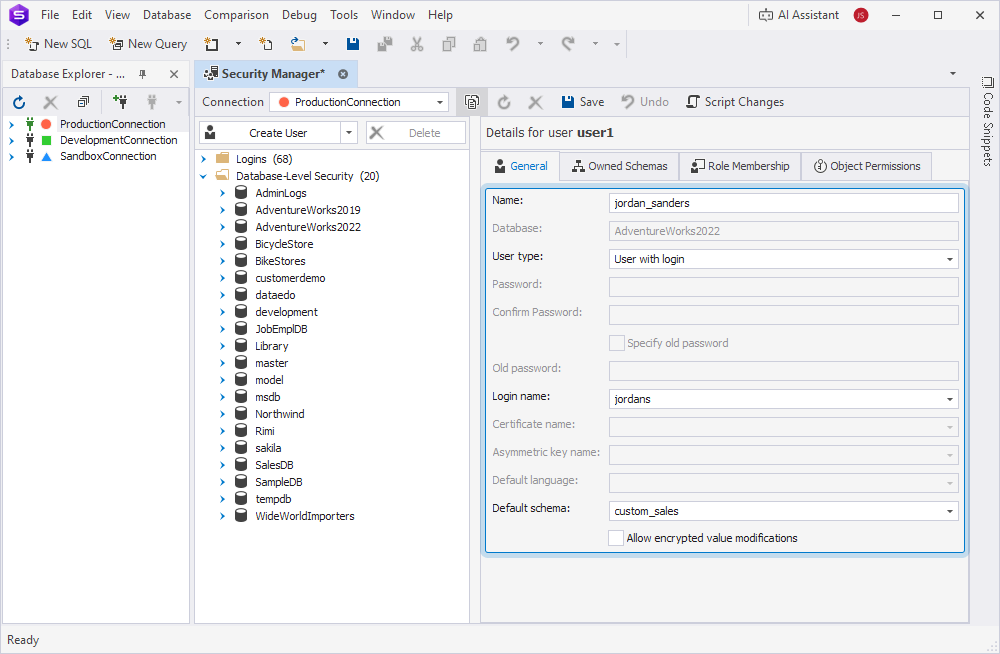
4. On the General tab, in Name, enter a username.
5. In User type, select the type of user and fill out the fields depending on your selection.
-
User with login – A user that has a database login and authenticates with login credentials.
In Login name, select the login to associate with the user.
-
User without login – A user that doesn’t have a corresponding login but exists in the database for role-based security, external management, or application-level access control.
-
User mapped to certificate – A user that authenticates with a certificate.
In Certificate name, select the certificate.
-
User mapped to an asymmetric key – A user that authenticates with an asymmetric key.
In Asymmetric key name, select the asymmetric key.
-
Windows user – A user that is mapped to a Windows user account and authenticates through the Windows security system.
In Login name, select the login to be associated with the user.
-
User with password – A user that authenticates with a password stored in the database.
In Password and Confirm Password, enter a password for signing in to the Studio.
-
External user – A user managed by an external system or service, outside standard database authentication methods.
In Login name, select the login to be associated with the user.
6. In Default schema, select the schema to be used by default for objects created or accessed by the user.
7. To allow the user to modify encrypted values directly in the database, select Allow encrypted value modifications.
8. On the Owned Schemas tab, select schemas to be owned by the user.
9. On the Role Membership tab, select one or more roles to which the user will belong.
Note
A role can include other roles.
10. On the Object Permissions tab, grant necessary privileges to the user. For more information, see Grant or revoke permissions on database objects.
11. Click Save on the Security Manager toolbar.
Duplicate a user
To create a new user based on the existing one:
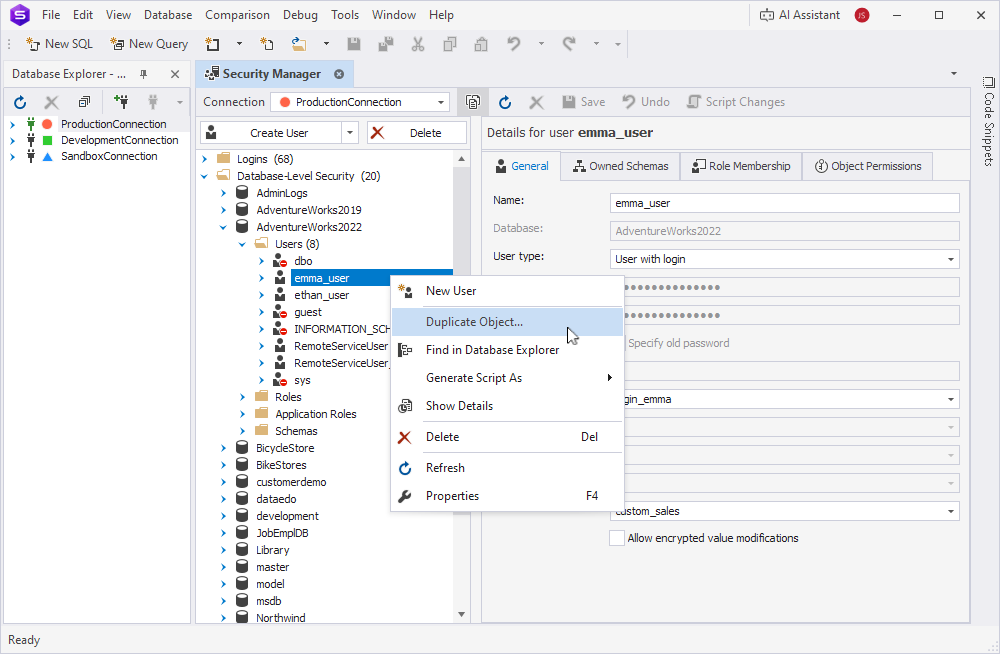
1. On the Database menu, select Security Manager.
2. In the tree, right-click a user you want to duplicate and select Duplicate Object.
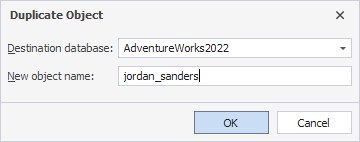
3. In Destination database, select the database where you want to create a user.
4. In New object name, enter the name for the new user.
5. Click OK.
6. Optional: Edit general details, owned schemas, role membership, or object permissions.
7. Click Save on the Security Manager toolbar.
Edit a user
1. On the Database menu, select Security Manager.
2. Expand the Users node, then select the user account you want to edit.
3. Update the general details, owned schemas, role membership, or object permissions as needed.
To change a password for a user with password, enter the new password in Password and Confirm Password, select Specify old password, and enter the current one in Old Password.
4. To apply the changes, click Save on the Security Manager toolbar.
To discard the changes, click Undo.
Tip
To view SQL statements that will apply your changes, click Script Changes on the Security Manager toolbar. The script opens in a new SQL document, where you can review, edit, and run it manually.
Delete a user
1. On the Database menu, select Security Manager.
2. Expand the Users node.
3. Right-click the user account you want to delete and select Delete.
Alternatively, select the user account in the tree, then click Delete above the tree or press the Delete key.