Manipulate data in the preview mode
After the results grid has been created, you can view how the grid looks before you print it.
Preview data in the grid
To open the results grid in the preview mode, do one of the following actions:
- Right-click the grid and select Print.
- On the File menu, click Print.
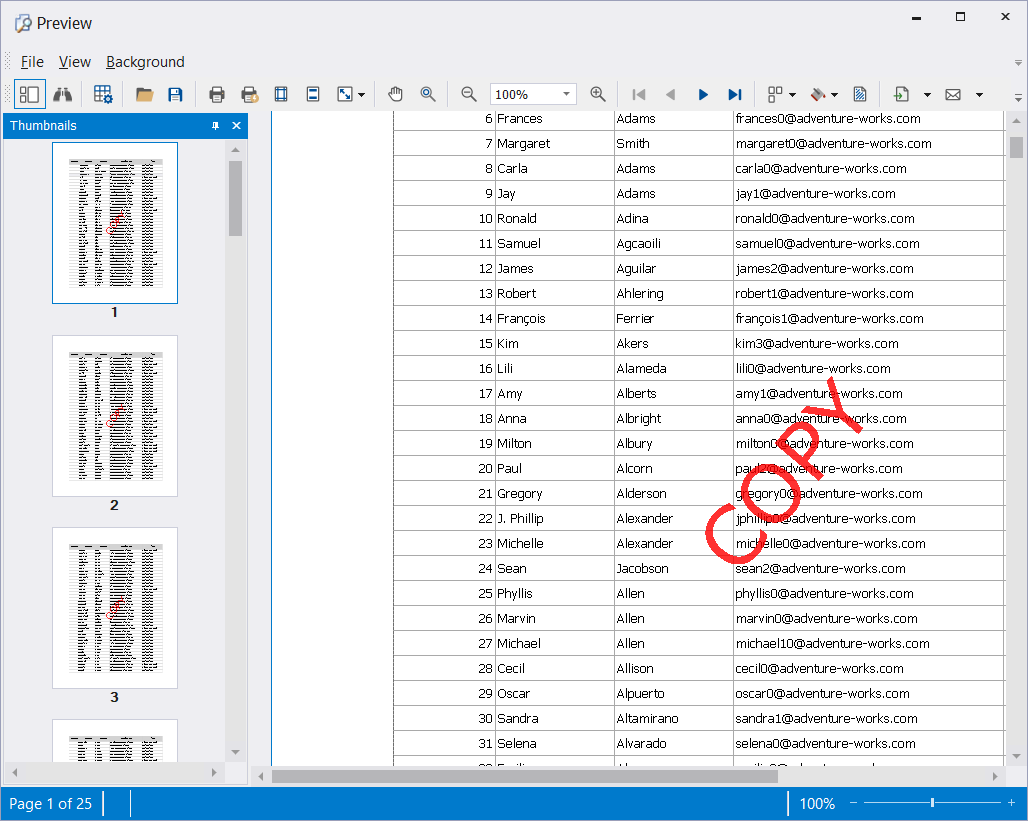
The Preview window opens.
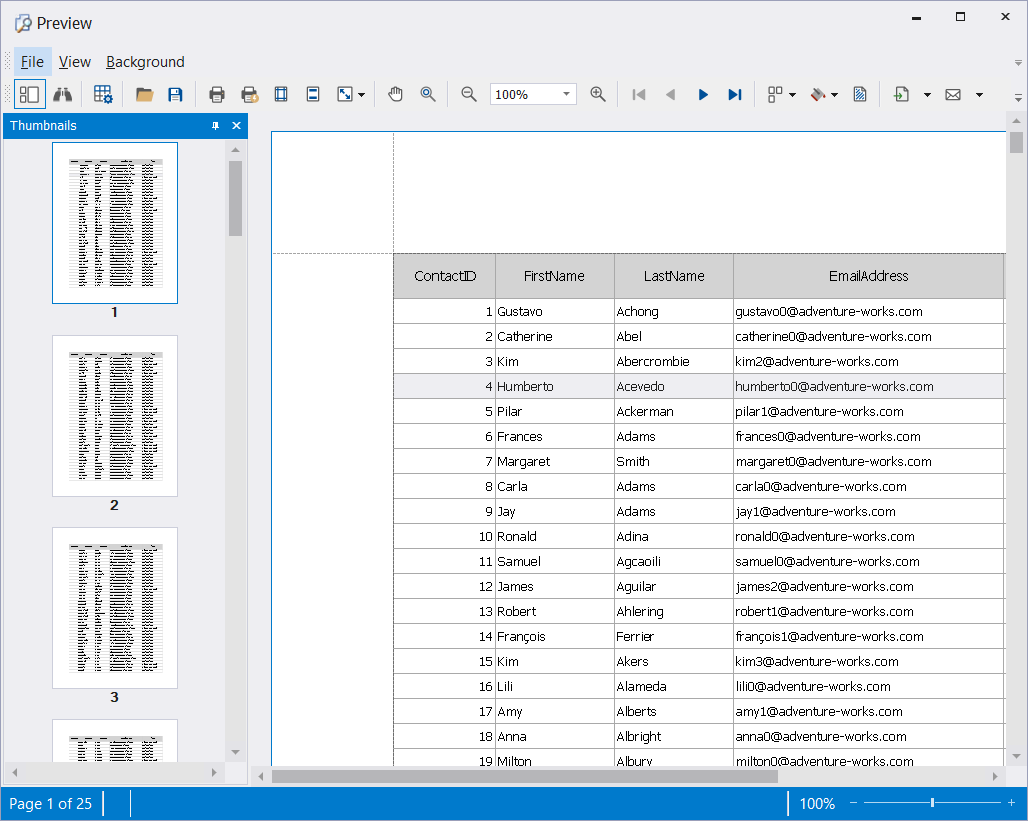
From the Preview toolbar, you can do the following:
| Icon | Title | Description |
|---|---|---|
| Thumbnails | Generates a thumbnail image of the grid. | |
| Search | Allows you to search for a text in the grid. | |
| Customize | Customize print options. | |
| Open a document | Open a .prnx file. | |
| Save the document | Saves a results grid. | |
| Print/Quick Print | Prints a results grid. | |
| Page Setup | Allows you to specify page settings, such as size, orientation, and margins. | |
| Header and Footer | Allows you to customize header and footer settings. | |
| Scale | Allows you to adjust the scaling settings of the results grid. | |
| Hand Tool | Allows you to move around within the results grid. | |
| Magnifier | Allows you to view a magnified image of the results grid. | |
| Zooming settings | Allows you to zoom in and out of the results grid. | |
| Paginated grid | Allows you to switch between grid pages. | |
| Background | Allows you to set a background color for the results grid. | |
| Watermark | Allows you to add a watermark to the specific page or all pages of the results grid. | |
| Export Document | Allows you to export the results grid to multiple file formats, including HTML, PDF, CSV, etc. | |
| Send via E-mail | Allows you to send the results grid via e-mail. | |
| Close Preview | Closes the preview mode. |
Search data
1. On the Preview toolbar, click ![]() Search.
Search.
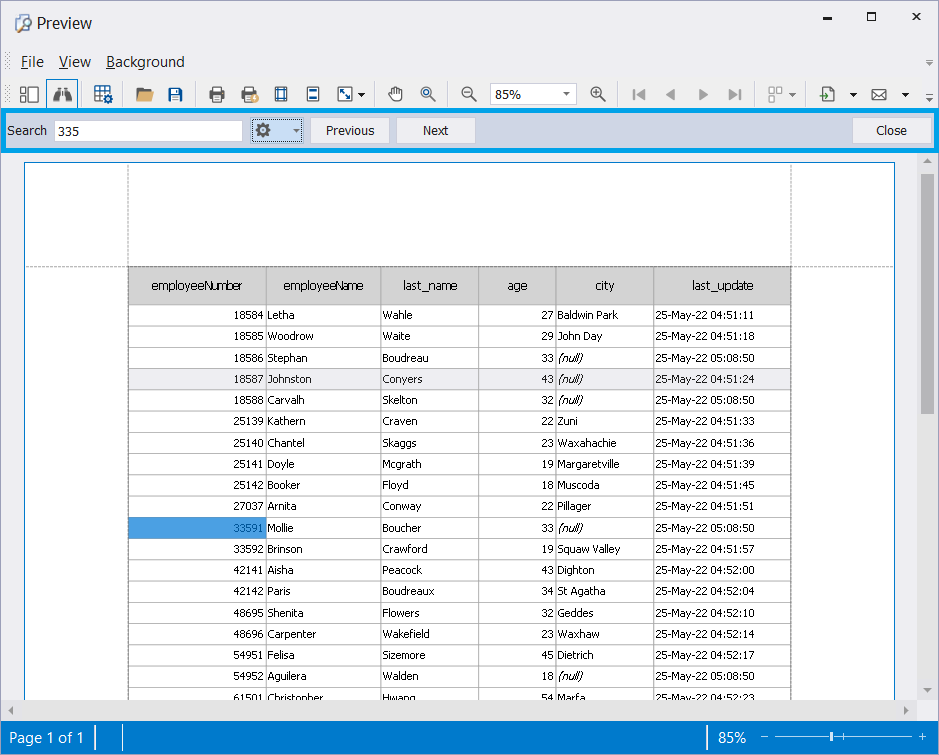
2. In the Search field, enter the text you want to find.
3. In the settings, you can apply either a case-sensitive search or look only for whole words.
4. Use Previous and Next to search through the text. The matching text will be highlighted.
5. Click Close to finish the search.
Add a watermark
1. On the Preview toolbar, click ![]() Watermark.
Watermark.
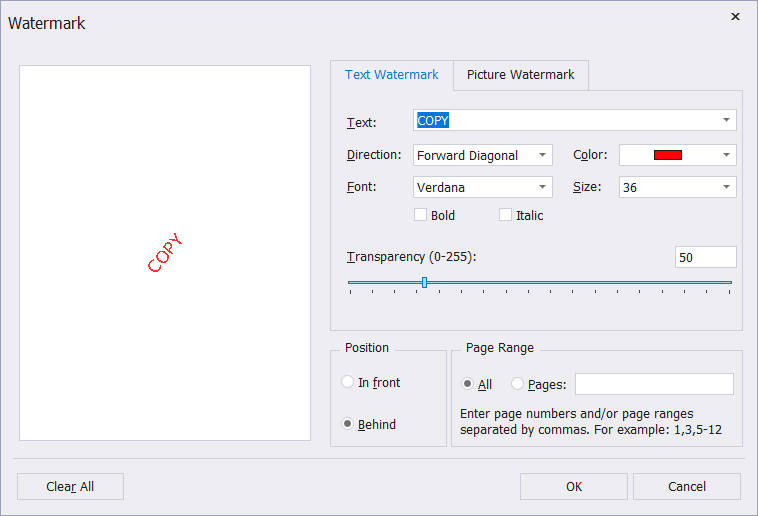
2. In the Watermark dialog that opens, you can add either a text or a picture watermark.
To add a text watermark, switch to the Text Watermark tab and specify the details:
- Select the watermark from the list of predefined watermarks
- Select the direction, color, font, and size
- Set up the watermark transparency and position
- Specify whether to display a watermark on all pages or on specific ones
To add a picture watermark, switch to the Picture Watermark tab and do the following:
- Load a watermark by clicking Browse
- Select the size
- Select the Tiling checkbox to add a tiled watermark to the report
- Align the watermark vertically and horizontally
- Set up the watermark transparency and position
- Specify whether to display a watermark on all pages or a specific one
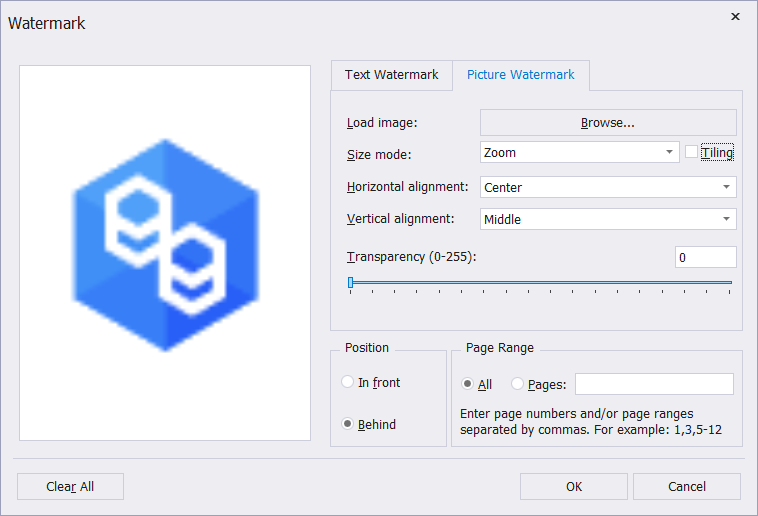
To remove the watermark from the page, click Clear All.
3. To save the changes, click OK.