Configure the automatic delivery of a schema comparison report via email
Configuring automatic delivery of a schema comparison report via email using dbForge Studio for SQL Server and a PowerShell script involves a few steps. You will need to use dbForge Studio for SQL Server to generate the schema comparison report and then create a PowerShell script to send the report via email. Here’s a step-by-step guide.
1. If your email has two-factor authentication, first of all, you need to generate the application password on your email provider’s side. It’s required for the SMTP server to be able to send the email with the report.
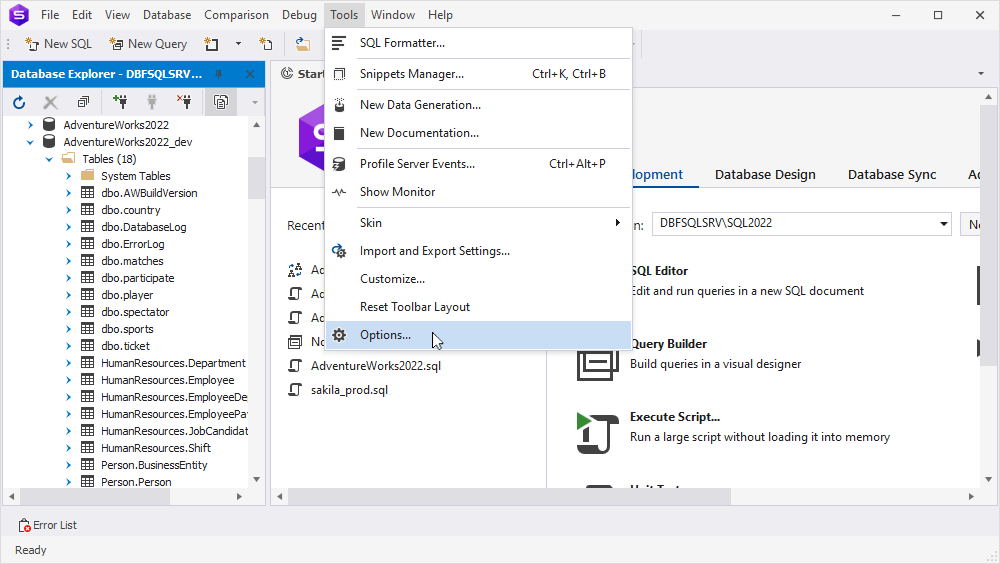
2. Customize the SMTP settings in dbForge Studio for SQL Server. Navigate to Tools > Options.
3. Click SMTP and fill in the fields:
- From address: Enter the email the report will be sent from.
- SMTP server: Type the name of the SMTP server.
- Port: Specify the port of the SMTP server.
- Name: Enter your email.
- Password: Type the password of your email. If your email has two-factor authentication enabled, insert the password you have already generated in step 1.
4. Click OK.
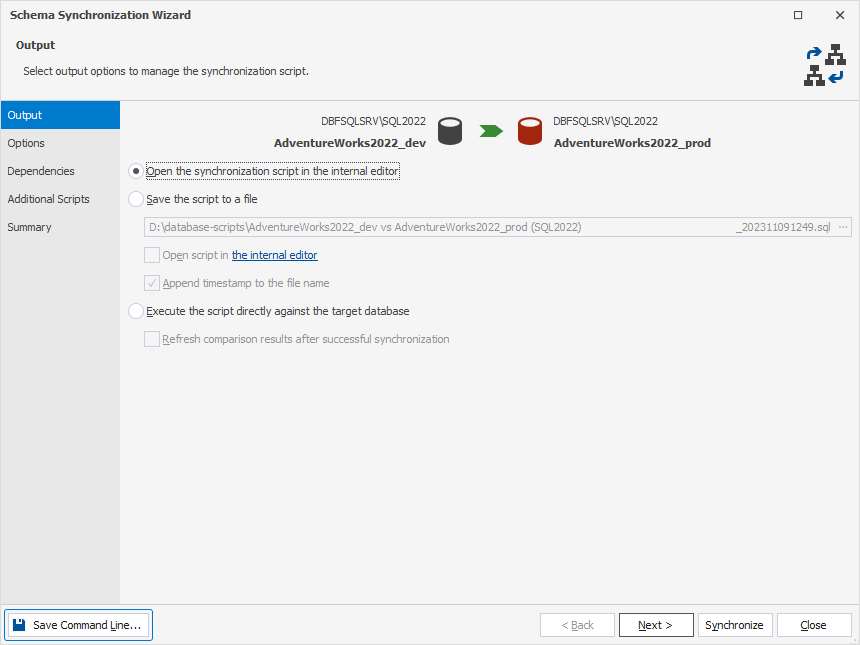
5. Compare schemas of the required databases and click Synchronize.

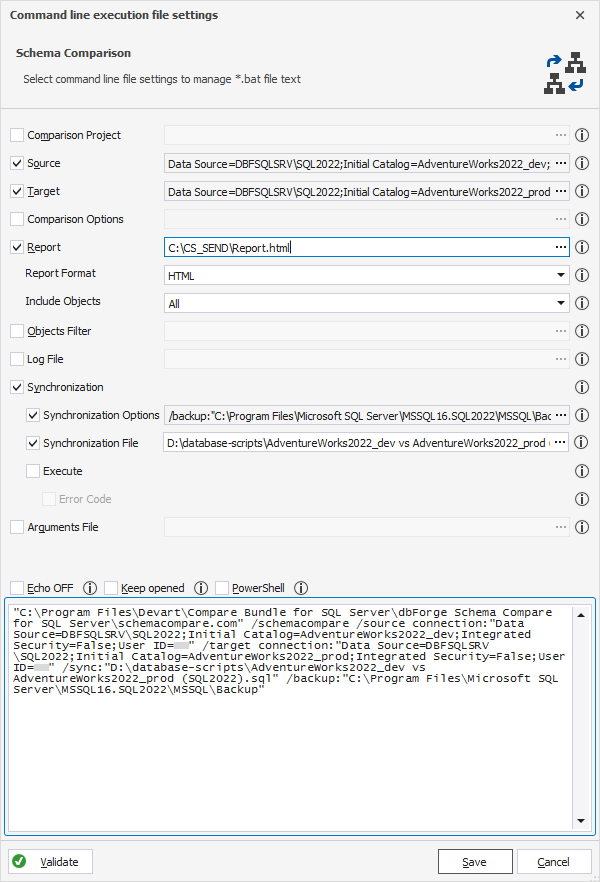
6. Click Save Command Line.
7. Select Report and enter the path to the schema comparison report.
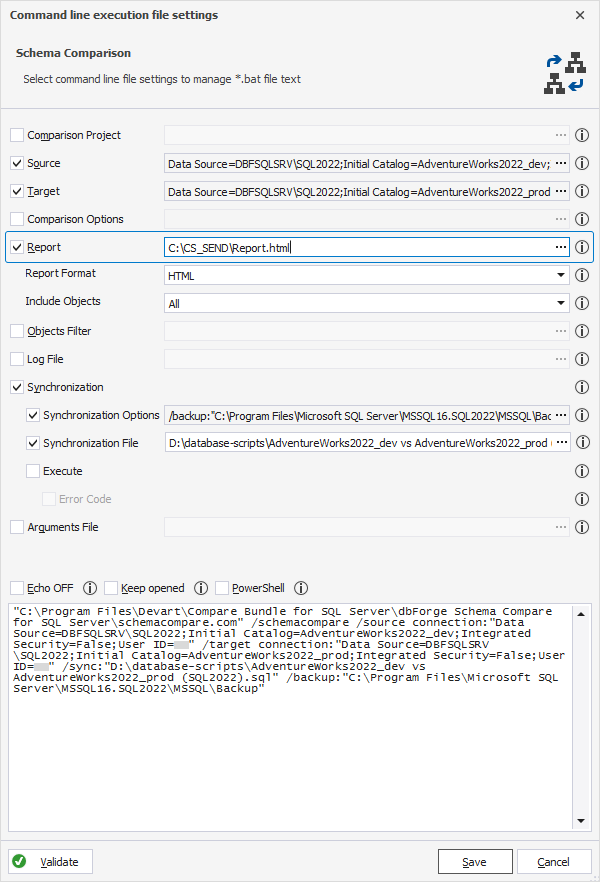
8. Copy the content of the window.
9. Create a .bat file, paste the copied content into it, and save the file.
10. Create a .ps1 file and enter the following script. Then replace the data in <> with yours and save the file.
$emailFrom = "<email, from which the report will be sent>"
$emailTo = "<email where the report will be sent>"
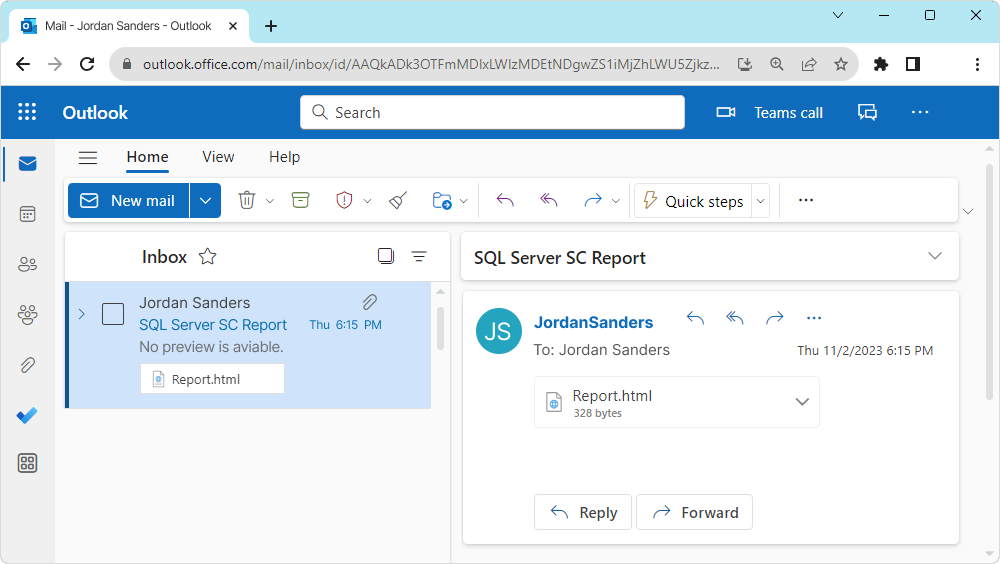
$subj = "SQL Server SC Report"
$body = ""
$file = "<path to the schema comparison report>"
$smtpServer = "<SNPT server name>"
#Creating a Mail object
$msg = new-object Net.Mail.MailMessage
$emailPassword = "<password of the email, from which the report will be sent/generated application password>"
$emailCredential = New-Object System.Net.NetworkCredential("<email, from which the report will be sent>", $emailPassword)
#Creating SMTP server object
$smtp = new-object Net.Mail.SmtpClient($smtpServer)
$smtp.Port = <SMTP server port>
$smtp.EnableSSl = $true
$smtp.Credentials = $emailCredential
$att = new-object Net.Mail.Attachment($file)
#Email structure
$msg.From = $emailFrom
$msg.To.Add($emailTo)
$msg.Subject = $subj
$msg.Body = $body
$msg.Attachments.Add($att)
$smtp.Send($msg)
$att.Dispose()
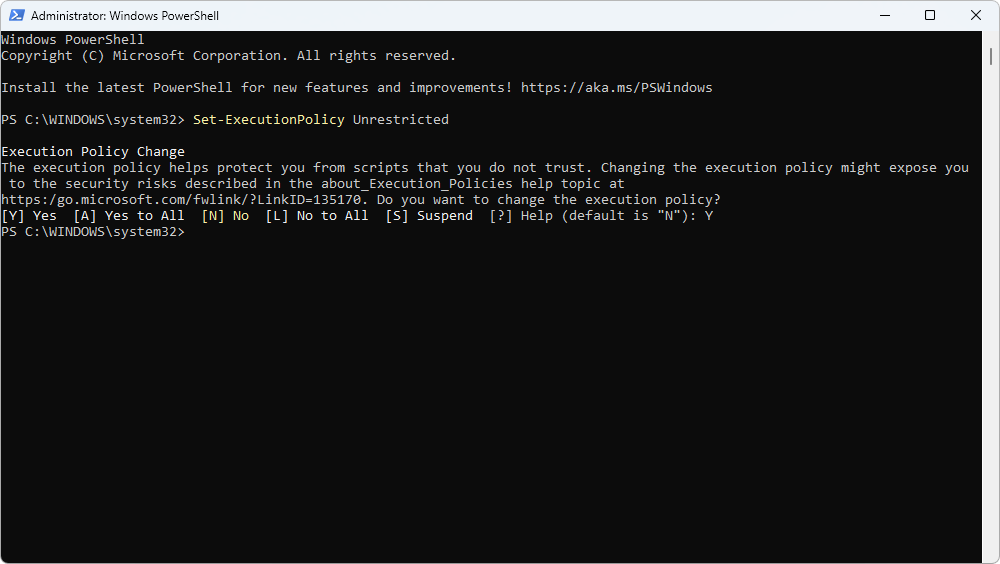
11. Now, you need to set the policy for PowerShell to allow the execution of all scripts without any restrictions or warnings. For this, run PowerShell as Administrator and execute:
Set-ExecutionPolicy Unrestricted
12. Apply by clicking Y.
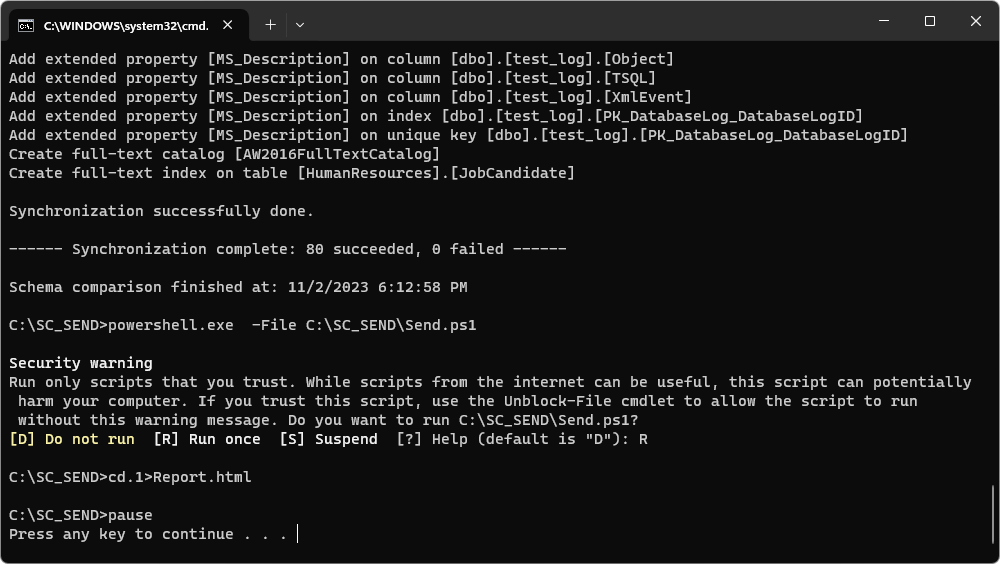
13. Run the .bat file. To start executing the .ps1 file, click R.
14. Open your email and check the sent report.