Select data sources for comparison
Data Compare for SQL Server gives you a perfect opportunity to compare and synchronize data with many useful features. To start a new comparison project, you need to specify two data sources you want to compare, and how to connect to them.
To select Source and Target connections and specify the names of databases to be compared:
1. On the File menu, click New > New Data Comparison.
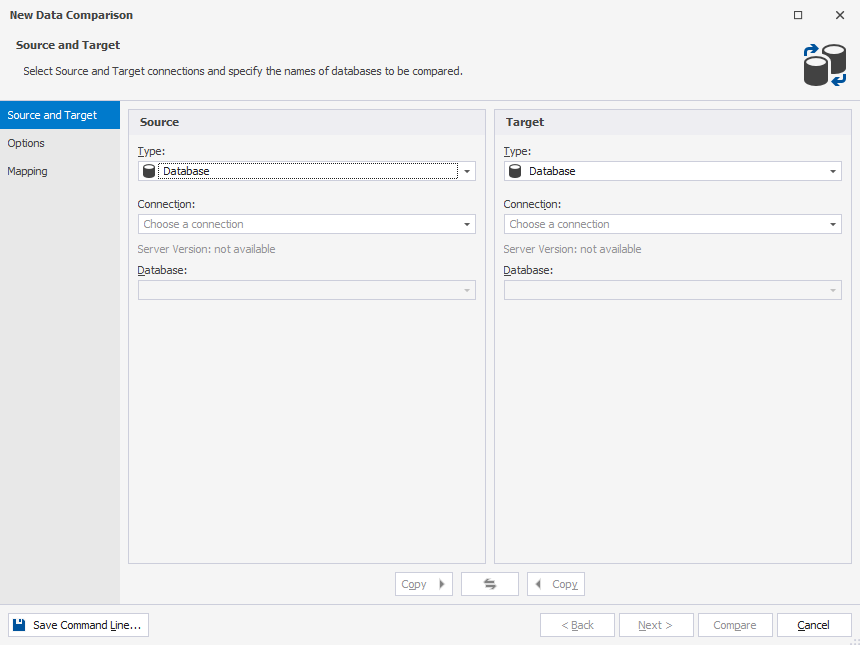
2. In the New Data Comparison wizard that opens, specify the type of the Source and Target, connections, and the names of the databases to be compared.
To learn how to create a new connection to SQL Server or modify the existing one, refer to Connect to SQL Server.
Select data sources
On the Source and Target tab of the New Data Comparison wizard, select the two data sources you want to compare. You need to specify a source and a target.
Note
After the comparison neither Source, nor Target will change. After the synchronization the Target data source will change, and the Source will remain unchanged.
To swap Source and Target settings, click 
The following types of data source can be compared:
You can select a data source from the Type drop-down list.

Note
You can compare any combination of data source types in your project.
Select a database
1. Under Source or Target, select Database from the drop-down list.
2. In the Connection box, select the name of the SQL Server.
3. Under Database, select a database to be compared from the drop-down list.
Note
If you set up a connection in one of the following tools, it will be automatically added to other dbForge SQL Tools:
- dbForge Data Compare for SQL Server
- dbForge Data Generator for SQL Server
- dbForge Schema Compare for SQL Server
- dbForge Query Builder for SQL Server
- dbForge Documenter for SQL Server
- dbForge Event Profiler for SQL Server
You can migrate connections and assigned categories between dbForge SQL tools (for example, from dbForge Data Compare for SQL Server to dbForge Data Generator for SQL Server). To do that, you should create an export settings file with the help of Import and Export Settings Wizard in one tool and then import it in another dbForge SQL tool. For more information, see Import and export settings.
To refresh the database list, click < Refresh > on top of the list.
Note
If you need to use a new connection:
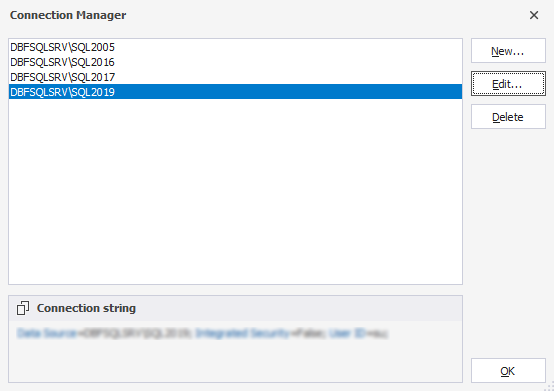
1. In the Connection box, click < Manage… >
2. In the Connection Manager window, click New.
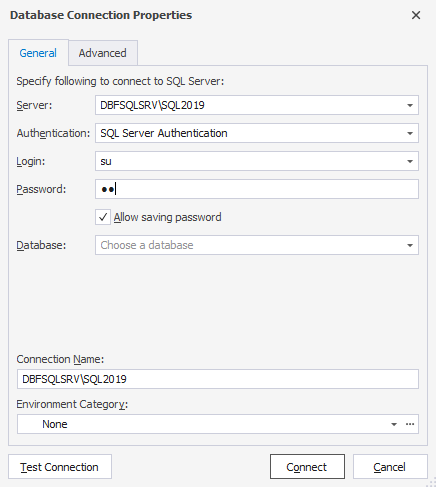
3. In the Database Connection Properties window that opens, specify the details of the connection you want to add and then click Connect. For more information about database connections, see Connect to SQL Server.
Select a backup
Data Compare for SQL Server does not support using partial, filegroup, or transaction log backups as a data source.
dbForge Data Compare can retrieve the data from full or differential backups. However, if you select a differential backup that is part of a series of differential backups, dbForge Data Compare will compare the changes made up to the moment of that particular backup. It will take into account the modifications made in previous backups but will not consider any changes made in subsequent backups.
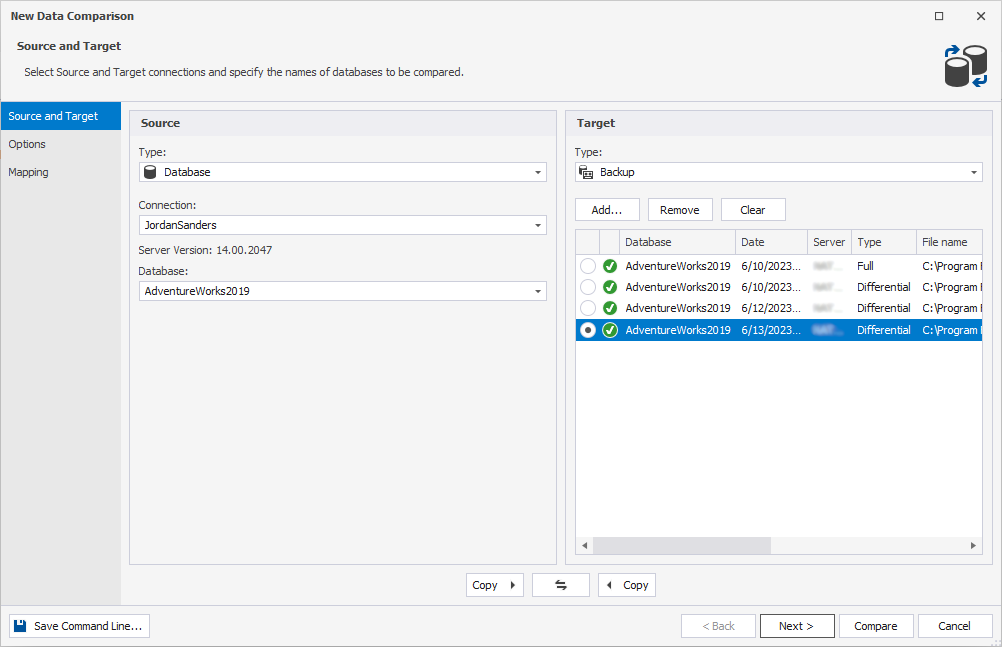
To select a backup as a data source
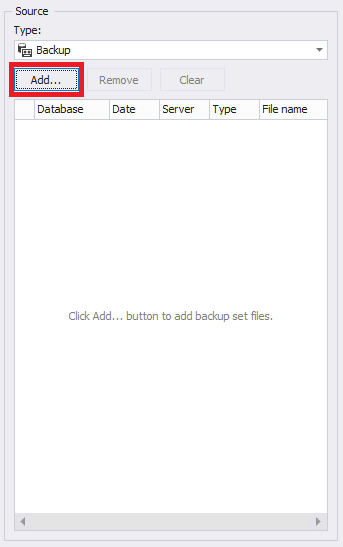
1. Under Source or Target, select Backup from the drop-down list.
2. Click Add to select all the files making up the backup set you want to compare.
Note
When you have added backup files, one of the following icons will be displayed:
The backup set is valid and complete.
To use a differential backup as a data source, you must also add the associated full backup.
The backup set cannot be used as a data source.
Select a scripts folder
1. Under Source or Target, select Scripts Folder from the drop-down list.
2. In Database scripts folder, select the name of the scripts folder, or click  Browse to find the required folder.
A scripts folder stores the following information:
- Database objects that are grouped into folders based on their types in the database, such as Programmability, Security, Storage, Tables, or Views. Each folder contains individual .sql files with creation scripts for each object within that group.
- A folder with static data that contains individual .sql files with INSERT scripts for each table.
- A config.xml file that contains configuration information, including a SQL Server version, the collation of the database from which the scripts folder was created, and the entity, which refers to the database these scripts are associated with.
- A single .sql file with ALTER DATABASE scripts for the whole database.
Keep in mind that before selecting a scripts folder as Source or Target, you need to create the folder itself. To do this, click  New and specify the details in the window that opens.
Note
dbForge Data Compare for SQL Server can read information about tables from scripts folders with different structures, allowing users to further map and compare these tables. Moreover, the tool allows you to select data for synchronization.
For more information on how to synchronize scripts folders, refer to the Select synchronization output topic.
