Microsoft Azure Installation of Review Assistant Server
Microsoft Azure is a cloud computing platform and infrastructure, created by Microsoft, for building, deploying and managing applications and services through a global network of Microsoft-managed data centers.
This topic describes how to install Review Assistant on Microsoft Azure.
To Instal Review Assistant on Microsoft Azure:
-
Create a virtual machine. If you already did it, skip to Step 2.
-
Log on to your virtual machine using Remote Desktop. For more information, refer to the How to log on to the virtual machine after you create it section of the Microsoft Azure tutorial entry.
-
Being located in remote machine environment, download the Review Assistant installer from the official Devart website. Also, you can transfer the previously downloaded installer from a local machine to a remote machine (for example, via the clipboard).
-
Install Review Assistant Server as described in the Local Network Installation of Review Assistant Server topic.
-
Install license key as described in the Installing a License Key on a Server Machine topic.
-
To enable external connections to the server, configure the inbound rule in Windows Firewall for the port, that the server is using (by default, it is port 85).
-
Sign in to your Windows Azure Account.
-
Click Virtual Machines, and then select the virtual machine with the installed Review Assistant.

-
Click Endpoints. The Endpoints page lists all endpoints for the virtual machine.
-
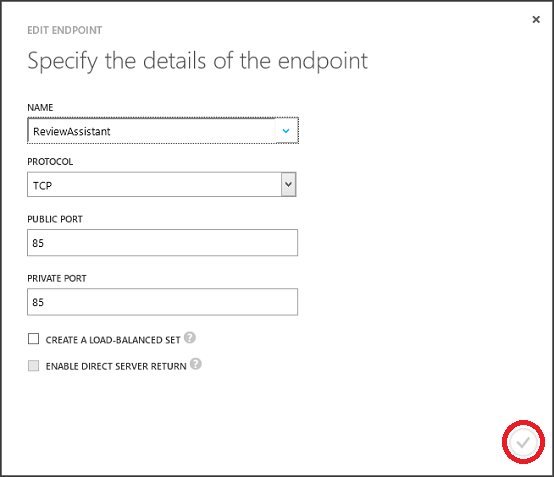
Click Add. The Add Endpoint dialog box appears.
-
In Name, type ReviewAssistant.
-
In Protocol, specify TCP.
-
In Public Port, type 85.
-
In Private Port, type 85.
-
Click the check mark to create the endpoint.
-
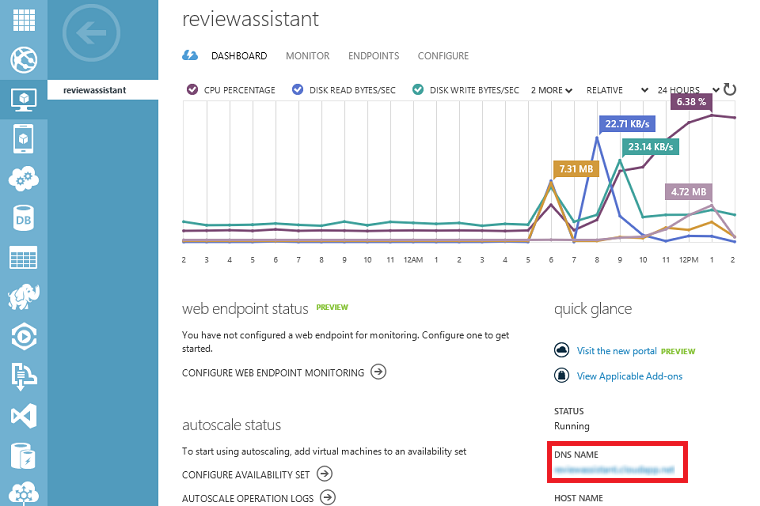
Switch to the Dashboard tab, and copy DNS Name - it should be used as the host for connecting Review Assistant with server. The Review Server field of the Review Assistant Options, Connection window should look in the following way: http://DnsName:85/ReviewAssistant
Note:
Specify this URL in the Server Settings to connect the client applications to the server. Also specify this URL in the client.
-
Now you can establish connection with the remote server.
Note:
If you access the Internet through a proxy, make sure it does not block the outbound connection from the client machine via the port, that is used by Review Assistant (in the aforesaid example, it is port 85).