Local Network Installation
This topis describes how to install Review Assistant Server. Please note, that here we describe only those steps of installation that require special attention. The rest of the steps are quite self-explanatory.
Note:
Starting from version 3.5, Review Assistant uses Microsoft SQL Server instead of SQLite as in the previous versions. To properly migrate your data from SQLite to SQL Server, please refer to topic How to Update to Review Assistant 3.5 or higher.
How to Install Review Assistant Server
Before installation, make sure that your system meets the requirements.
-
Create an empty SQL Server database.
-
Download and run the Review Assistant installer. The Install Wizard will appear and guide you through the installation.
-
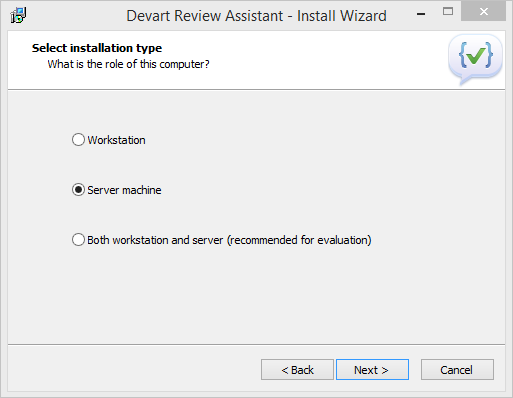
In the Select installation type page, select Server machine.

-
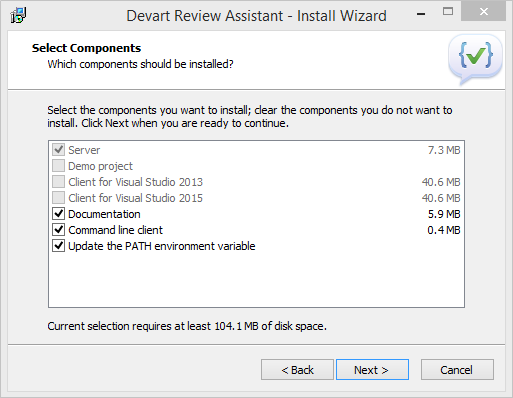
Review Assistant automatically suggests you the relevant components to be installed. The following components are required for the successful installation of the Review Assistant Server:
- Server
- Command line client

-
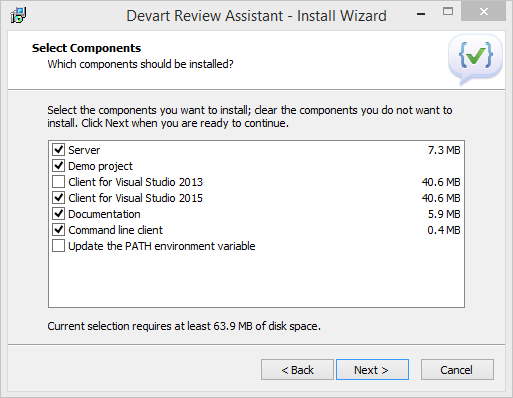
Returning back to step 2, you may select the option Both workstation and server (recommended for evaluation purposes). In this case, you will be prompted to choose any combination of components to be installed.

-
After selecting the components for installation, click Next to launch the installation process.
-
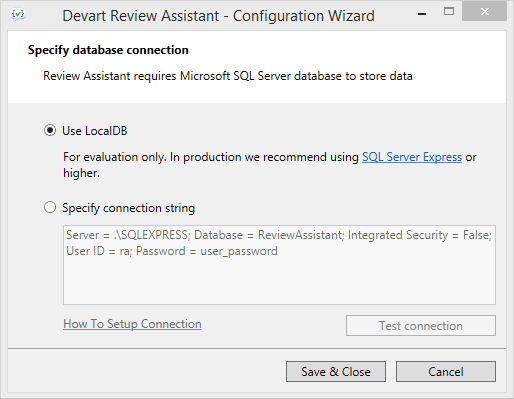
After the installation process is complete, the Configuration Wizard appears.

You can specify the connection string to the SQL Server database you’ve created in step 1. The user specified in the connection string should have one of the following roles: db_ddladmin, db_datawriter, db_datareader, or just the db_owner role since the db_owner user can perform all configuration and maintenance activities on the database.
You can skip this step by clicking Cancel. In this case, Review Assistant will not be able to connect to the database, but you can specify the connection later (see step 9). For more details, click How To Setup Connection on the wizard or see topic How To Setup SQL Server Connection.
-
After you click Save&Close, the connection string (if valid) will be written into the Settings.xml file, which is located in C:\ProgramData\Devart\Review Assistant.
-
For adding/changing the database connection settings, you can invoke the Configuration Wizard by running the ReviewAssistantServerConfig.exe file located in the installation destination folder (which is C:\Program Files\Devart\Review Assistant by default).