How to Setup SQL Server Connection
This topic describes how to connect the Review Assistant server to a Microsoft SQL Server database.
Review Assistant uses Microsoft SQL Server as a database engine for storing data. Therefore, you need to set up the connection to SQL Server. First, you need SQL Server and SQL Server Management Studio (SSMS) to be installed. Please review the list of supported SQL Servers.
You can specify the connection string using one of the authentication methods: Windows Authentication or SQL Server Authentication. The connection methods differ in the two modes, so let’s consider each mode separately.
Connection string with SQL Server Authentication
1. In SSMS, connect to SQL Server as a system administrator.
2. If you installed SQL Server with default settings, you need to enable SQL Server Authentication mode. For more information, see Change server authentication mode.
3. Create an empty database and specify its name, for example, “ReviewAssistant”. For more information, see Create a database.
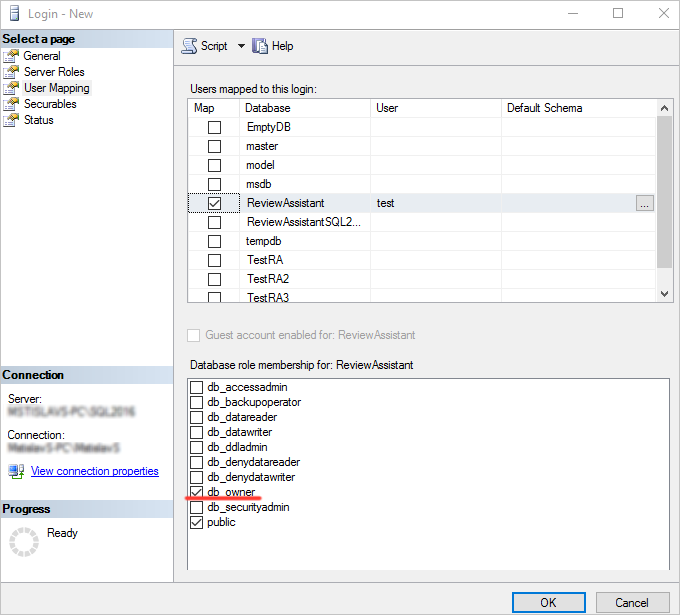
4. Create a new SQL Server Authentication login (e.g. “RA”), specify the login name and password. For more information, see Create a login.
5. Assign the db_owner role to a user for the Review Assistant database.
6. After you setup the login, in the Configuration Wizard, specify the connection string according to the following template:
Server = .\SQLEXPRESS; Database = ReviewAssistant; Integrated Security = False; User ID = user; Password = user_password
where:
- Server is the name or the network address of the SQL Server instance. In the above case, the local SQLEXPRESS server is specified;
- Database is the name of the new empty database for the Review Assistant server (see step 2);
- Integrated Security is the type of user authentication. True corresponds to “Windows Authentication”, and False corresponds to “SQL Server Authentication”;
- User ID is the login for accessing SQL Server (see step 4);
- Password is the password for accessing SQL Server.
7. Verify the connection using the Test Connection button in Configuration Wizard. If the connection is successful, you will get the following message:
8. Click Save & Close.
Connection String with Windows Authentication
1. In SSMS, connect to SQL Server as a system administrator.
2. Create an empty database and specify its name, for example, “Review Assistant”. For more information, see Create a database.
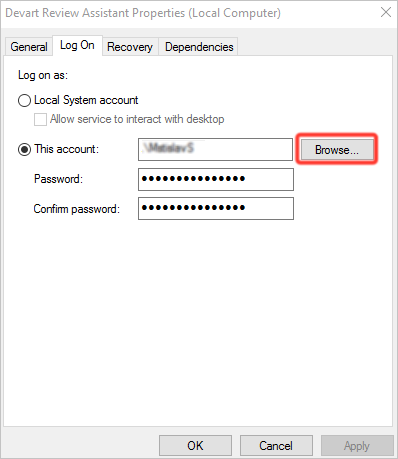
3. In the Devart Review Assistant Properties window, click the Log On tab and specify the Windows user (using the Browse button) under which you log in to the SQL Server and click OK.
Note
In case you reinstall Review Assistant you need to perform this step again.
4. In the Configuration Wizard, specify the connection string according to the following template:
Server = .\SQLEXPRESS; Database = ReviewAssistant; Integrated Security = True
where:
- Server is the name or the network address of the SQL Server instance. In the above case, the local SQLEXPRESS server is specified;
- Database is the name of the new empty database for the Review Assistant server (see step 2);
- Integrated Security is the type of user authentication. True corresponds to “Windows Authentication”, and False corresponds to “SQL Server Authentication”. For more information, see SqlConnection.ConnectionString Property.
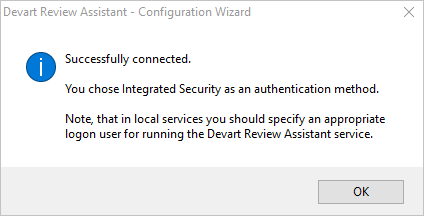
5. If the connection is successful you will get the following message:
6. Click Save & Close. This will run the server.
If you previously used Review Assistant v.3.2 or below, the data will be automatically migrated. If you did not use Review Assistant, you will be able to connect in the Visual Studio client using the default username\password: Admin\Admin.