How to preview a pivot table
After the pivot table has been created, you can preview it, save, print, or export it to different file formats for later use.
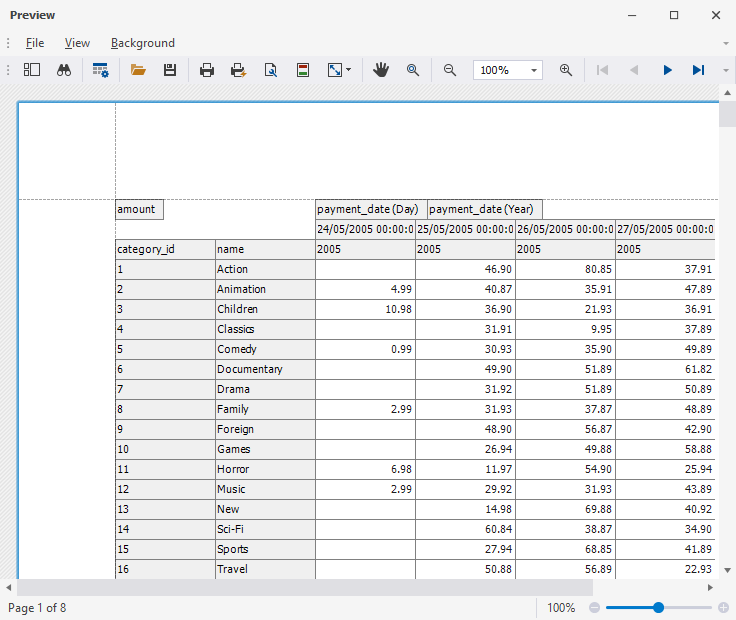
To preview a pivot table
1. On the File menu, select Print.
2. In the Preview dialog that opens, view the table.
In addition, the Preview feature allows you to perform the following tasks:
- Display a thumbnail of a pivot table
- Search in the pivot table
- Customize print options by clicking
 Customize
 - Load a pivot table from another document
- Save the document of the current table
- Print a pivot table
- Set up page options
- Set up header and footer options
- Adjust the scaling setting of the pivot table
- Move the pivot table using the hand tool
- Zoom in or out the pivot table
- Switch between pivot table pages
- Set a background color for the pivot table
- Add a watermark to the pivot table
- Send the pivot table by email in any of the file formats supported by the Query Builder tool
Search in the pivot table
1. On the Preview toolbar, click ![]()
2. In the Search field, enter the text you want to find.
3. In the settings, you can apply either a case-sensitive search or look only for whole words.
4. Use Previous and Next to search through the text.
5. Click Close to finish the search.
Add a watermark to the pivot table
1. On the Preview toolbar, click ![]() Watermark.
Watermark.
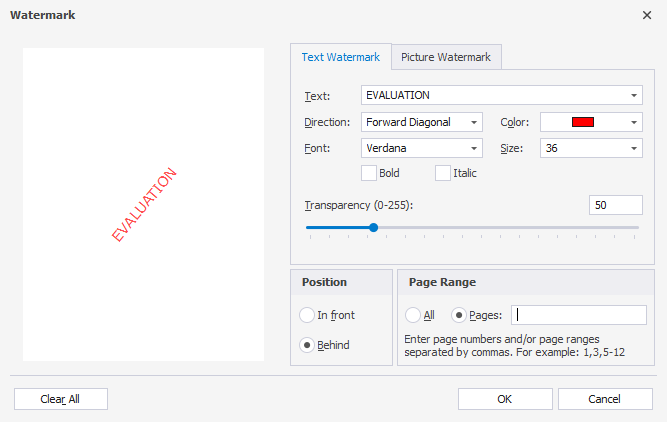
2. In the Watermark dialog that opens, you can add either a text or a picture watermark.
To insert a text watermark, switch to the Text Watermark tab and specify the details:
- Select the watermark from the list of predefined watermarks
- Select the direction, color, font, and size
- Set up the watermark transparency and position
- Specify whether to display a watermark on all pages or a specific one
To insert a picture watermark, switch to the Picture Watermark tab and do the following:
- Load a watermark to the report by clicking Browse
- Select the size
- Select the Tiling checkbox to add a tiled watermark to the report
- Align the watermark vertically and horizontally
- Set up the watermark transparency and position
- Specify whether to display a watermark on all pages or a specific one
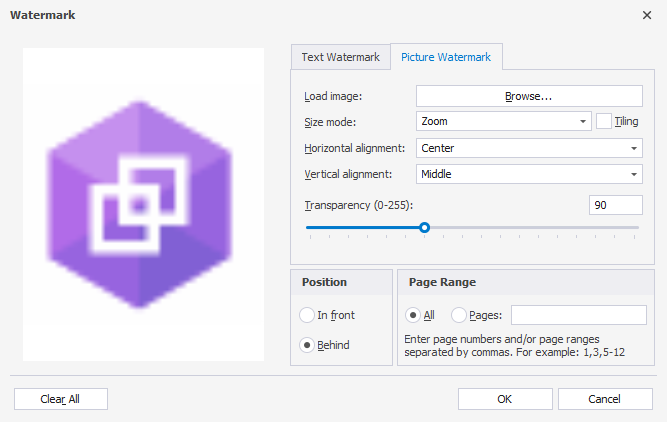
To remove the watermark from the page, click Clear All.
3. To save the changes, click OK.