Review and save the deployment script
In this topic, you will learn how to obtain the database deployment script, and we will also provide guidance on getting the deployment script for an individual database object or entity.
Also, be aware that in some cases, tables can be rebuilt during the deployment process. These cases are listed in Scenarios where the deployment process rebuilds tables.
Get the deployment script
After you have completed the comparison process and obtained the comparison results, you can create and save the migration script.
1. Click Synchronize 
2. The Schema Synchronization Wizard gets opened. To review the script, choose one of the following options.
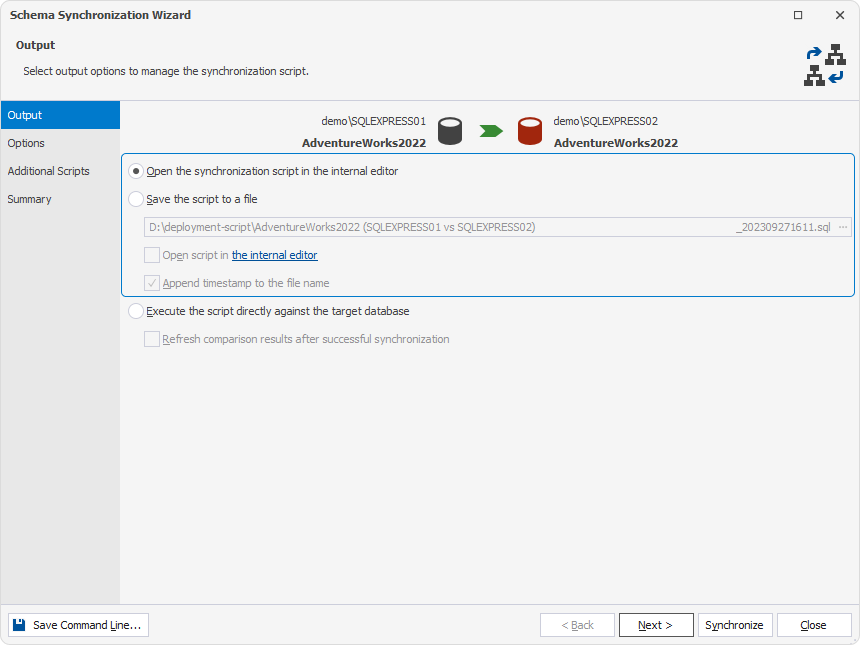
Open the synchronization script in the internal editor
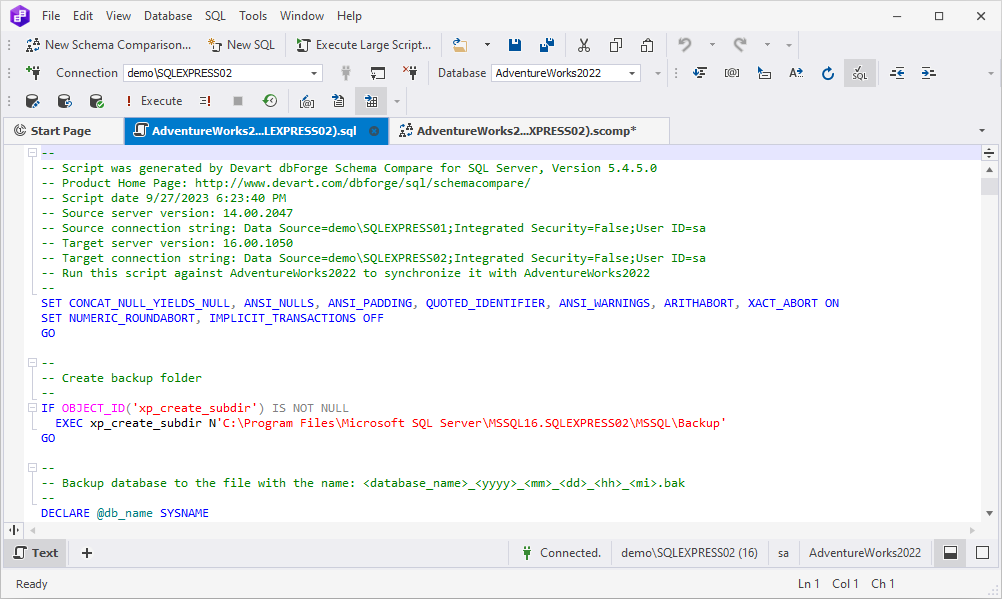
The option allows you to open the script in the editor of dbForge Schema Compare. For example:
Save the script to a file
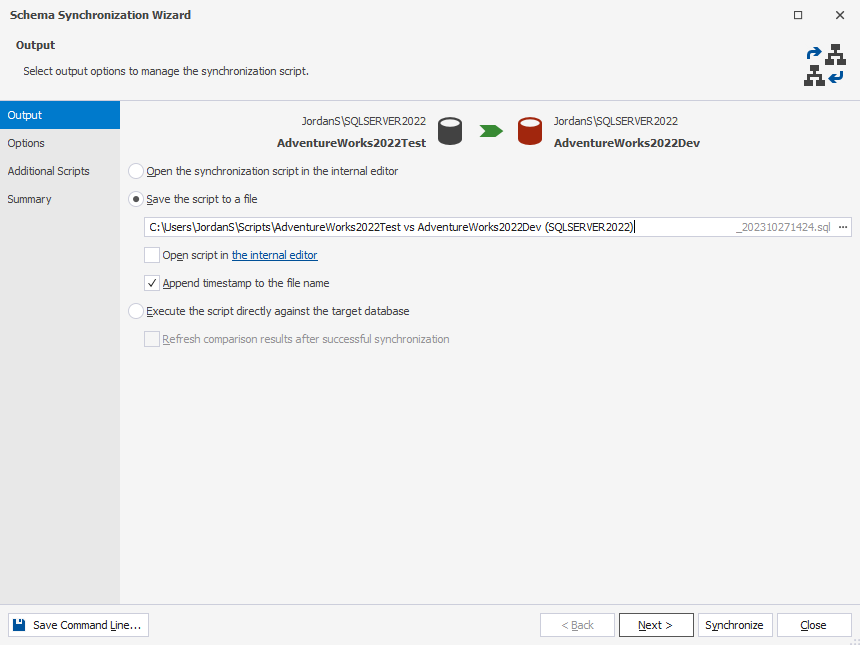
This option allows you to save the script to a file on your PC. To specify the file name and directory, click 
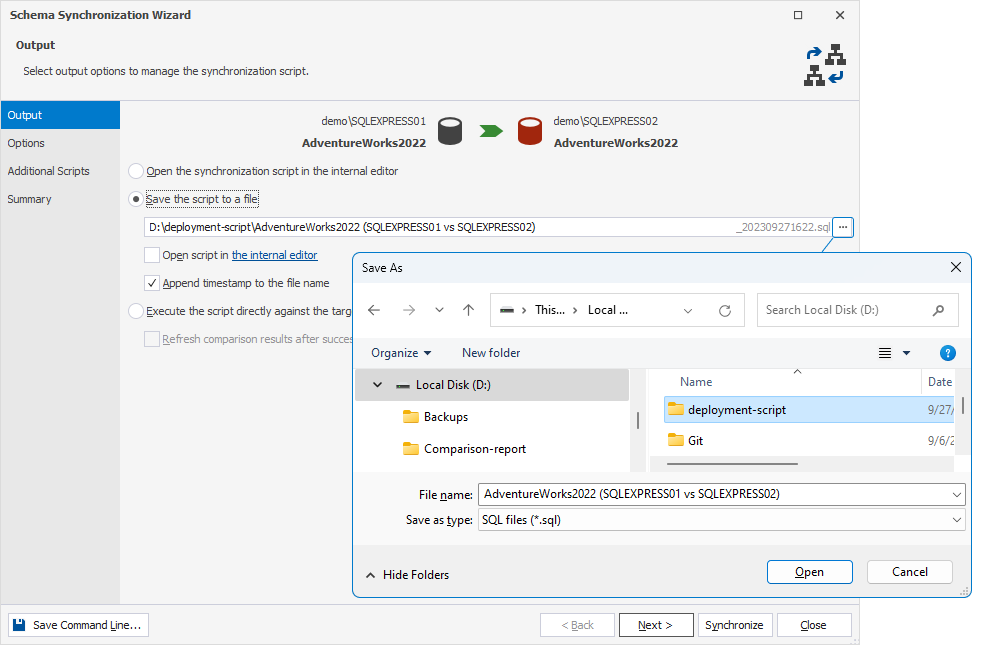
Under Save the script to a file, you have two additional options:
-
Open script in the internal editor: This allows you to open the script within the dbForge Schema Compare editor.
-
Append timestamp to the file name: With this option enabled, the date and time will be added to the file name.
Tip
When you perform a database comparison and save the synchronization script using the default file name, which includes the source and target database names, re-synchronizing the same databases with the same file-saving option may overwrite the existing script. To avoid this, enable the Add Timestamp option when saving the script. This appends a timestamp to the file name, ensuring each synchronization script remains distinct.
Also, you can open the saved file with dbForge Schema Compare and review the deployment script. For this you need to select Open script in the internal editor.
3. Click Synchronize.
View the deployment script for a single object
1. To review the deployment script for one object, select the desired object. For example:
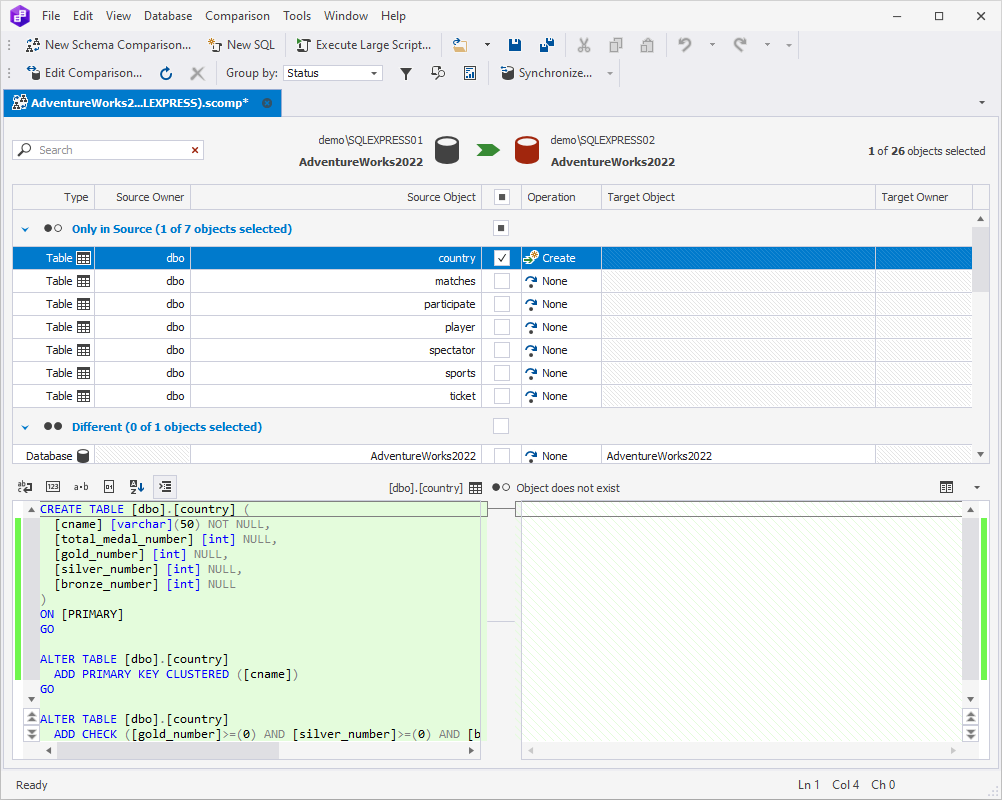
2. Click Synchronize, select your preferred output option for the deployment script, and click Synchronize again.
You’ll see the script with the object you have chosen.
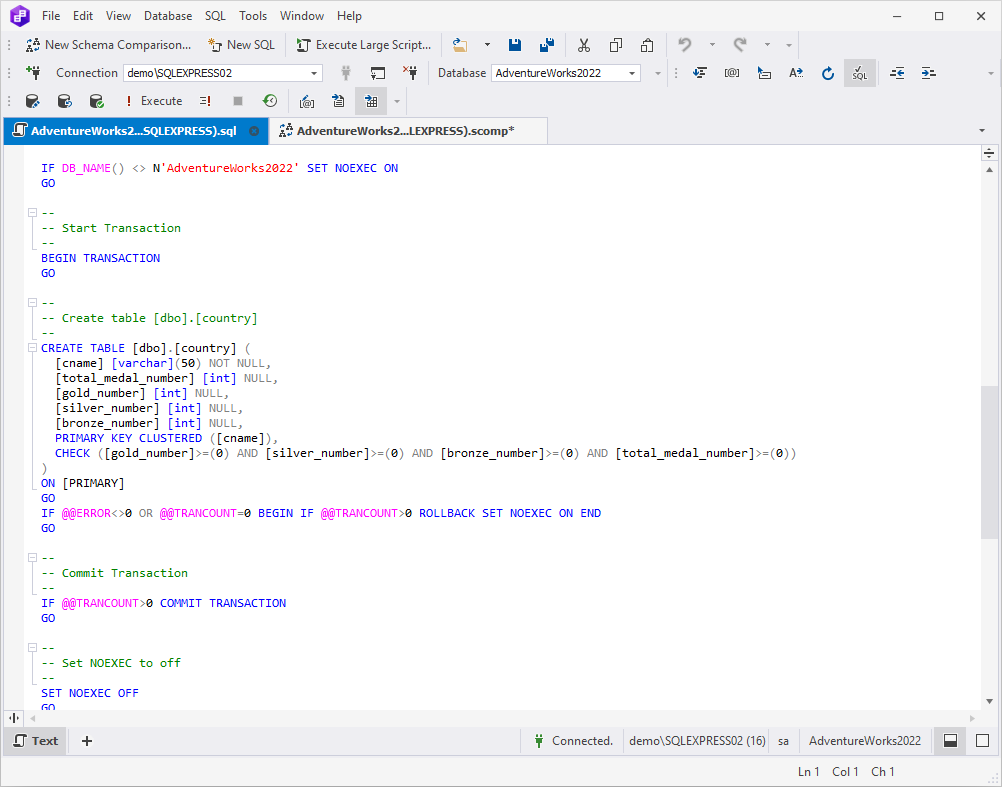
Alternatively, you can do it with the help of the filter. For this:
1. Click 
2. In the Filter pane, select the object you want to apply the filter rule for and click the filter icon again.

3. Choose the required object in the Filter rule for dropdown and select Include objects if.
4. Click  to add a rule. Then select Source object to apply the rule for, select Equals for an operation, and finally select the object’s name.
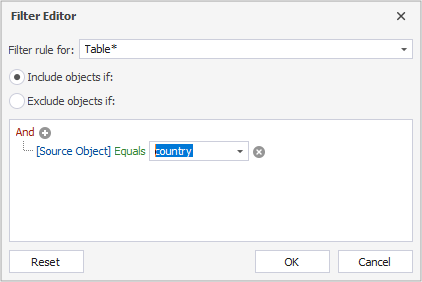
5. Click OK, then click Synchronize.
6. Select your preferred option for generating the deployment script, and then click Synchronize again.
You’ll get the deployment script for the object.

Save the deployment script
Schema Compare allows you to generate and save the diff scripts, whether it’s a deployment script, a migration script, or a rollback script.
There are several methods you can use to save the schema synchronization script.
1. From the Schema Synchronization Wizard
In the Schema Synchronization Wizard, click Save the script to a file. Then, in the field below provide the desired path and a file name. Once done, click Synchronize.
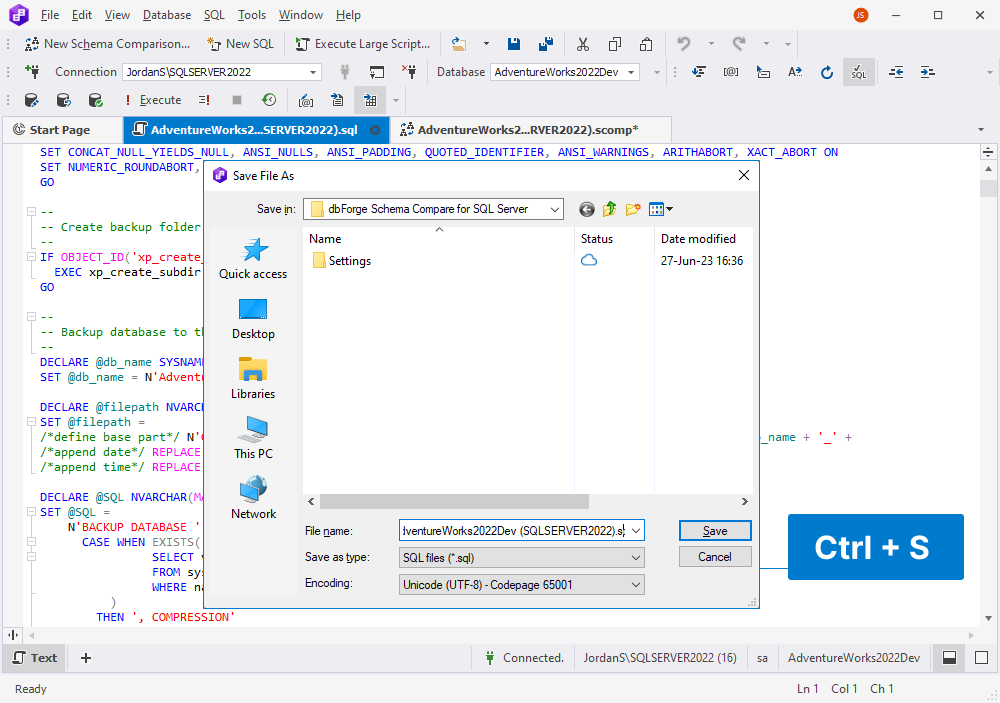
2. From the SQL Editor
After opening the script for review in SQL Editor, you can save it to a file. To do this, simply press Ctrl + S, and then specify the desired file name and directory in the Save File As dialog that will appear.
3. From the command line
Schema Compare for SQL Server provides support for the command-line interface. Hence, you can also generate and save the migration script via the command line.
To create and save the diff script from the command line, provide a path to the desired directory after the /sync argument. For example:
/sync:"C:\sync_script_name.sql"
Note
In this topic, we’ve examined how to create and save the diff script between two sources. If you need to script a single SQL Server database, refer to How to generate SQL Server database scripts.