How to filter report data
When creating the report, you can set up a filtering condition. For this, click ![]() Menu in the upper-left corner of Report Designer.
Menu in the upper-left corner of Report Designer.
Then, click ![]() More Options to open the Filter Editor.
More Options to open the Filter Editor.
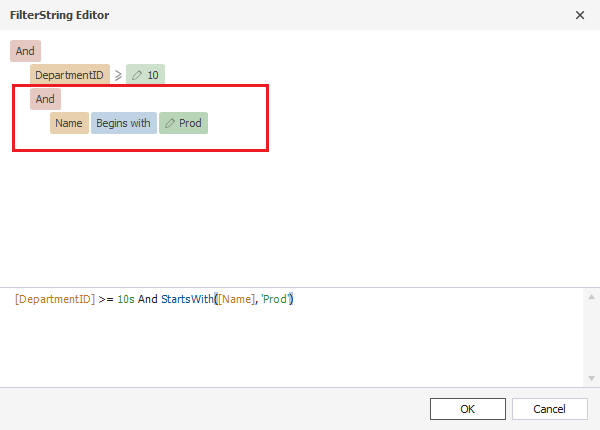
In the Filter Editor dialog that opens, set up a new filtering condition.
To add a condition
1. Click the upper-level operator to select the operator based on which you want to add a condition:
- AND displays the records when both conditions are TRUE.
- OR displays the records when at least one of the conditions is TRUE.
- NOT (AND/OR) meets the opposite condition set in the WHERE clause.
2. Click ![]() Add a new condition to this group next to the upper-level operator and select Add Condition on the shortcut menu.
Add a new condition to this group next to the upper-level operator and select Add Condition on the shortcut menu.
3. By default, the first column from the table is displayed. If you want to change the column, click it and select another column from the dropdown list.
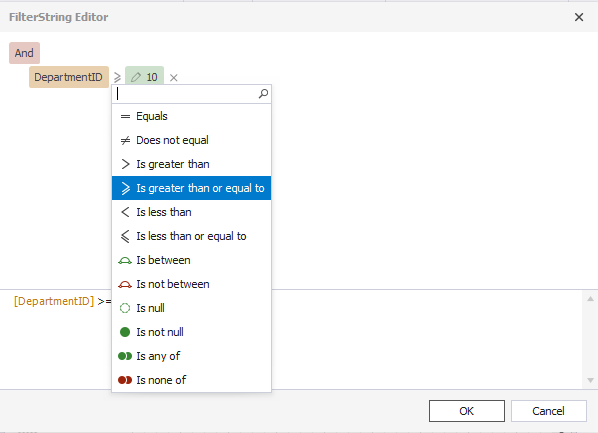
4. Click the operator to select the comparison or logical operator for the condition.
5. Click Enter a value to set the condition.
6. To save the changes, click OK.
To remove the condition, click ![]() Delete next to the corresponding condition.
Delete next to the corresponding condition.
Add a new condition group
1. Click ![]() Add a new condition to this group next to the upper-level operator and select Add Group on the shortcut menu.
Add a new condition to this group next to the upper-level operator and select Add Group on the shortcut menu.
2. Click the upper-level operator to select the operator based on which you want to add a condition.
3. By default, the first column from the table is displayed. If you want to change the column, click it and select another column from the dropdown list.
4. Click the operator to select the comparison or logical operator for the condition.
5. Click Enter a value to specify the condition.
6. To save the changes, click OK.
How to use filters
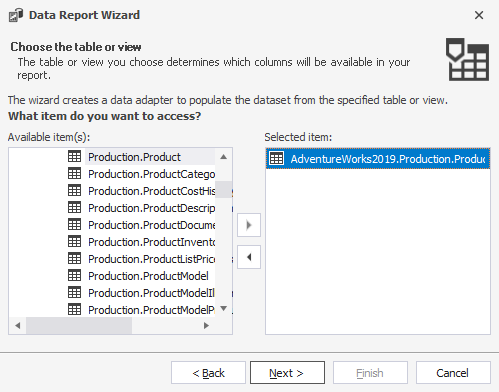
Let’s see how to filter data at a report level. For demo purposes, we are going to use the Product table from the AdventureWorks2019 database and filter data of the report by StandardCost that equals 486.7066.
First, create a report.
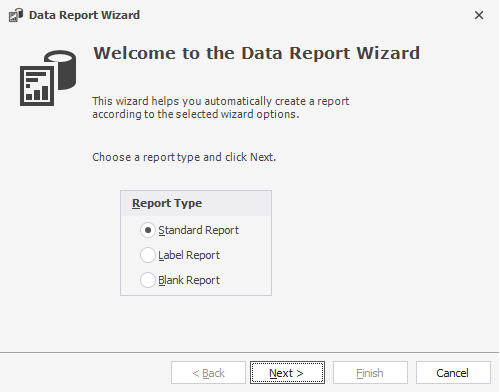
1. On the Database menu, click Report Designer.
2. In the Data Report Wizard that opens, select Standard Report and click Next.
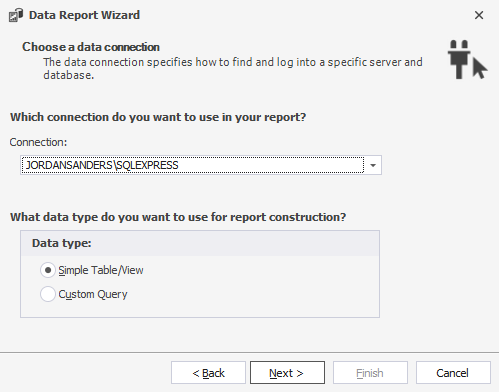
3. Select a connection, a Simple Table/View data type, and click Next.
4. On the Choose the table or view page, select the Product table and click Next.
5. On the Choose columns to display in your report page, select the columns to be added to the report and click Next.
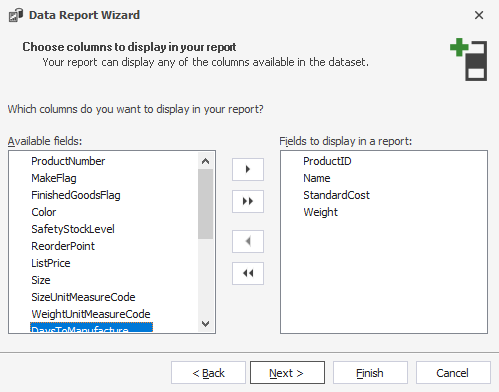
6. Click Finish to open a report template.
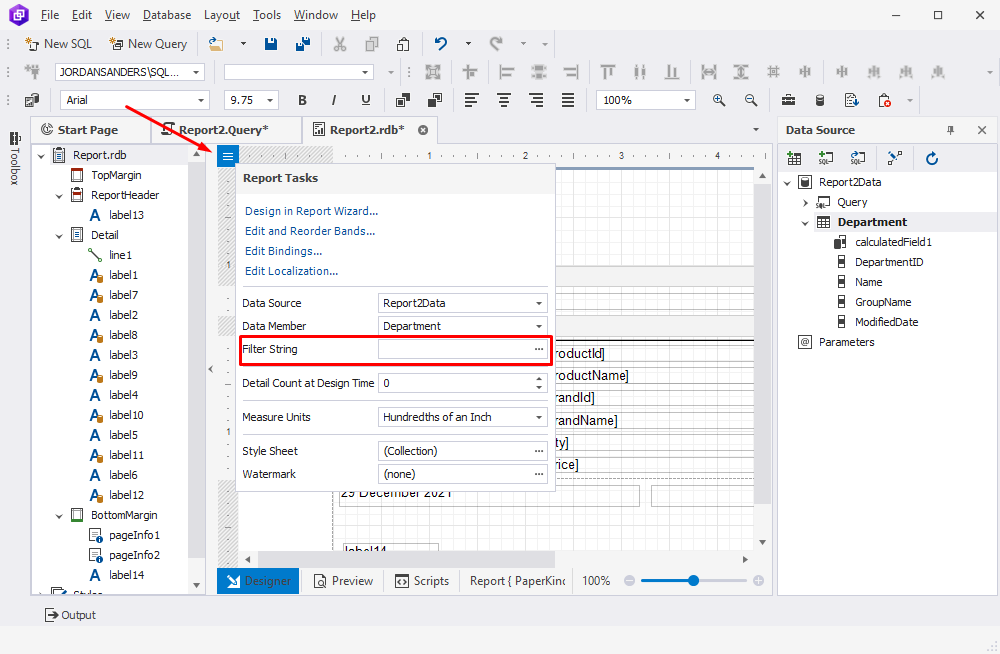
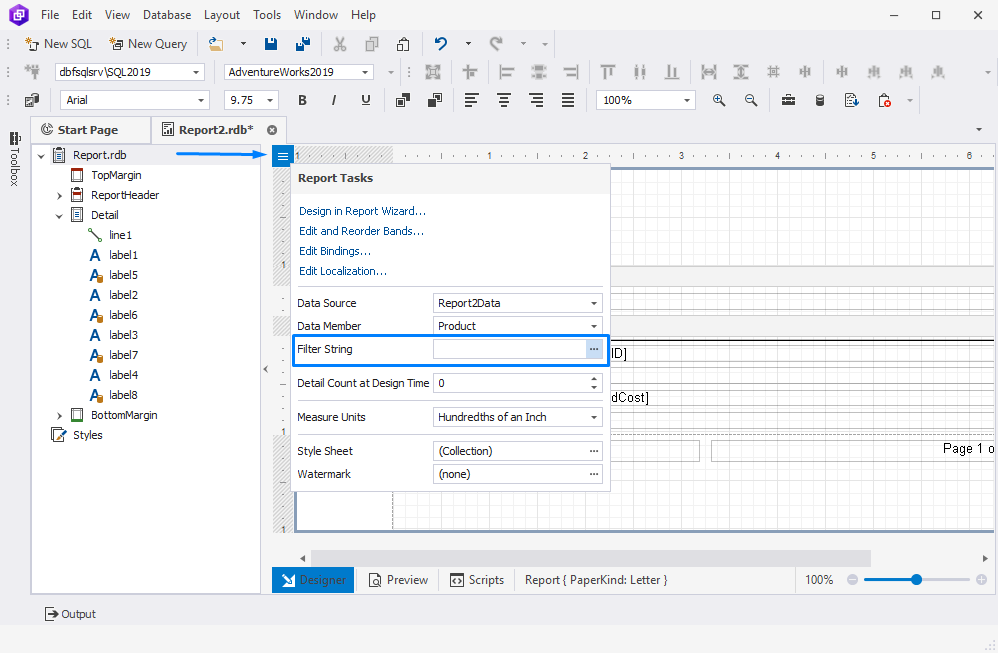
7. In the upper-left corner of Report Designer that opens, click ![]() Menu and then click
Menu and then click ![]() More Options next to the Filter String field.
More Options next to the Filter String field.
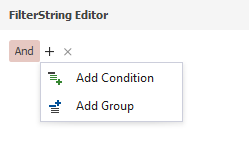
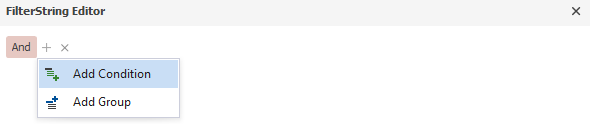
8. In the FilterString Editor that opens, click ![]() Add a new condition to this group next to the upper-level operator and select Add condition.
Add a new condition to this group next to the upper-level operator and select Add condition.
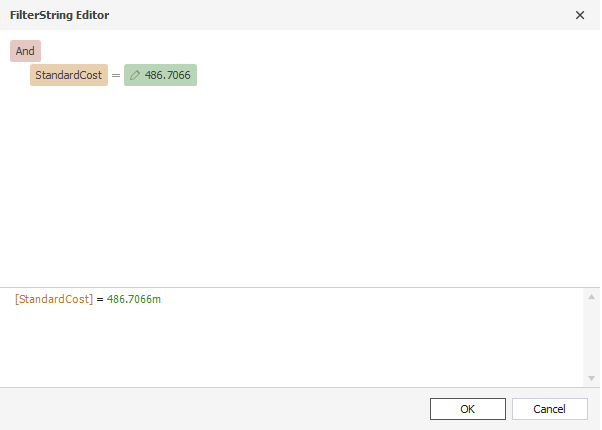
9. Specify the condition and then click OK:
- Select the StandardCost column from the dropdown list as an operand
- Set equals as a criteria operator
- Enter 486.7066 as a value.
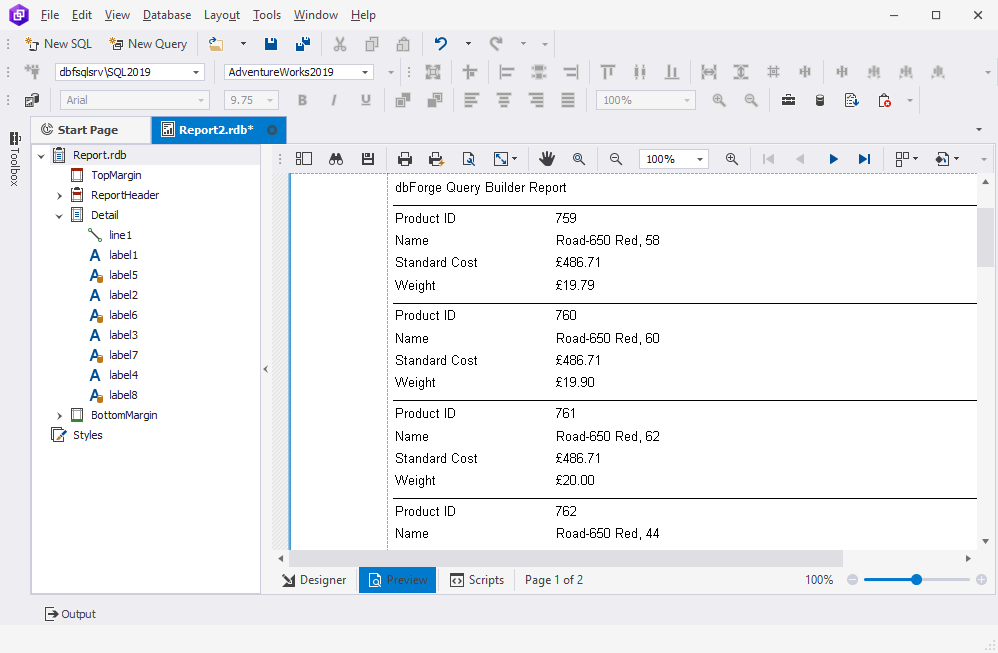
10. Switch to the Preview view to see the result.