Create custom pre- and post-execution scripts
After you have selected the options to manage synchronization script output and set synchronization options, you can create custom scripts that will be run before or after data synchronization.
To set additional scripts:
1. To open the data synchronization wizard, click  Synchronize objects to the target database.
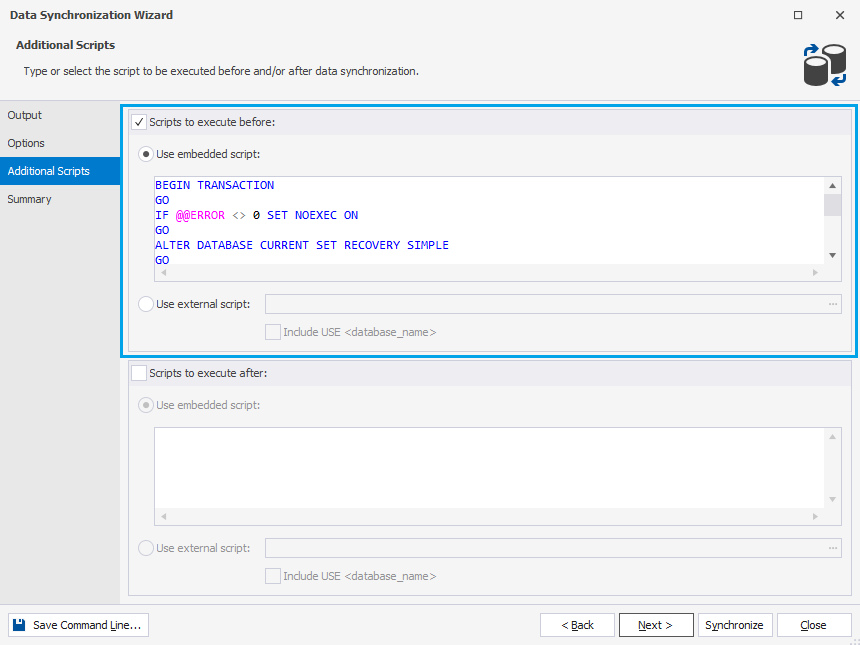
2. In the Data Synchronization Wizard that opens, switch to the Additional Scripts tab to add pre and/or post scripts.
3. To insert the script to be executed before data synchronization, select the Scripts to execute before check box and then select either of the following options:
- Use embedded script: Type a script you want to execute in the text field.
- Use external script: Click
 More options to specify the path to the file that stores the script. If you want to add the USE database_name clause, select the Include USE < database_name > option.
For example, you can run a script that will process transactions before synchronization.
4. To insert the script to be executed after data synchronization, select the Scripts to execute after check box and then select either of the following options:
- Use embedded script: Type a script, which you want to execute, in the text field.
- Use external script: Click More options to import the previously created script. If you want to add the USE database_name clause, select the Include USE < database_name > option.
Note
Optional: Switch to the Summary tab, verify the synchronization options, and then click Synchronize.
5. After you have configured the synchronization options, click Synchronize.
Note
Data Compare for SQL Server allows saving synchronization options as a .dcomp file for further use, for example for automating and/or scheduling database synchronization tasks.
To save the synchronization settings (the .dcomp file), you need to close the Data Synchronization wizard after configuring all the necessary options (prior to clicking Synchronize). Then, in the comparison results document, click the Save icon or press Ctrl+S.
If you save the .dcomp file before configuring the synchronization settings, it will contain the custom settings you configured in the Data Comparison wizard and the default synchronization settings.