Generate a database document
This topic describes how to configure and generate the database documentation file.
To generate a database document:
1. On the Tools menu, click New Documentation.
2. In the Database Documenter project that opens, click Add Connection.
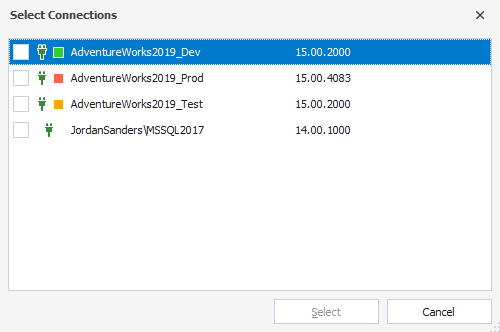
3. In the Select Connections dialog that opens, select one or several existing connections or create a new one, and click Select.
4. Optional: Select a style for the document in the Style drop-down list box. By default, the Default style is used.
5. In the Structure pane, select Cover Page to set up the cover page of the generated document.
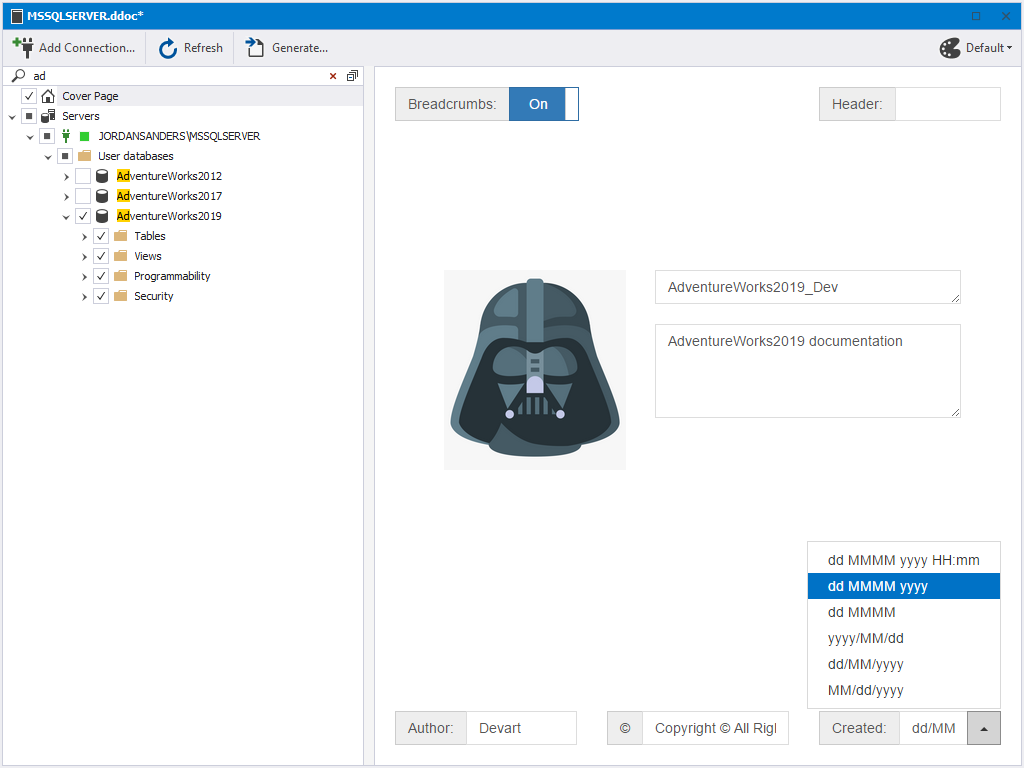
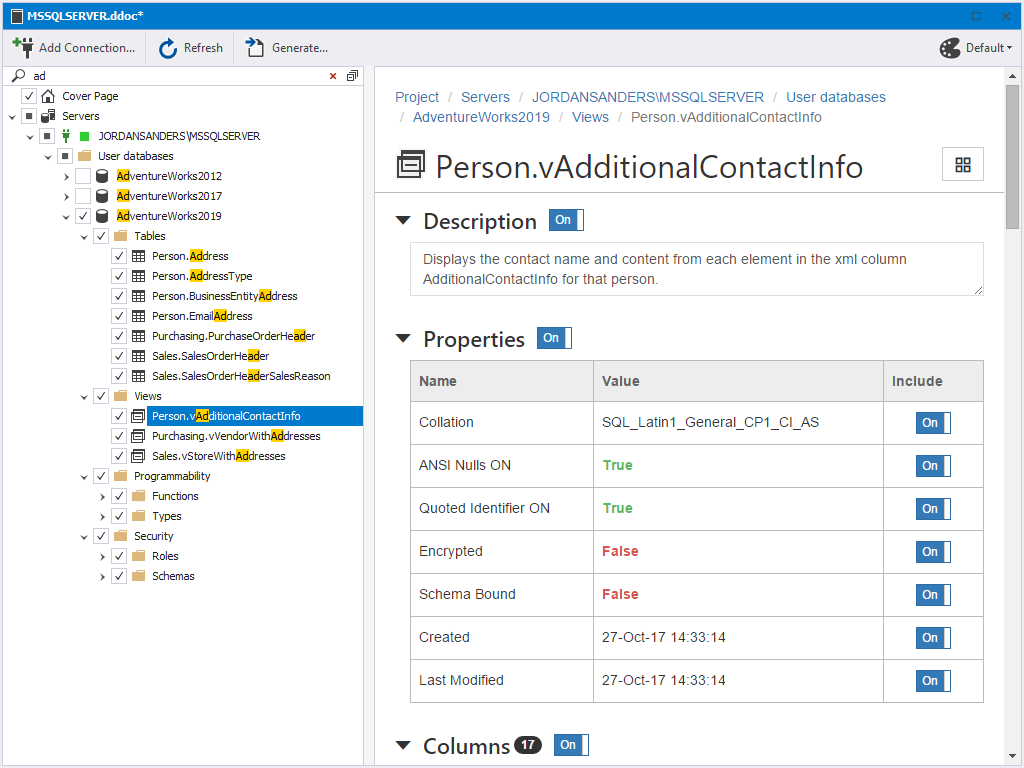
6. In the Structure pane, select databases, object groups, and database objects for documenting.
7. Optional: Configure documentation by including/excluding sections and properties of documented databases and database objects at the following levels:
- Servers level
- Server level
- Databases level
- Database level
- Objects group level
- Database object level
Tip: You can save the project file at any time and then re-use it. For this, click Save on the main toolbar. The project file will have the .ddoc extension. To load the saved file, click Open File on the Start Page, or just click its name in Recent Projects.
8. To start generating the document, click Generate.

9. In the Generate Documentation dialog that opens, select the format and directory for the document file.
10. Click Generate.
Download dbForge Studio for SQL Server and try it absolutely free for 30 days!