Build CI/CD pipelines in Azure DevOps
dbForge DevOps Automation for SQL Server is a solution designed for the management and deployment of changes to a SQL Server database. With dbForge DevOps Automation for SQL Server, you can automate the deployment of database changes and build a full-cycle database CI/CD pipeline using any continuous integration or continuous deployment server that supports running PowerShell. To simplify setup, dbForge DevOps Automation includes plugins for Azure DevOps automation servers.
dbForge DevOps Automation comes as part of the SQL Tools suite and is used in conjunction with dbForge Studio and other dbForge tools, such as Unit Test, Data Generator, Data and Schema Compare, etc. dbForge DevOps Automation allows organizing a comprehensive continuous delivery pipeline for your database.
The guide provides step-by-step procedures to create a sample Azure Pipeline application using the dbForge DevOps Automation Azure DevOps plugin for SQL Server.
Integrate dbForge Studio in the Azure DevOps pipeline
- Configure the Azure DevOps agent service to operate under the user who installed and activated dbForge Studio.
- Grant this user the necessary access permissions to the SQL servers involved in the continuous integration (CI) process.
Build a CI/CD pipeline in Azure DevOps
dbForge DevOps Automation Azure DevOps plugin for SQL Server provides all the necessary features to configure the Continuous Integration process and allows you to create a database on the server, test it, and deploy an artifact object.
Sample project
Download a sample project, DemoProject.zip, to use it in the pipeline.
Prepare the environment
- Download and install dbForge DevOps Automation for SQL Server.
- Download and install dbForge Studio on the computer that will act as a build agent.
- Sign in or create a GitHub account where you can upload the sample project to the repository to start working with it.
- Sign in or create an account at Azure DevOps.
- Install the dbForge extension.
- Create a database on the server. dbForge DevOps Automation doesn’t create a new database when deploying from the scripts folder. The database can be empty at this stage.
Upload a sample project to GitHub
Before creating a database CI pipeline, download the sample project and upload it to GitHub, keeping the file and folder structure unchanged.
The folder structure of the project may be as follows:
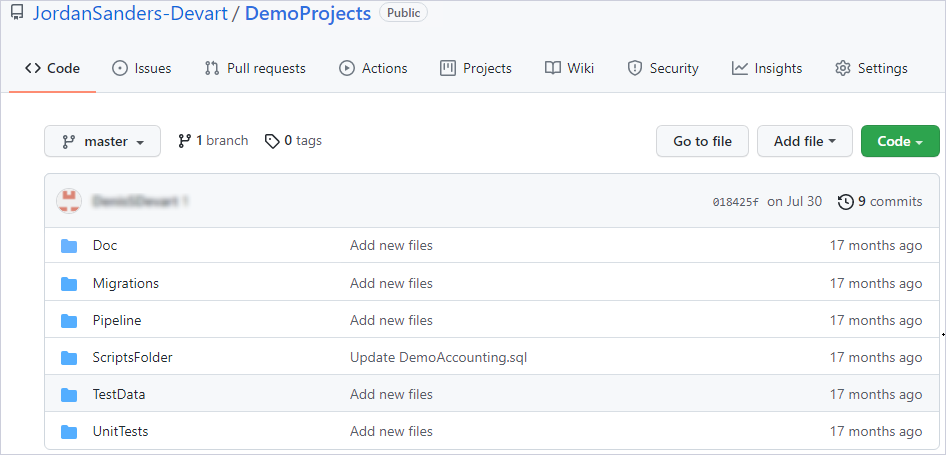
The table provides the contents of each folder.
| Folder | Description |
|---|---|
| Doc | Specifies a .ddoc file to document a database. |
| Migrations | Specifies .sql files containing migration scripts to update a database. |
| ScriptsFolder | Specifies the scripts folder of a database. |
| TestData | Specifies the DemoAccounting.dgen project file to populate the database with sample data. |
| UnitTests | Specifies .sql files containing SQL unit tests. Scripts in files can be represented by test classes and unit tests. |
Create a database CI pipeline with the dbForge extension
Upon installing the extension, you can create a Continuous Integration pipeline based on it.
To create a database CI pipeline with the dbForge extension:
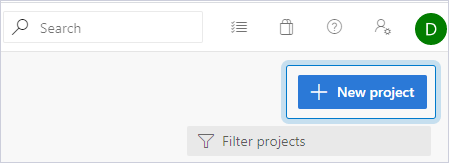
1. Create a new project.
2. Enter the project name, for example, CI Project.
3. Navigate to the Pipelines section and select Create Pipeline.
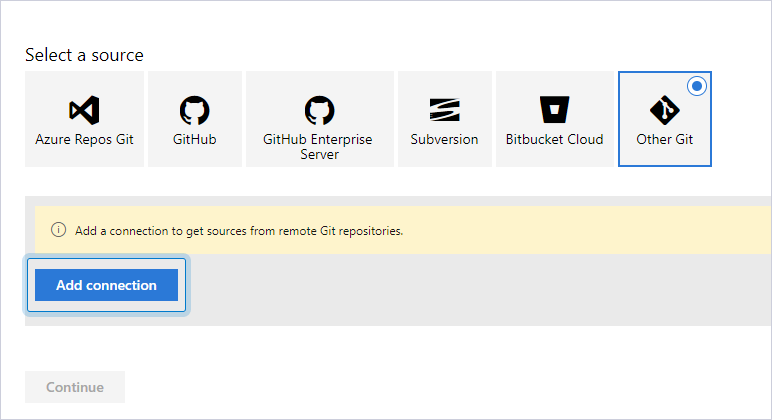
4. Select the source repository for your project (you will get the database source code from it) and enter credentials.
In our example, select Other Git.
5. Click Add connection.
6. Specify the connection details.

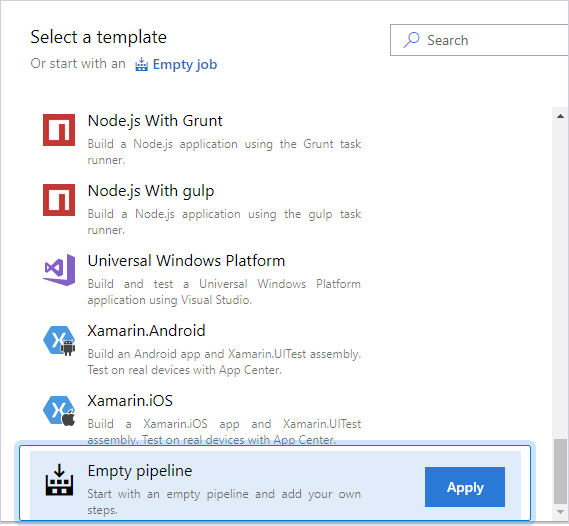
7. In the Select a template dialog, select Empty pipeline.
8. Under Agent pool, select Default.
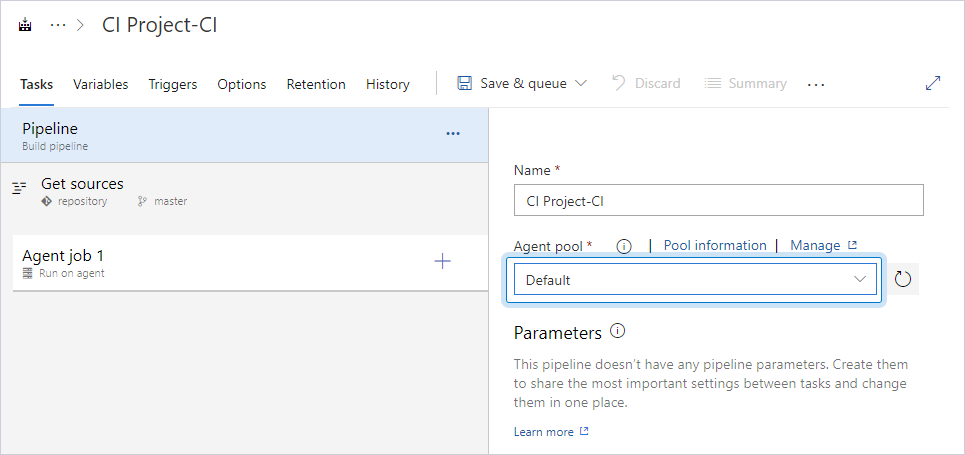
The empty pipeline is created. Now you need to add dbForge tasks to it.
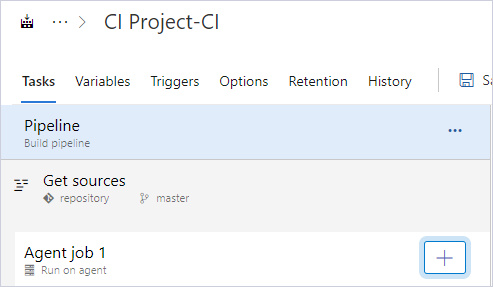
9. To add dbForge tasks, click Add a task to Agent job.
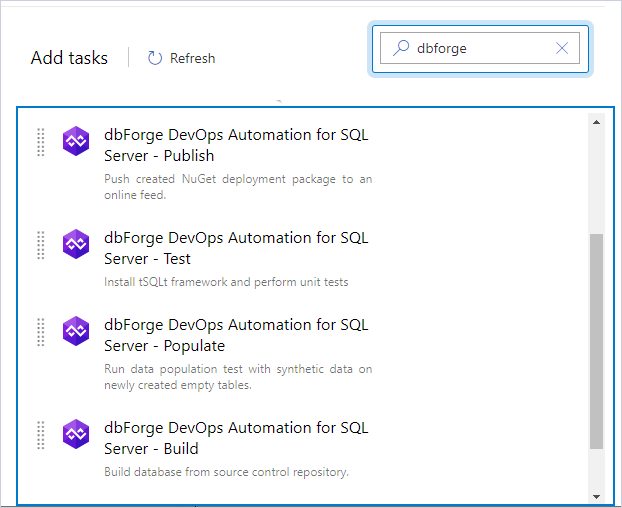
10. In the search box, enter the extension name, for example, dbforge.
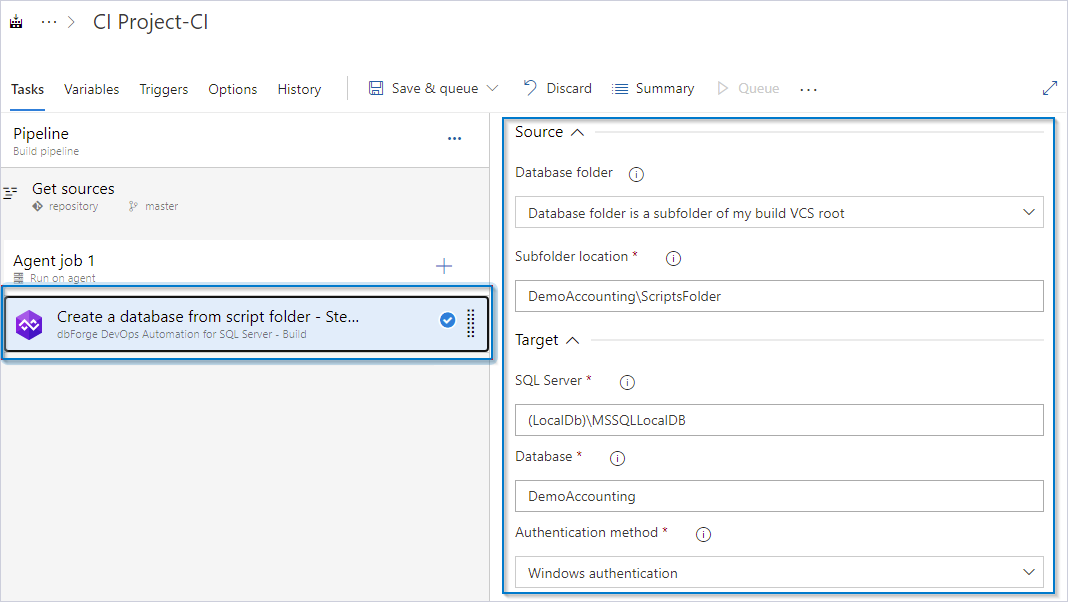
Create the Build task
To create the Build task, add and configure dbForge DevOps Automation for SQL Server – Build.
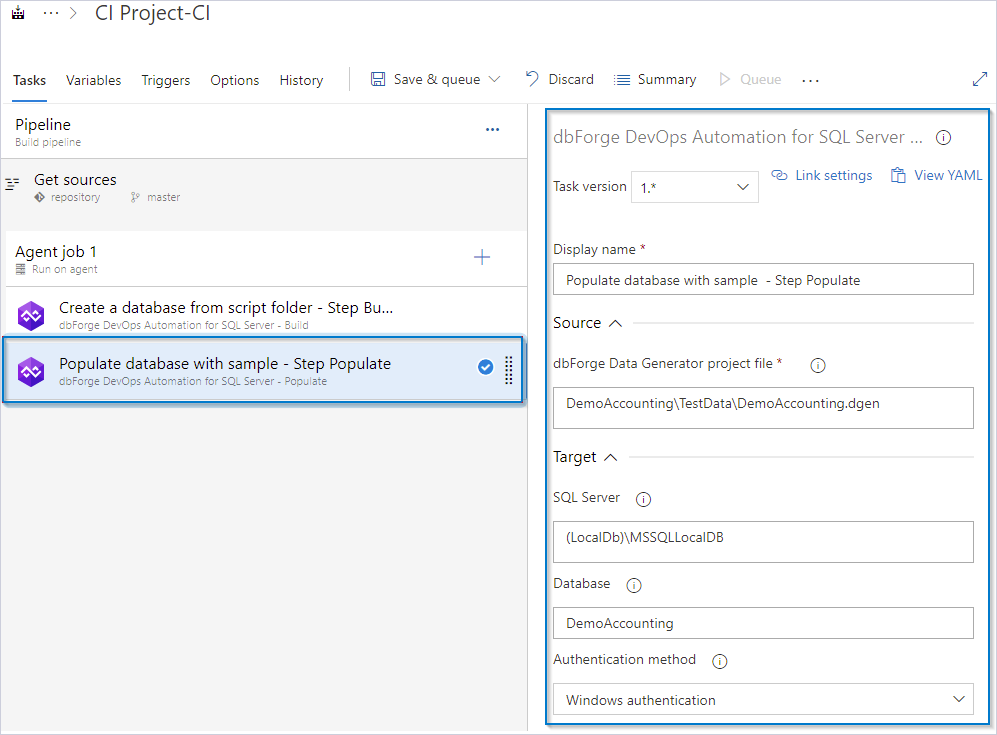
Create the Populate task
To create the Populate task, add and configure dbForge DevOps Automation for SQL Server – Populate.
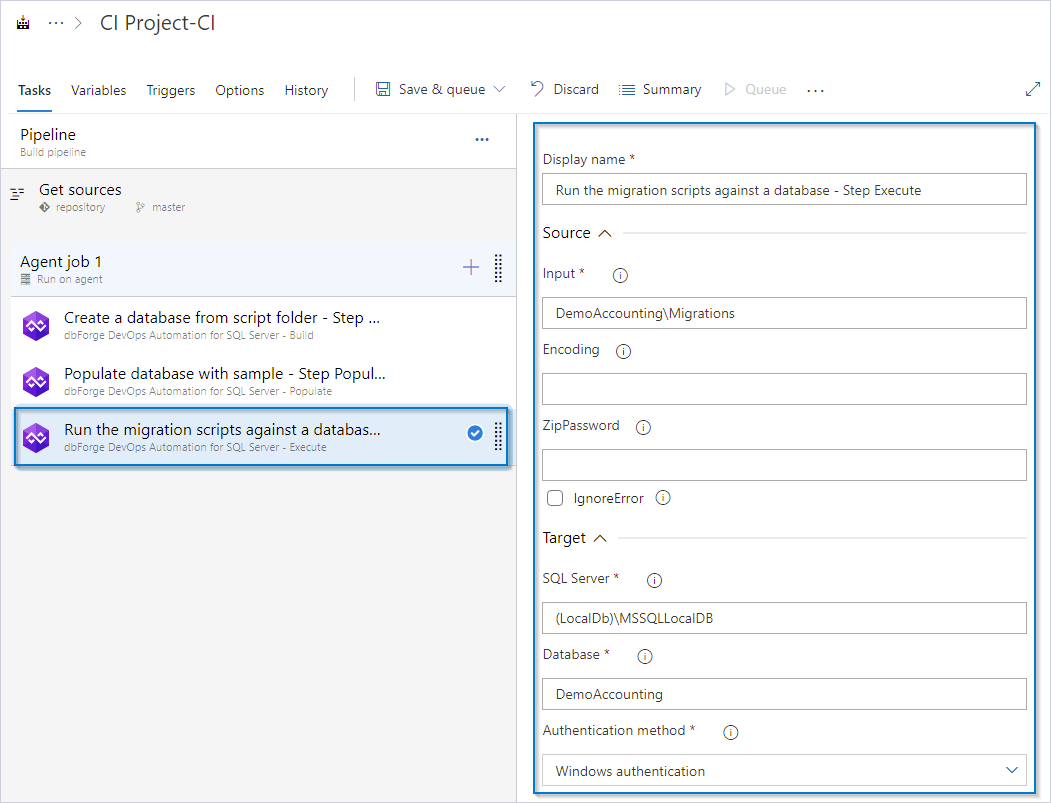
Create the Run the migration scripts task
When you want to update the database with migration scripts, use the Execute task.
To create the Execute task, add and configure dbForge DevOps Automation for SQL Server – Execute.
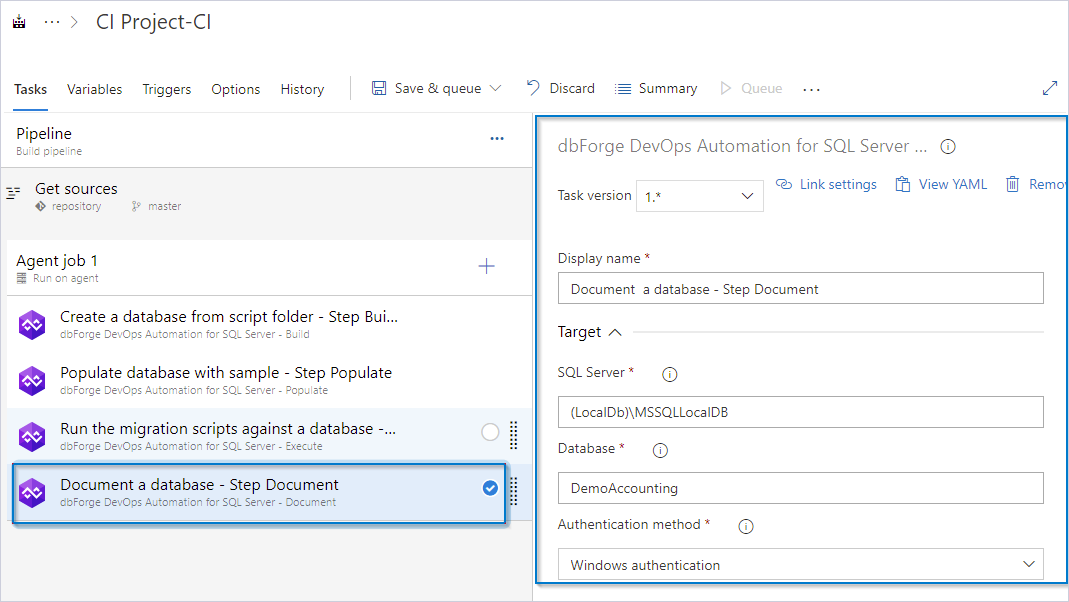
Create the Document task
To create the Document task, add and configure dbForge DevOps Automation for SQL Server – Document.
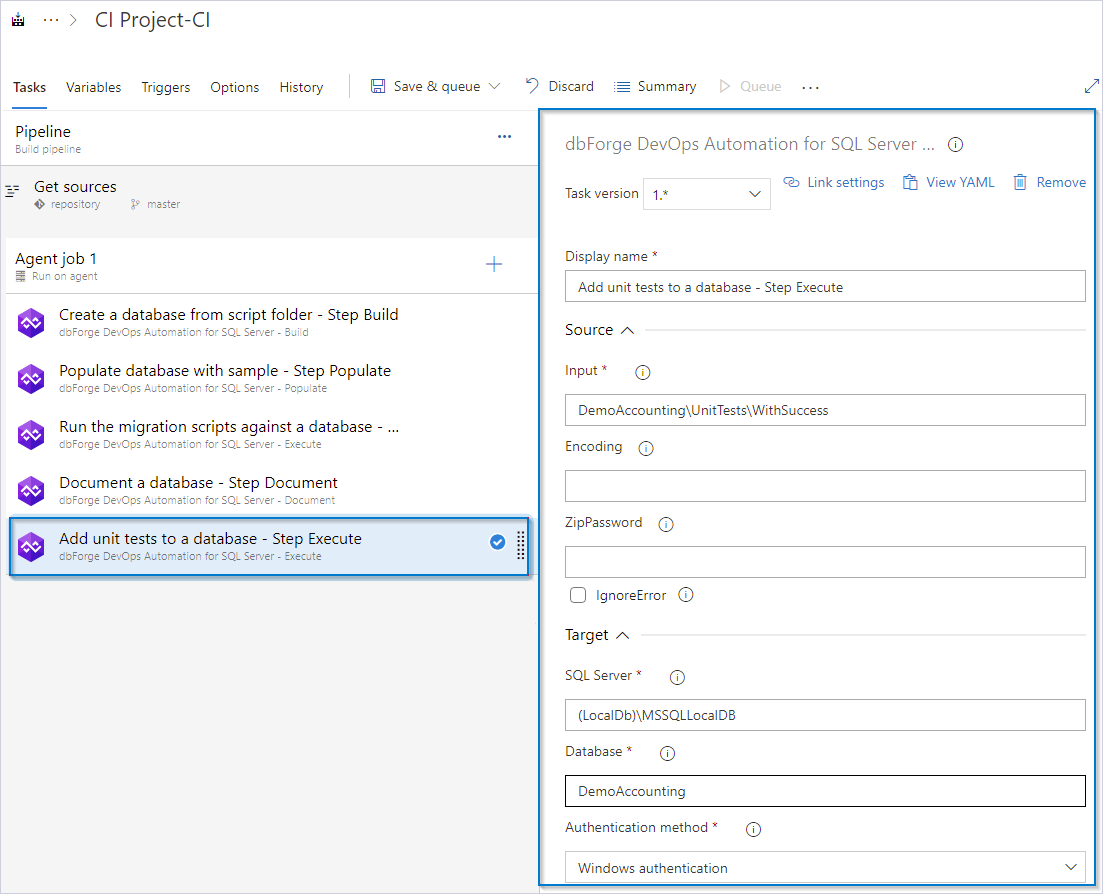
Create the Add unit tests to a database task
Before running unit tests, add them to the database. Unit tests comprise conventional SQL scripts; they are stored separately from the database.
To add unit tests to a database, use the Execute task.
To create the Execute task, add and configure the dbForge DevOps Automation for SQL Server – Execute.
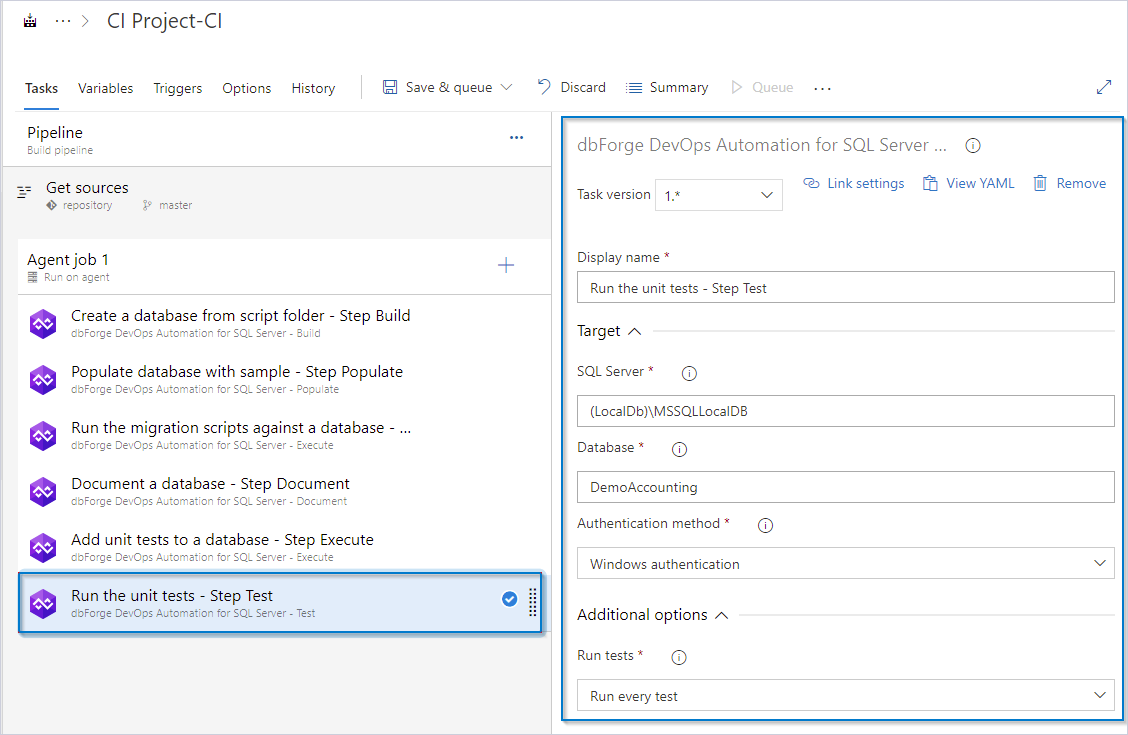
Create the Test task
To create the Test task, add and configure dbForge DevOps Automation for SQL Server – Test.
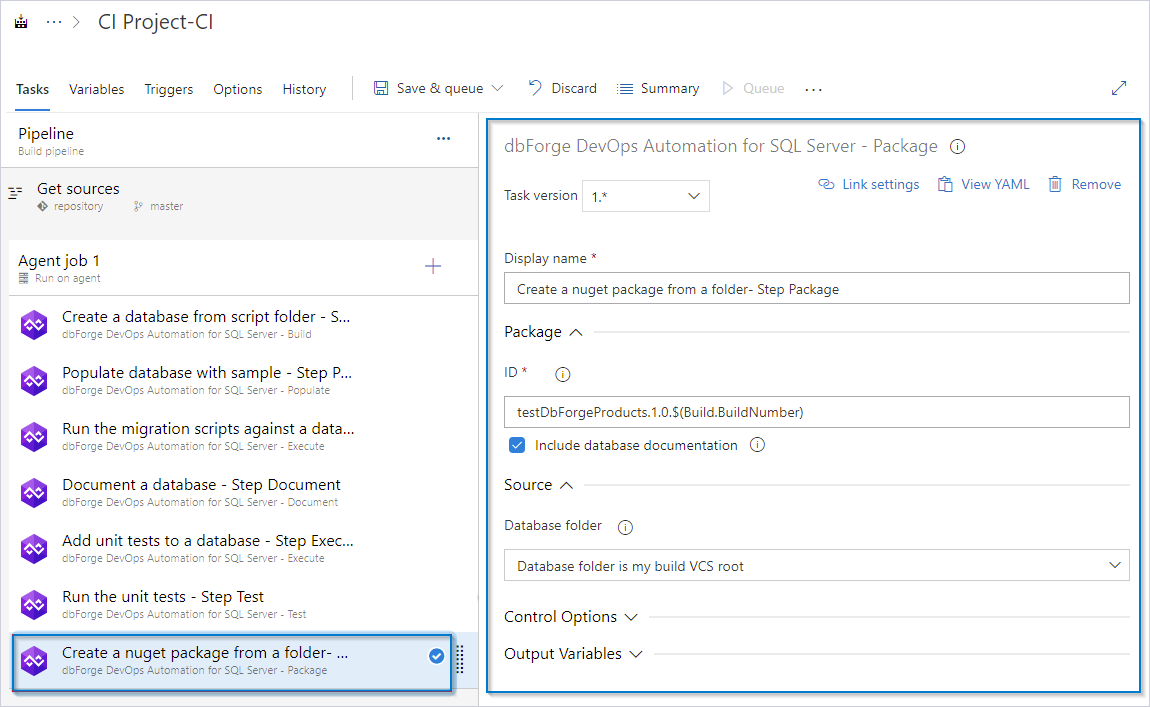
Create the Package task
After creating the database and testing it with unit tests, you need to package the scripts folder and publish it on a local server or a NuGet Server.
To create the Package task, add and configure dbForge DevOps Automation for SQL Server – Package that will pack your scripts folder into a package.
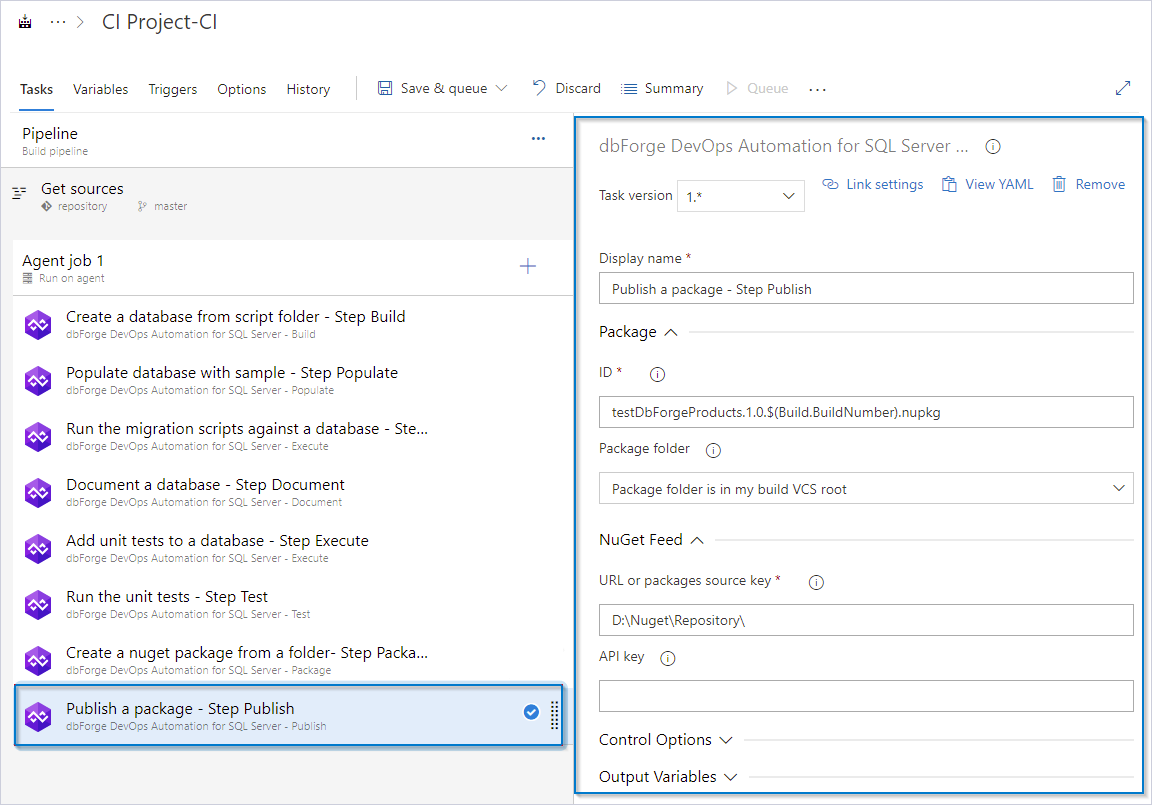
Create the Publish task
To create the Publish task, add and configure dbForge DevOps Automation for SQL Server – Publish.
Create the Sync task
To create the Sync task, add and configure dbForge DevOps Automation for SQL Server – Sync that you can additionally use for more advanced DevOps scenarios.
Details
In the Build and Package tasks, the ScriptsFolder folder is used. This folder contains the database creation scripts. In the Execute task, the UnitTests folder is used. This folder contains the unit tests, which are stored as SQL scripts.
At the beginning of the process, a connection to the GitHub repository is established. The ScriptsFolder and UnitTests folders, along with their contents, are retrieved from the repository.
The structure of our repository is as follows:
\---AzureDevops
    +---ScriptsFolder
    |   ...
    +---UnitTests
        ...
Each time the pipeline starts, it retrieves the latest content from the remote repository and copies it to the working folder of the Azure DevOps agent. The agent working folder serves as the root directory. The ScriptsFolder and UnitTests folders are placed under this root.
The full path to the working folder resembles the following example. The path may vary depending on the agent configuration settings, including the installation path and the name of the working folder defined during setup:
C:.
+---vstsAgent
      |
      +--_work
          |
          +---a
          +---b
          +---s
              +---ScriptsFolder
              \---UnitTests
The folder structure for your CI process can vary depending on the database development model (state-based or migration scripts). Your repository may include:
- A separate folder with a scripts folder or one or more folders with migration scripts.
- A folder with one or more data generation project files.
- One or more folders that contain unit tests.
You can configure one or multiple pipelines to:
- Create the database.
- Run specific unit tests.
- Populate the database with different sets of test data.
Video tutorials
Watch our video tutorial to find out more about how to organize the DevOps process in Azure DevOps.
Additionally, watch these videos to learn how the dbForge products can be involved in the Continuous Integration process.
- How to import data to SQL Server database with dbForge Data Pump during the DevOps process
- Creating database documentation during the Continuous Integration workflow
- How to automate database schema changes for the CI process during database deployment
- dbForge Source Control in the DevOps pipeline
- Unit Testing for SQL Server Database in DevOps process