The Populate task
Synopsis
Populates the database with test data.
Description
The Populate task populates a database with data after it has been created or updated. This task can be useful in scenarios where you need to seed a database with test data or set up initial data for an application.
Create the Populate task
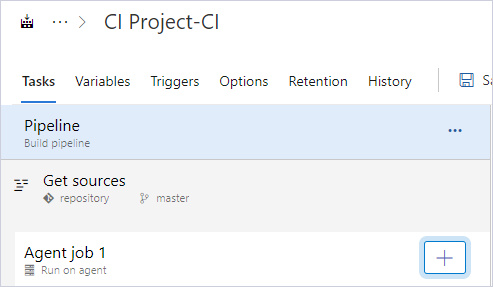
1. Click Add a task to Agent job.
2. In the search box, enter the extension name, for example, dbforge.
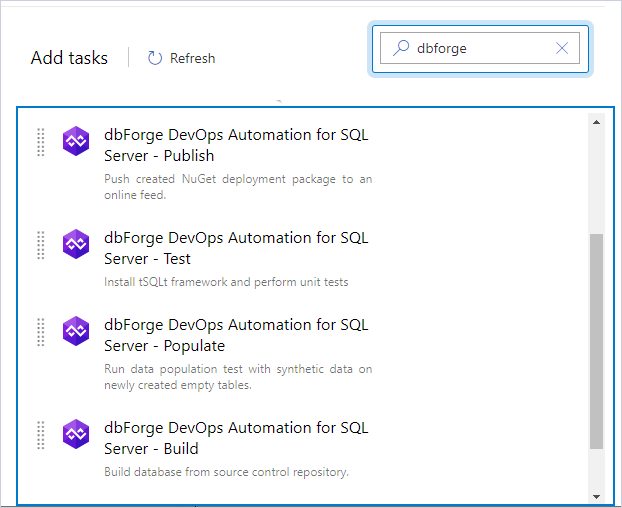
3. Select dbForge DevOps Automation for SQL Server – Populate and click Add.
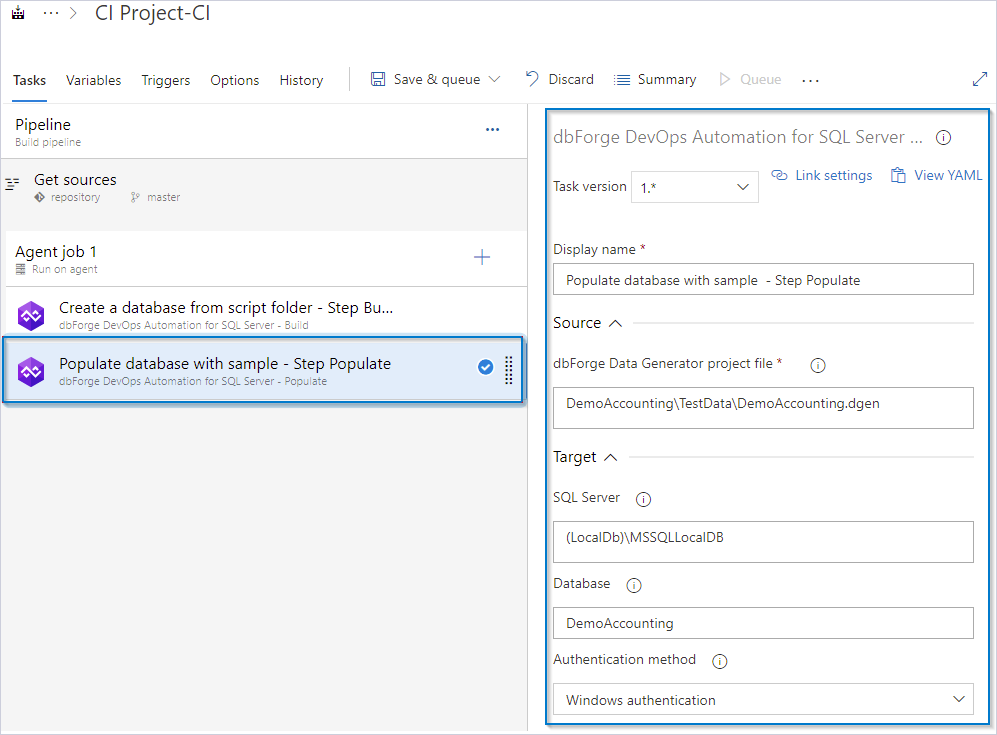
4. Specify the full path to the data generation project (.dgen).
Note
To use the connection different from that indicated in the data generation project, enter the server name, database name, and parameters for this connection.
5. To verify the settings, click Save & queue.
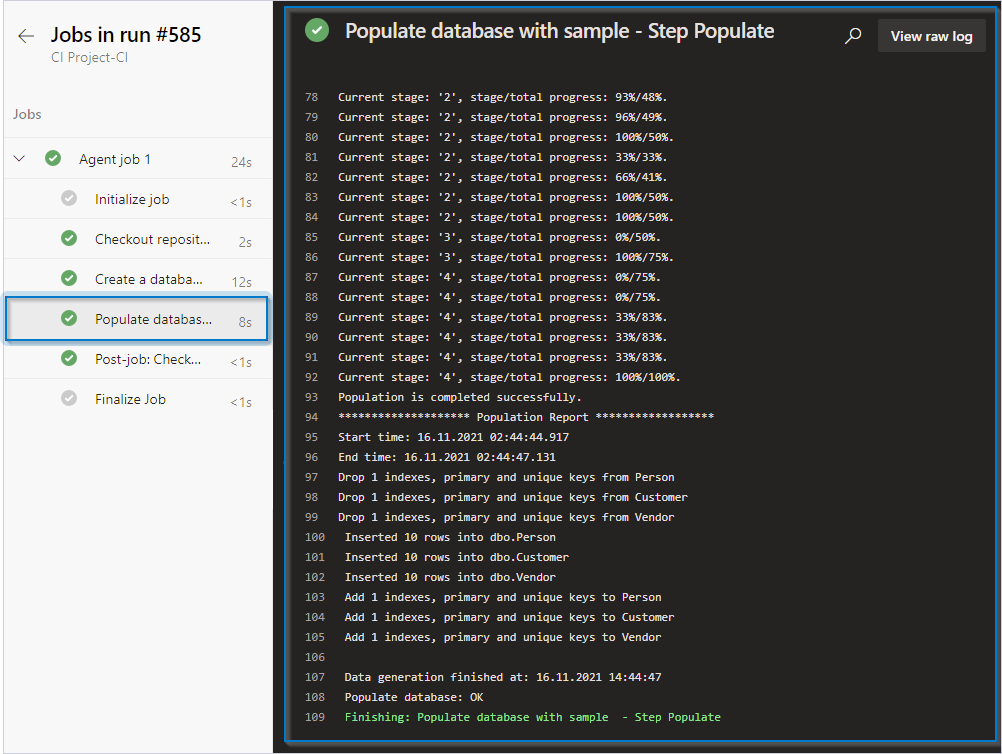
6. Open the pipeline execution log to verify the configuration.
Customization options
The table provides a list of options you can customize for the Populate task.
| Name | Description |
|---|---|
| dbForge Data Generator project file | Enter the full path to the data generation project file (.dgen). |
| SQL Server | Enter the target database server, for example, SERVERNAME\INSTANCENAME. For a local default instance, use (local). |
| Database | Enter the target database name. |
| Authentication method | Select the authentication method. |
| User Name | Enter the login name you want to use for the SQL Server authentication. |
| Password | Enter the password you want to use for SQL Server authentication. |
Control options
The table provides a list of options you can configure for the Populate task.
| Name | Description |
|---|---|
| Enabled | Select to turn on the task in your pipeline. If the task is turned off, it will be skipped during the pipeline execution. |
| Continue on error | Select to continue the pipeline running even if this task fails. |
| Number of retries if task failed | Specify the number of retries for this task that will happen in case of task failure. Note: This requires agent version 2.194.0 or later. Not supported for agentless tasks. |
| Timeout | Specify the maximum time, in minutes, that a task is allowed to execute before being canceled by server. A zero value indicates an infinite timeout. |
| Run this task | Specify when this task should run. Select Custom conditions to specify more complex conditions. The available options are:
|
Output variables
The table provides output variables you can configure for the Populate task.
| Name | Description |
|---|---|
| Reference name | Any changes to the reference name will require updates to downstream tasks that use this reference name, a valid reference name can only contain a-z, A-Z, 0-9 and _. |