Adding Revisions for Review
When creating a new review, a revision or a range of revisions must be added. It will be also required if you rework the code and want to issue a re-review.
Selecting Code for a New Review
To add revisions to a new review:
-
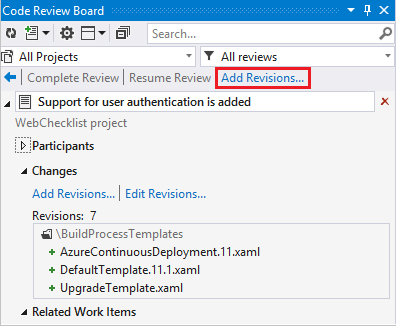
Click Add Revisions. In case the current project contains more than one repository, first you will need to select a repository, from where to add files.
-
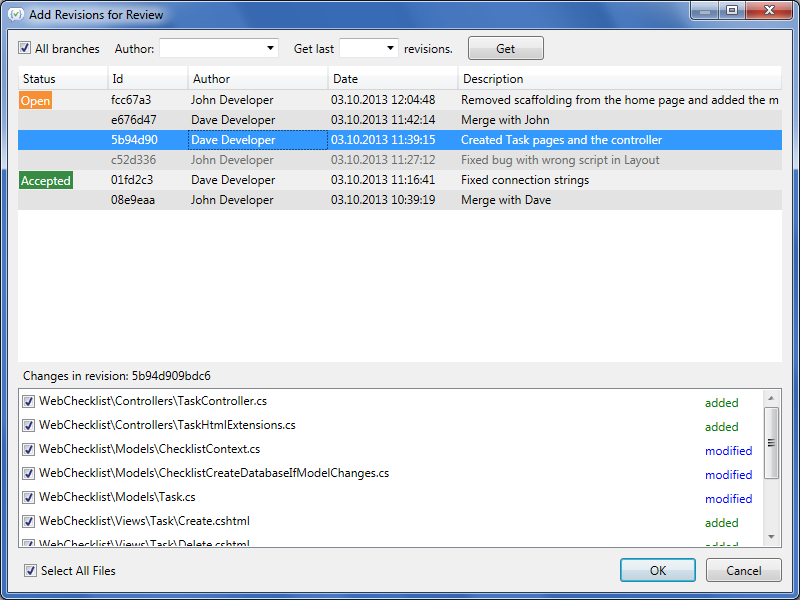
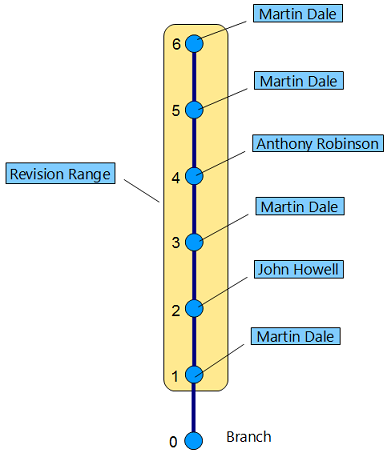
Select a revision you want to add. For a range of revisions, hold down the Ctrl (or Shift) key and click to select required revisions only.
Note:
Upon adding multiple revisions to a review, all related authors are added to the review automatically. The list of authors may be then edited manually.
-
Click OK.
Note:
If one revision is added to several reviews that have different statuses, only the most critical review status will be displayed as the revision status. For example, if a revision is added to the Open and Rejected reviews, the revision status will be Rejected.
-
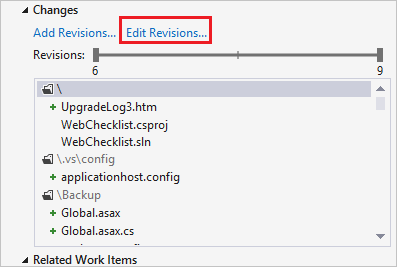
Optionally, you can select specific files to be added to a review. For this, click Edit Revisions.
-
In the opened window, clear the Select All Files check-box. Now, you can select files to add individually.
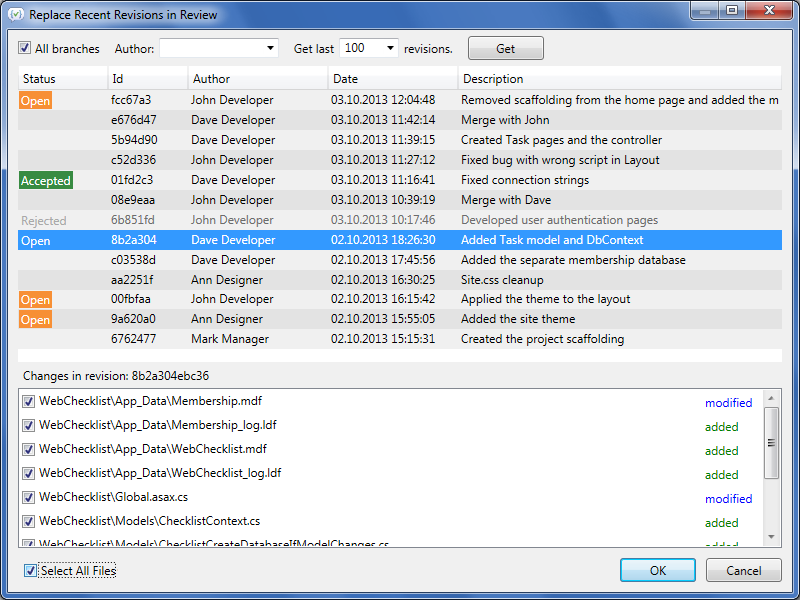
The Add Revisions and Edit Revisions options open the same dialog box, but when you click Add Revisions, you see only later revisions (added after those included in the review).
Note:
A comment that is attached to the first revision from the selected range will be transformed into the review title (if empty). Comments from other revisions will be transformed into the review description.
Selecting Revisions of Specific Author
Developers who work on different functionality within the same project make commits to a repository randomly.
You can use the Author drop-down list to filter the revisions list by a specific author, and to add their revisions to a review. Optionally, you can hold down the Ctrl (or Shift) key and click to select required revisions only.
Work with different types of repositories has its own peculiarities while selecting revisions for a review:
- Working with a TFS repository, you can select the Shelvesets check box, this will allow you to implement a pre-commit review.
- Working with a Git repository, the Choose Revisions for Review window shows all the revisions by default. You can unselect All branches to see revisions in your currently selected branch.
- Working with a Mercurial repository, you can filter revisions in a list according to selected branch.
How to Add Code from More Than One Repository
It is the common practice when the project’s source code stored in various repositories. Starting from Review Assistant 2.0 there is an option to add files to a review from different repositories.
In case your current project contains more than one repository:
-
Click Start New Review on the Code Review Board window.
-
Click Add Revisions.
-
Select a required repository from the list.
-
Select a required revision or a revision range. Optionally, you can select specific files to be added to a review.
-
Click Add Revisions again, and select another repository from the list.
-
Select required revisions or files from it.
-
Add additional information to a review (Title, Code Author, Reviewers, Description).
-
Click Create.