Install Oracle Database Gateway for ODBC
The Oracle Database Gateway for ODBC enables Oracle client applications to access non-Oracle data stored in databases that support a compatible Windows ODBC driver. Although the data remains in its native storage, it appears to Oracle applications as if it resides in a single, local Oracle database.
This section explains how to install the Oracle Database Gateway, which can then be integrated with the ODBC Driver for Salesforce to access different kinds of data sources, including Salesforce data.
Tip
Starting with Oracle 11g, Oracle Database Gateway is included in the Oracle software package. You can also download it from the Oracle website.
1. Navigate to the folder containing the gateway installation package, then double-click the setup.exe file.
The Oracle Database Gateway Installer wizard opens.
2. On the Specify Oracle Home User page, select the Windows account to use, enter the account credentials if needed, then click Next.

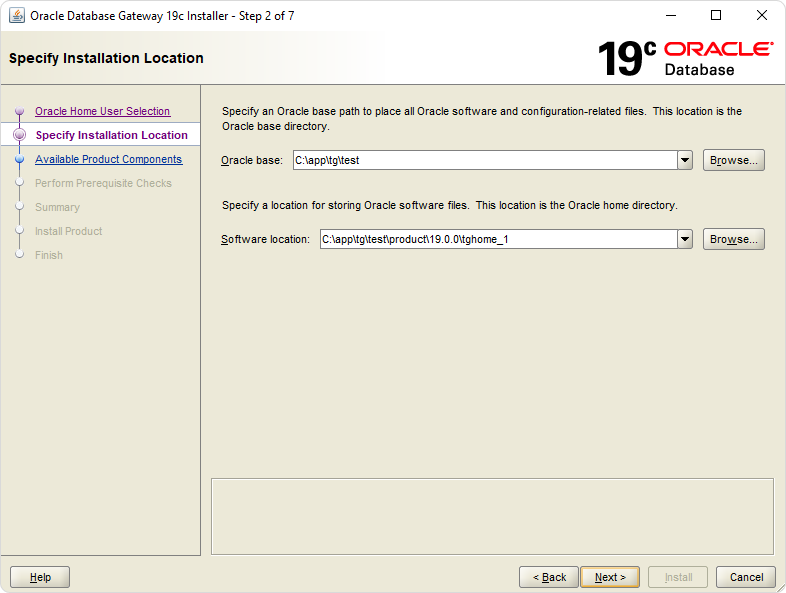
3. On the Specify Installation Location page, specify the path to Oracle base and the Software location, then click Next.
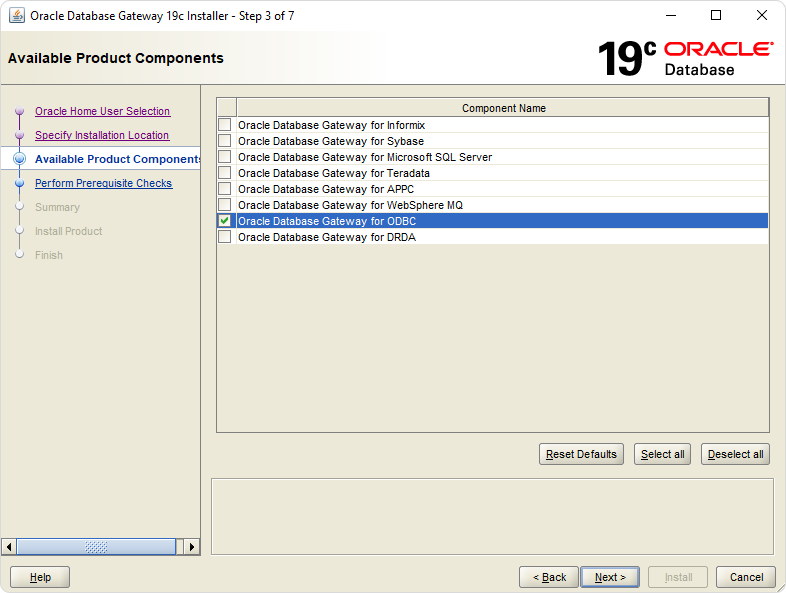
4. On the Available Product Components page, select Oracle Database Gateway for ODBC, then click Next.
5. On the Perform Prerequisite Checks page, click Next.
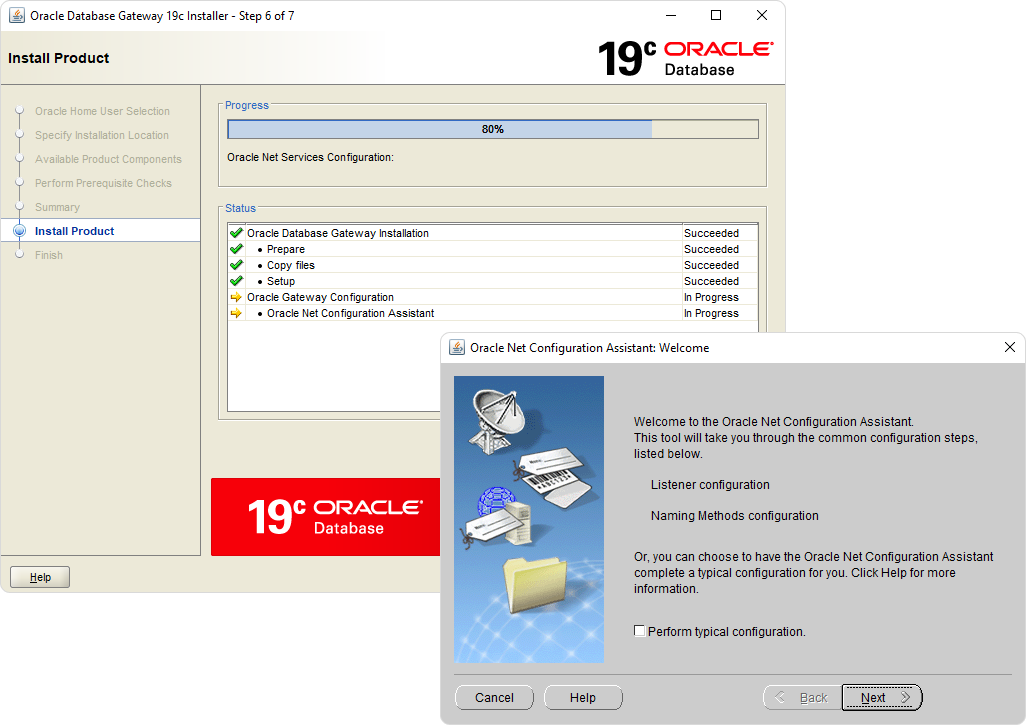
6. On the Summary page, click Install.
During the installation, the Oracle Net Configuration Assistant wizard appears.
7. On the Welcome page, click Next.
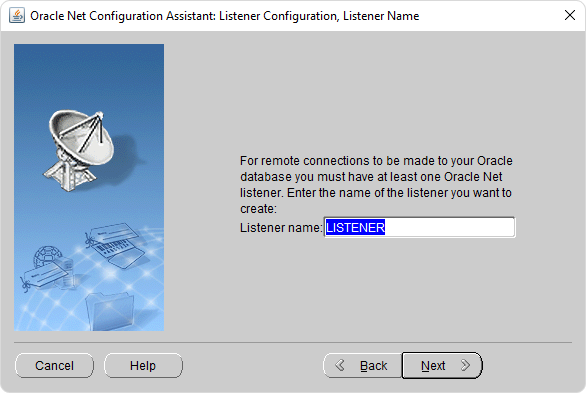
8. On the Listener Configuration, Listener Name page, leave the default LISTENER name, then click Next.
Optional: Enter a different listener name if needed.
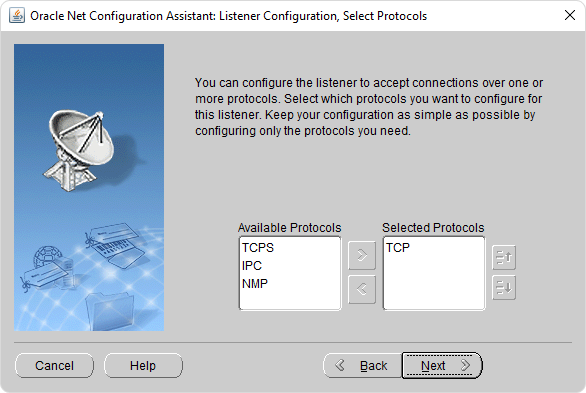
9. On the Listener Configuration, Select Protocols page, leave the default settings, then click Next.
Optional: Use the arrow icons to select the desired protocol.
10. On the Listener Configuration, TCP/IP Protocol page, leave the default port, then click Next.
11. On the Listener Configuration, More Listeners page, leave the default setting No, then click Next.
12. On the Naming Methods Configuration page, leave the default setting No or select Yes to configure the necessary settings, then click Next.
13. On the Done page, click Finish.
14. In the Oracle Database Gateway Installer wizard, click Close.
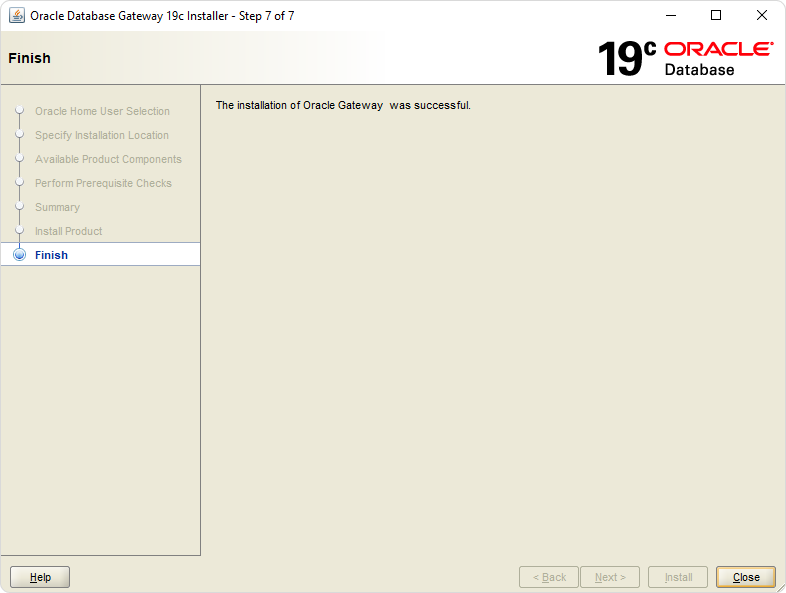
Oracle Database Gateway for ODBC has been successfully installed on your computer.