Connect Apache LibreOffice to Salesforce
In this topic, you can find a step-by-step guide on how to connect to an ODBC database in LibreOffice. Additionally, you’ll learn how to efficiently retrieve and display data from tables in the system.
Prerequisites
- Download and install LibreOffice.
- Download and install Devart ODBC Driver for Salesforce.
- Create a DSN for Windows/macOS/Linux.
Import Salesforce data into LibreOffice
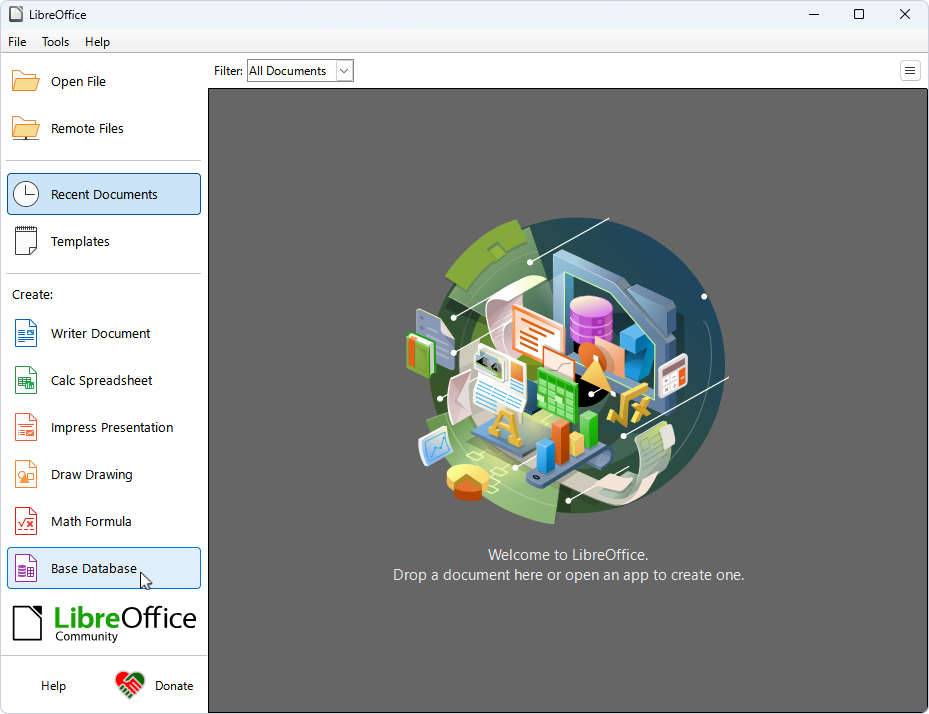
1. Click Base Database to open the Database Wizard.
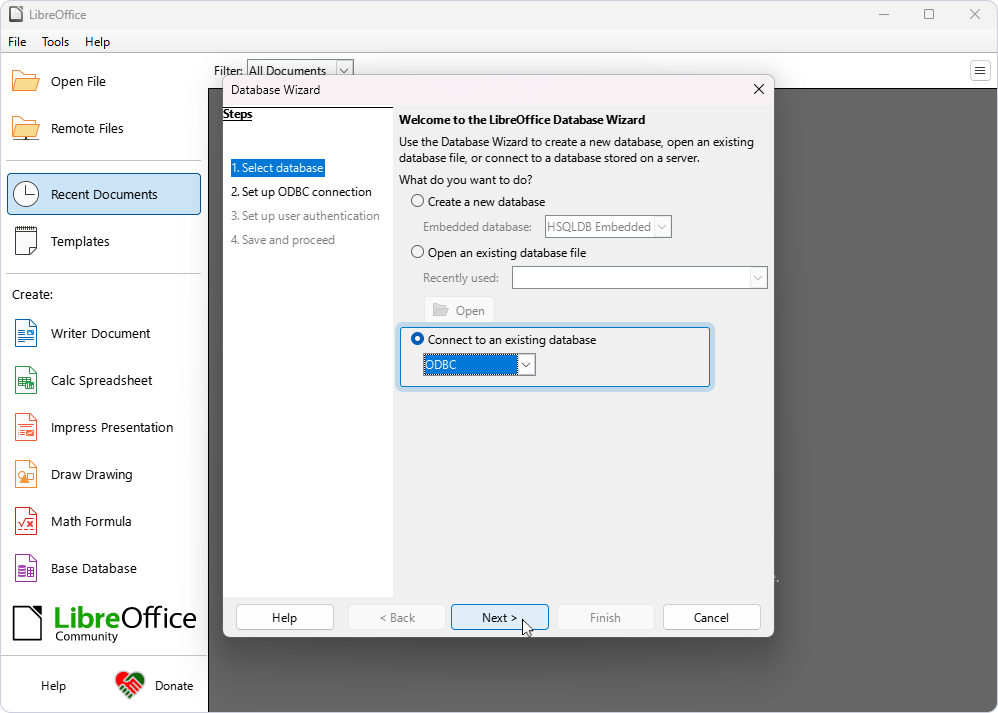
2. Under Connect to an existing database, select ODBC, then click Next.
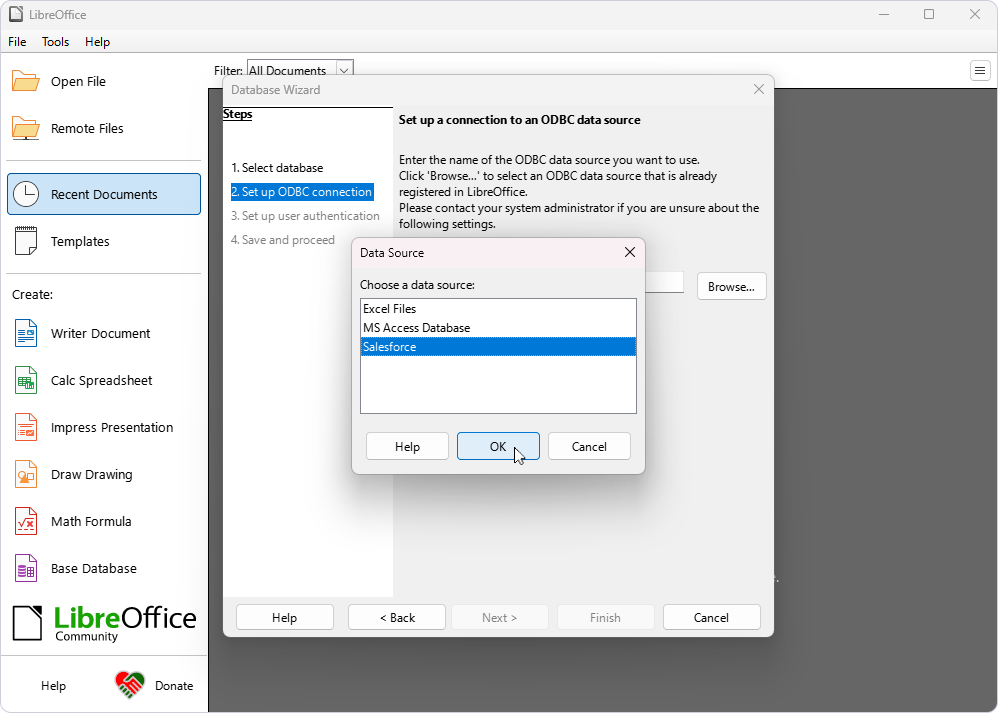
3. Click Browse, select your DSN, then click OK.
4. Click Next.
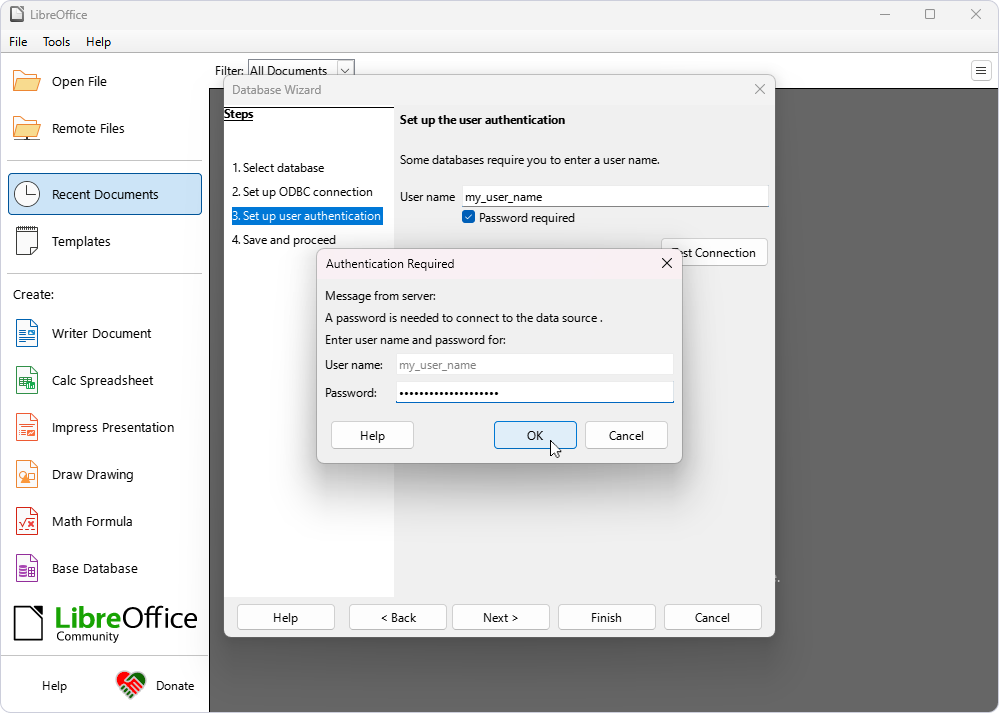
5. Optional: If you didn’t save your Salesforce credentials during the DSN setup, enter your username in the User name field and select Password required.
6. To verify the connection, click Test Connection, enter your password, and click OK.
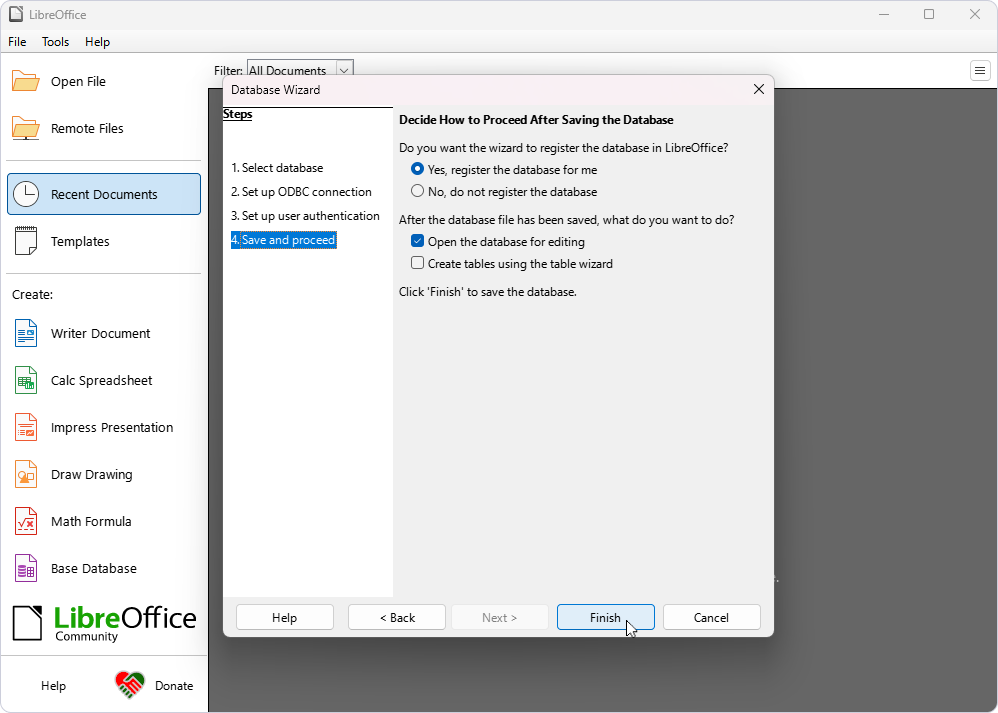
7. To proceed to the final step, click Next. Leave the set options as default. To complete the process, click Finish.
8. Enter a name for the database and specify the save path on your computer.
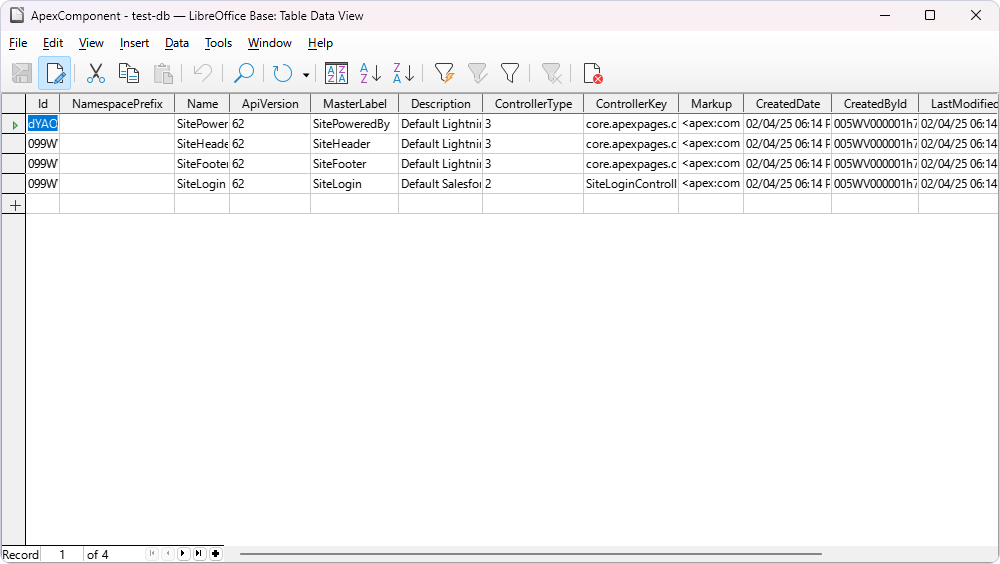
When the database opens, a list of available Salesforce tables is displayed.

9. Optional: Double-click the table to view its contents.
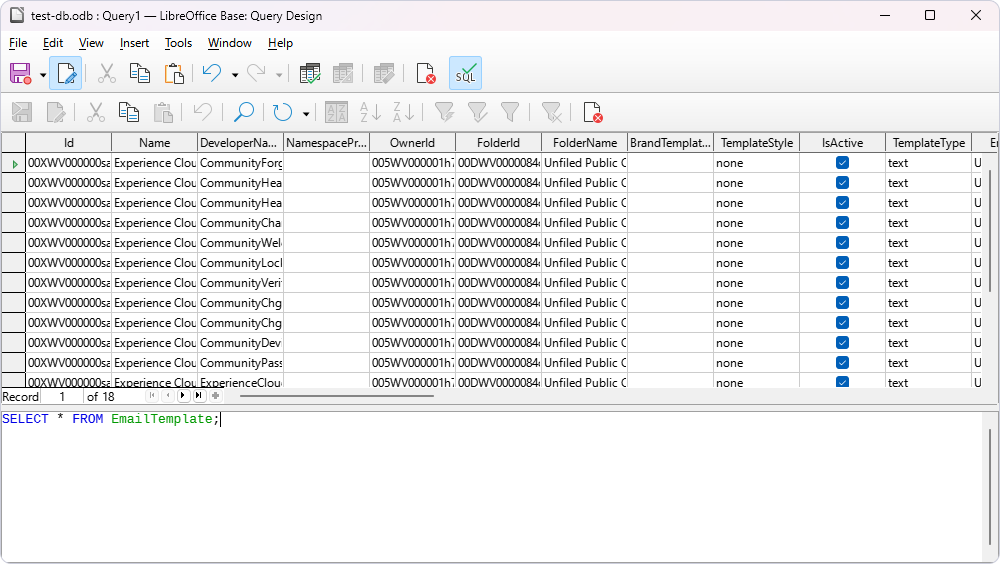
10. To create a SQL query, in the Database pane, navigate to Queries and click Create Query in SQL View.
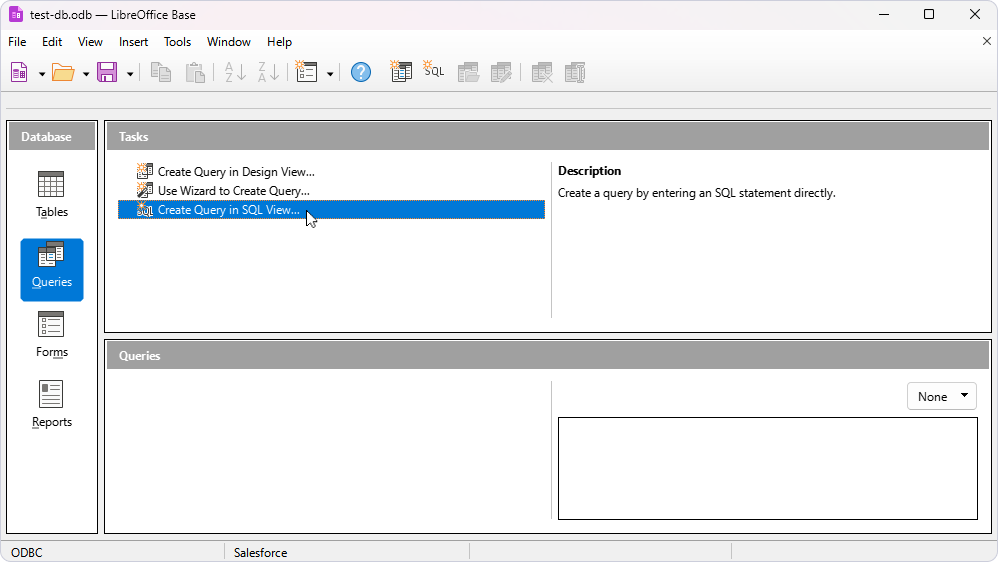
11. Enter your SQL query and press F5 to fetch the data.