Connect Oracle Business Intelligence to Salesforce
This topic describes how to create a new repository in Oracle BI Administration Tool and import Salesforce data using Devart ODBC Driver for Salesforce.
Prerequisites
- Download and install Oracle BI Administration Tool.
- Download and install Devart ODBC Driver for Salesforce.
- Create a DSN for Windows/macOS/Linux.
Load the data
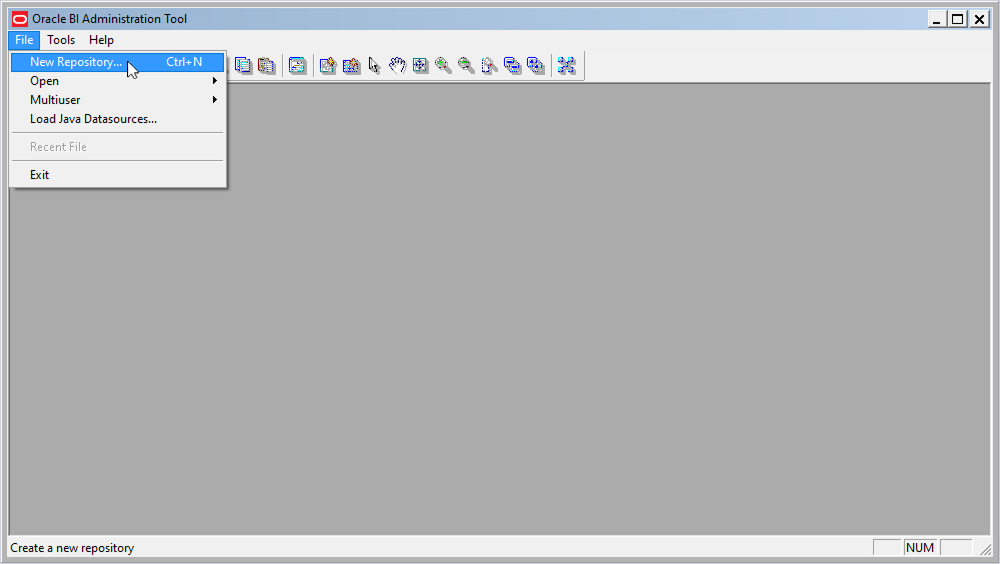
1. To create a new repository for Salesforce data, open the Oracle BI Administration Tool and select File > New Repository.
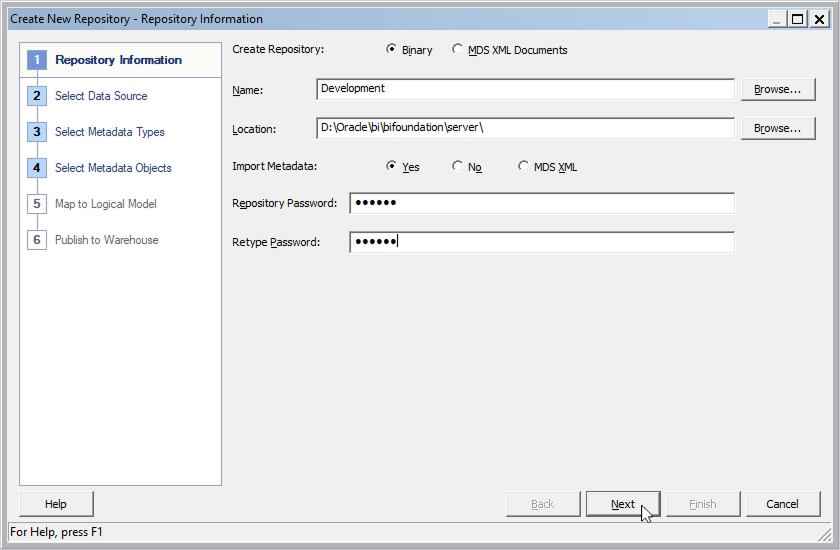
2. In the Name field, enter the repository name.
3. In the Location field, enter the repository file path.
4. In the Repository Password and Retype Password fields, set and confirm the repository password.
5. Click Next.
6. Select your DSN for Salesforce, then click Next.

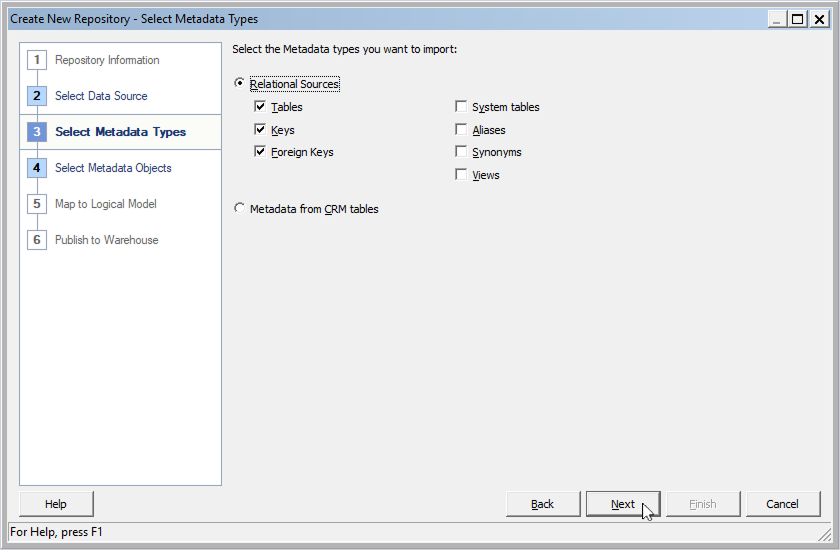
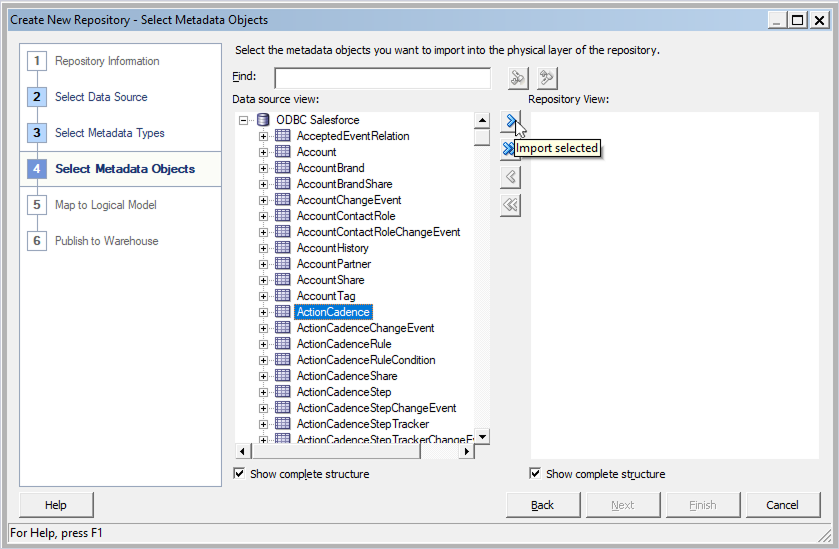
7. Select the metadata types you want to import into the repository, then click Next.
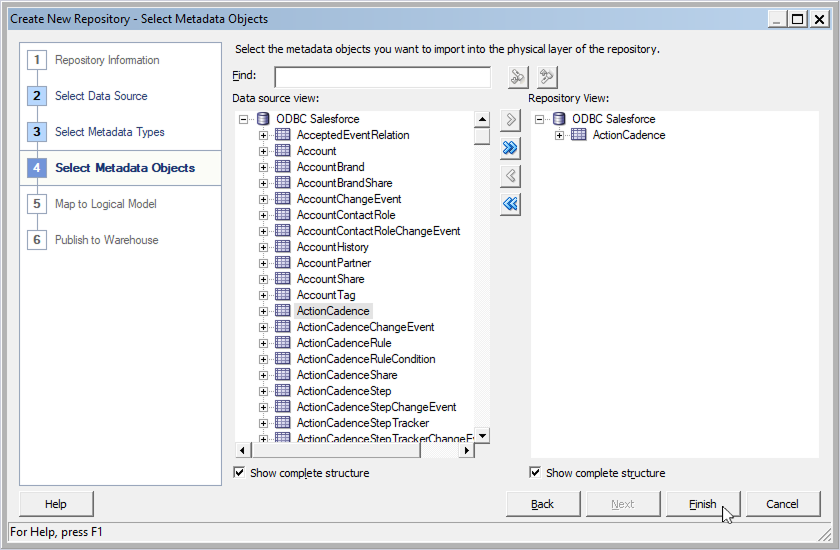
8. Select the table you want to import, then click Import selected.
9. Click Finish.
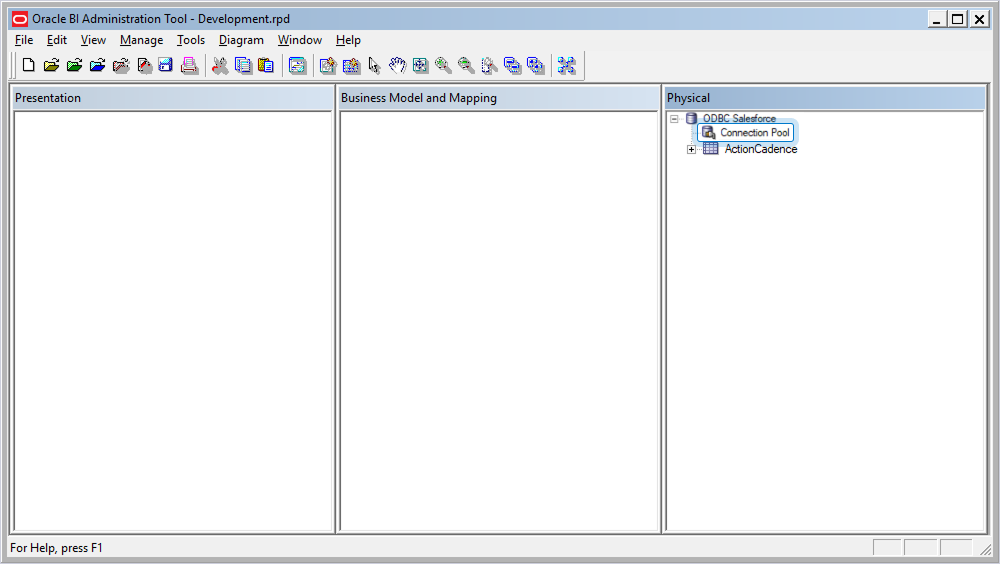
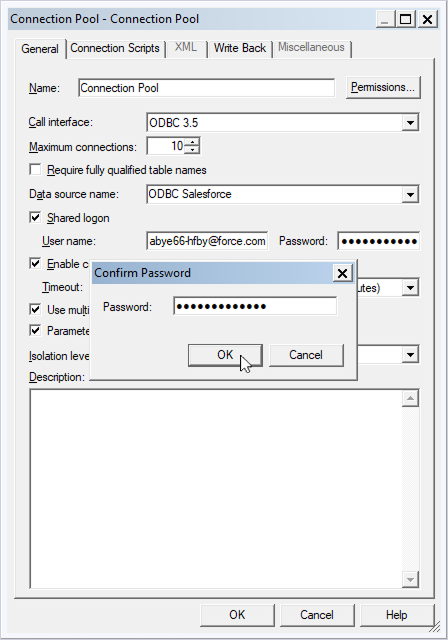
10. To access the imported table, double-click Connection Pool.
12. Enter your Salesforce credentials, then click OK.
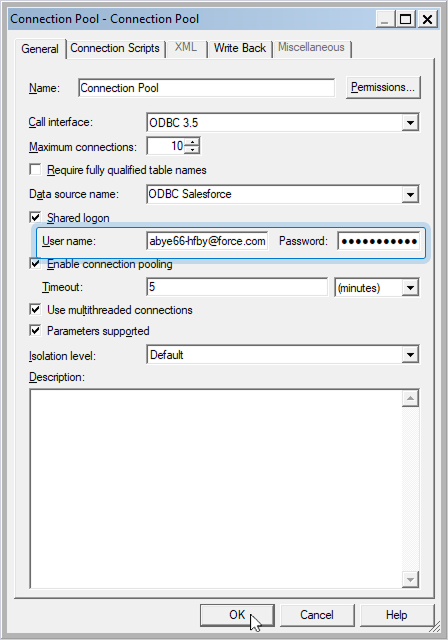
13. Confirm the password and click OK.
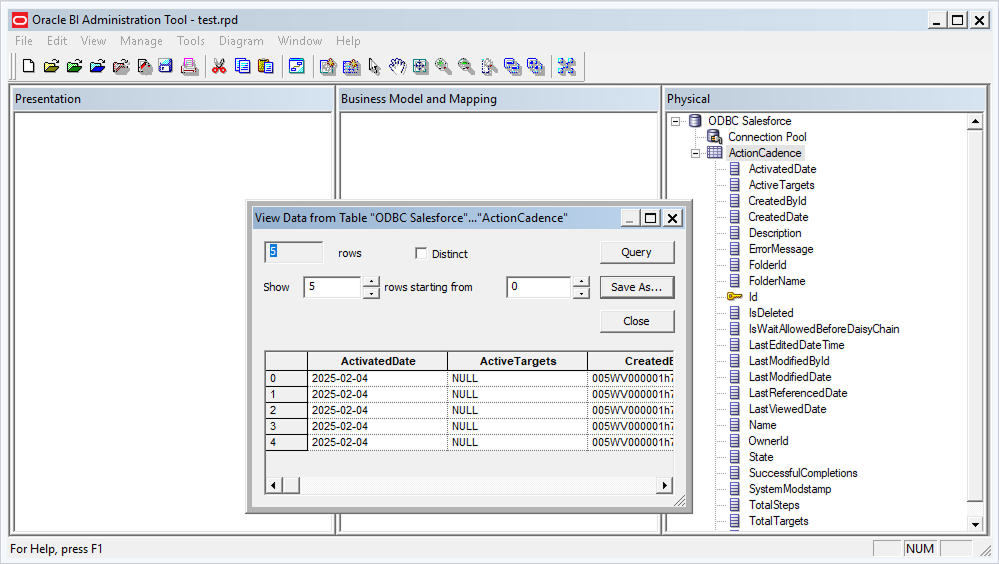
14. Optional: To view the table data, right-click the table name and select View Data.
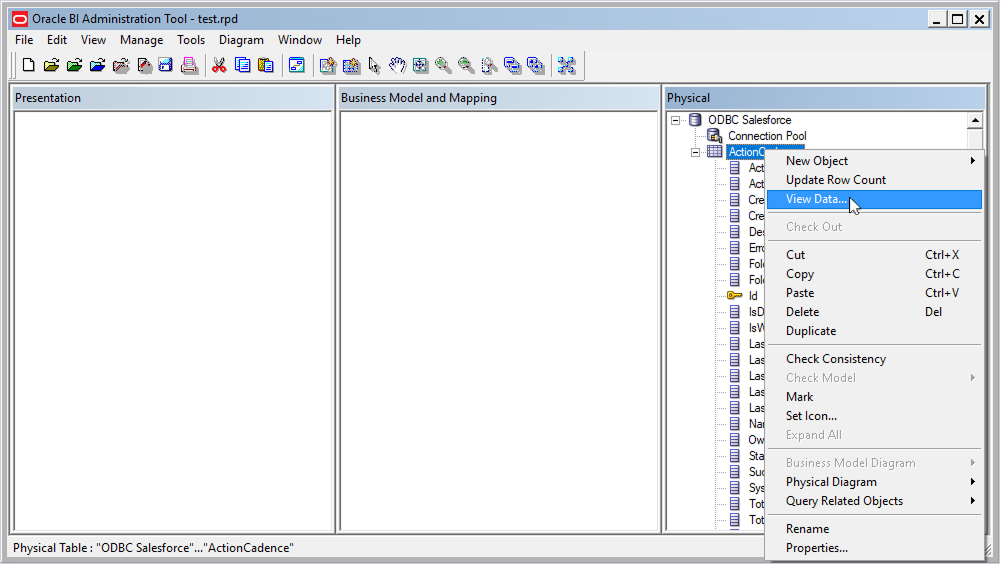
The data is displayed in a table.