How to export SQL Server data to Google Sheets
Google Sheets is the world’s most popular free collaborative spreadsheet application.
To export data to Google Sheets
1. In Object Explorer, right-click a database, point to Data Pump, and then click Export Data.
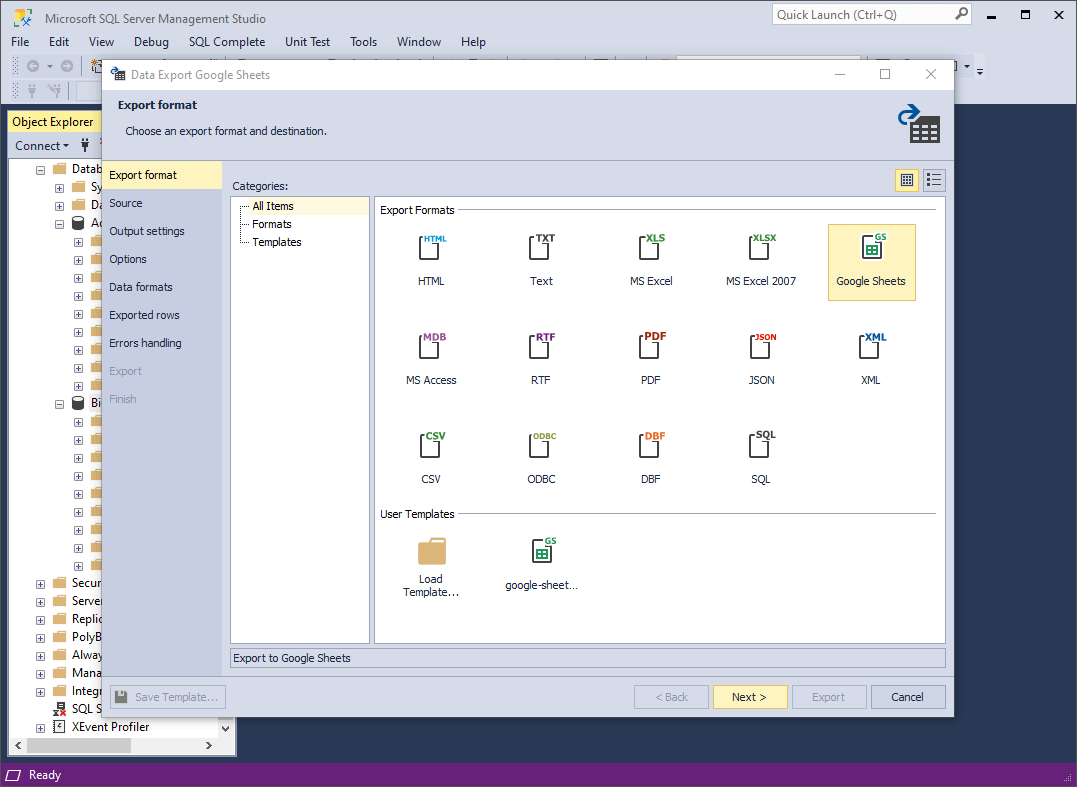
2. On the Export format page, select the Google Sheets export format or load export options from a template file if you saved it previously. Click Next.
3. On the Source page, select a server connection, a database and its schema, a table or view that you want to export, and click Next.
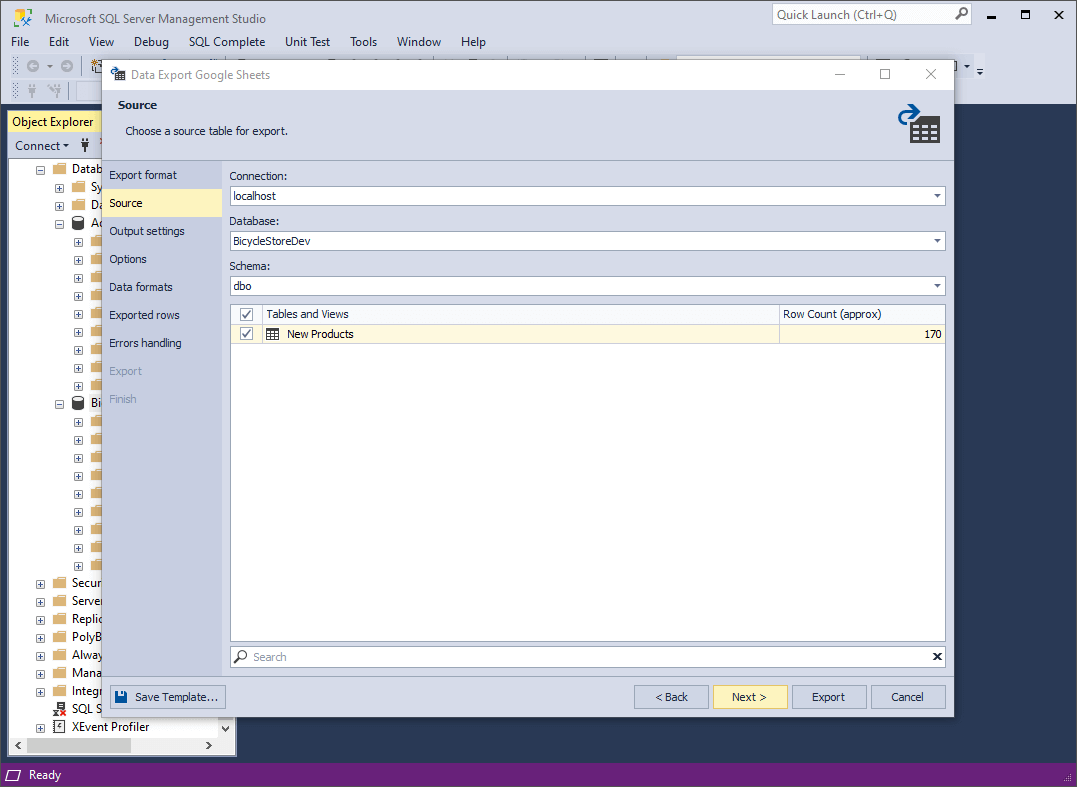
Note
Export to Google Sheets from multiple sources is not supported.
4. On the Output settings page, specify the required Google Spreadsheet ID/URL.
Note
After you enter the URL of the spreadsheet document you want to export and click Next, Data Pump opens a web browser page where you can select your Google account and grant dbForge access to it.
Once access is granted, you will receive an email confirming that dbForge has been granted access to your associated Google account.

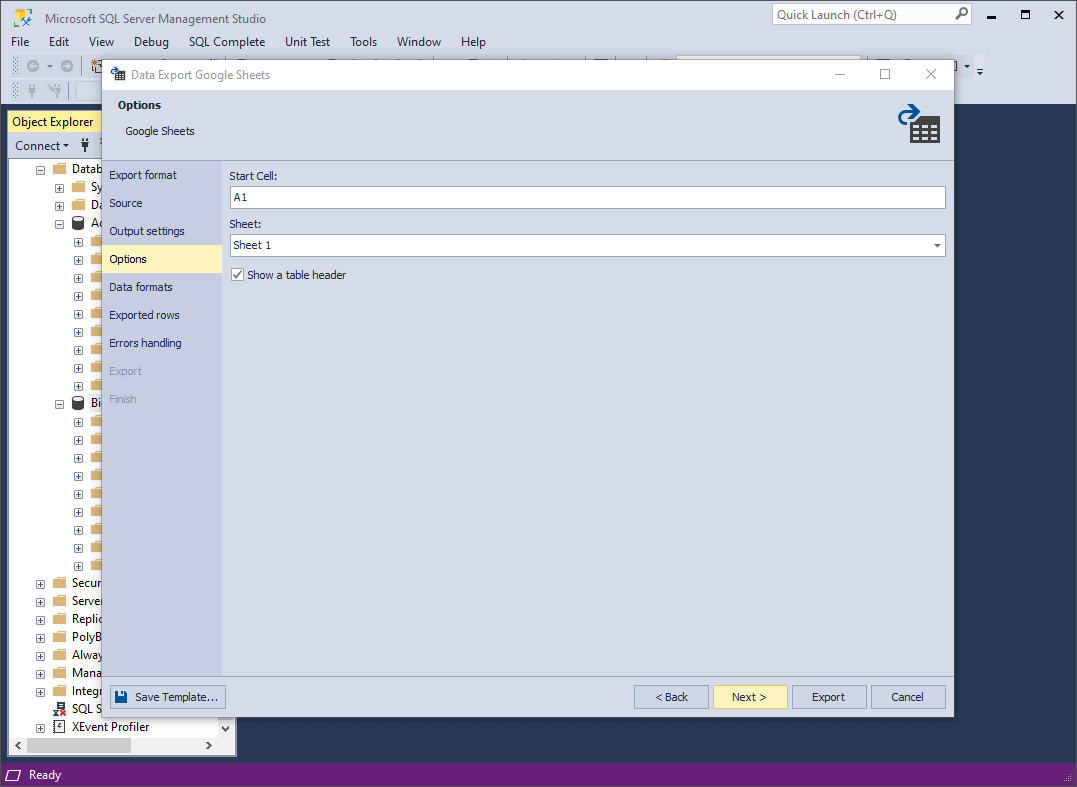
5. On the Options page, you can set the table grid options for exported data: text and background colors and fonts in Header and Rows, as well as width and color of Borders. The results of your configuration are shown in Preview.
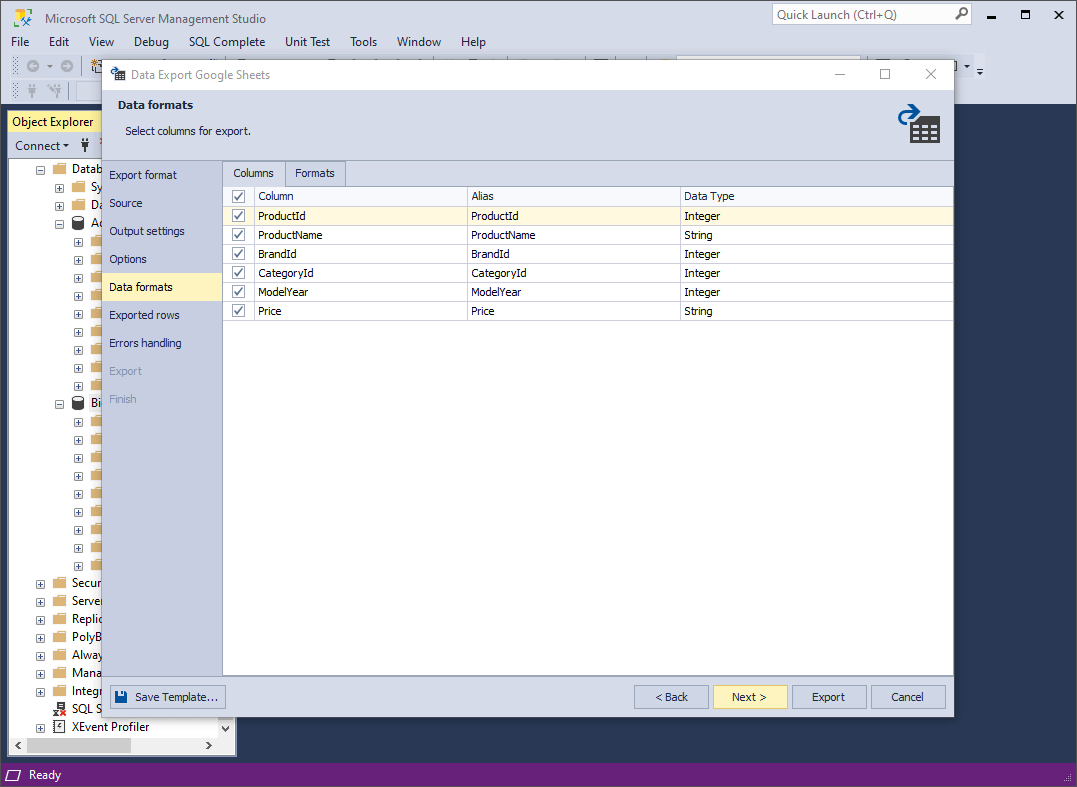
6. On the Data formats page, you have two auxiliary tabs. The first one is Columns, where you can select columns for export and check their aliases and data types.
The second one is Formats, where you can change the default format settings for Date, Time, Date Time, Currency, Float, Integer, Boolean, Null String, as well as select the required binary encoding from the drop-down list.
7. On the Exported rows page, you can select to export all rows, export the rows selected on the Data formats page, or export a specified range of rows.
8. On the Errors handling page, you can specify the error processing behavior (using one of the three available options: Prompt the user for an action, Ignore all errors, or Abort at the first error) and opt to write reports to a log file with a specified path.
Note
If you want to save your export settings as templates for recurring scenarios, click Save Template.
9. Click Export. When your data export is completed, you have several options: you can open the exported file or folder, perform another export operation, view the log file, or simply click Finish.