How to export SQL Server data to XML
XML (Extensible Markup Language) is a simple and flexible file format, created to store and transmit human- and machine-readable data regardless of the software or hardware used.
To export data to XML:
1. In Object Explorer, right-click a database, point to Data Pump, and then click Export Data.
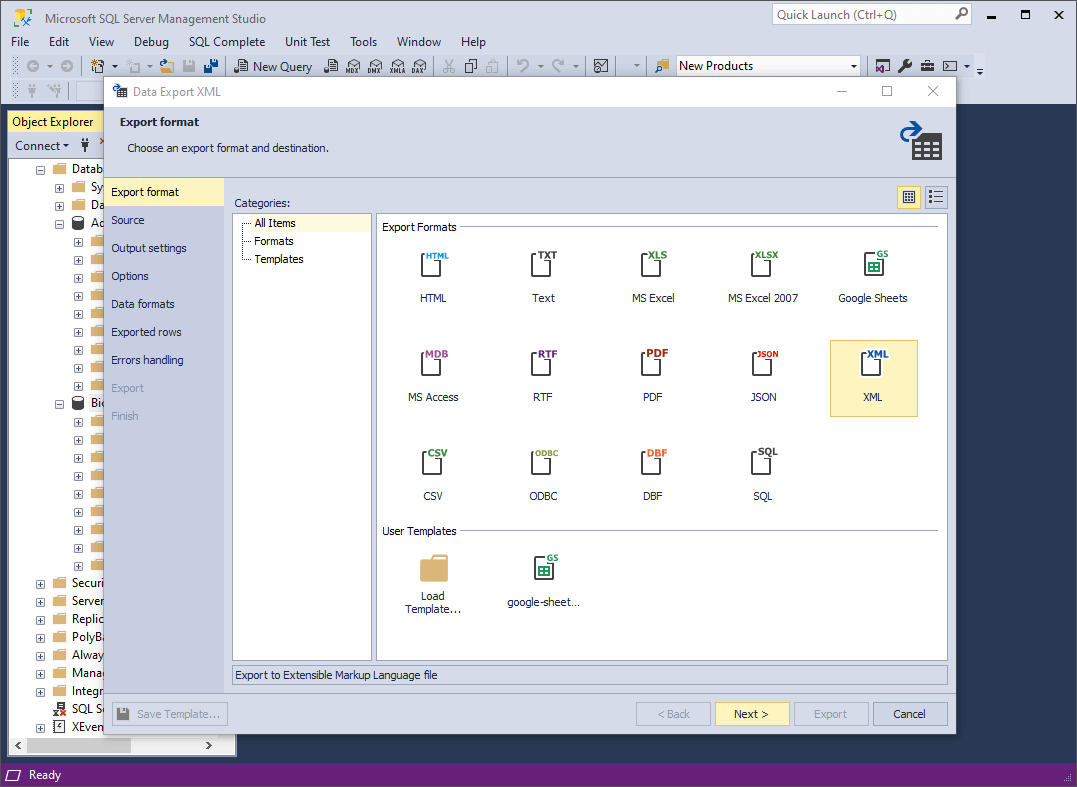
2. On the Export format page, select the XML export format or load export options from a template file if you saved it previously. Click Next.
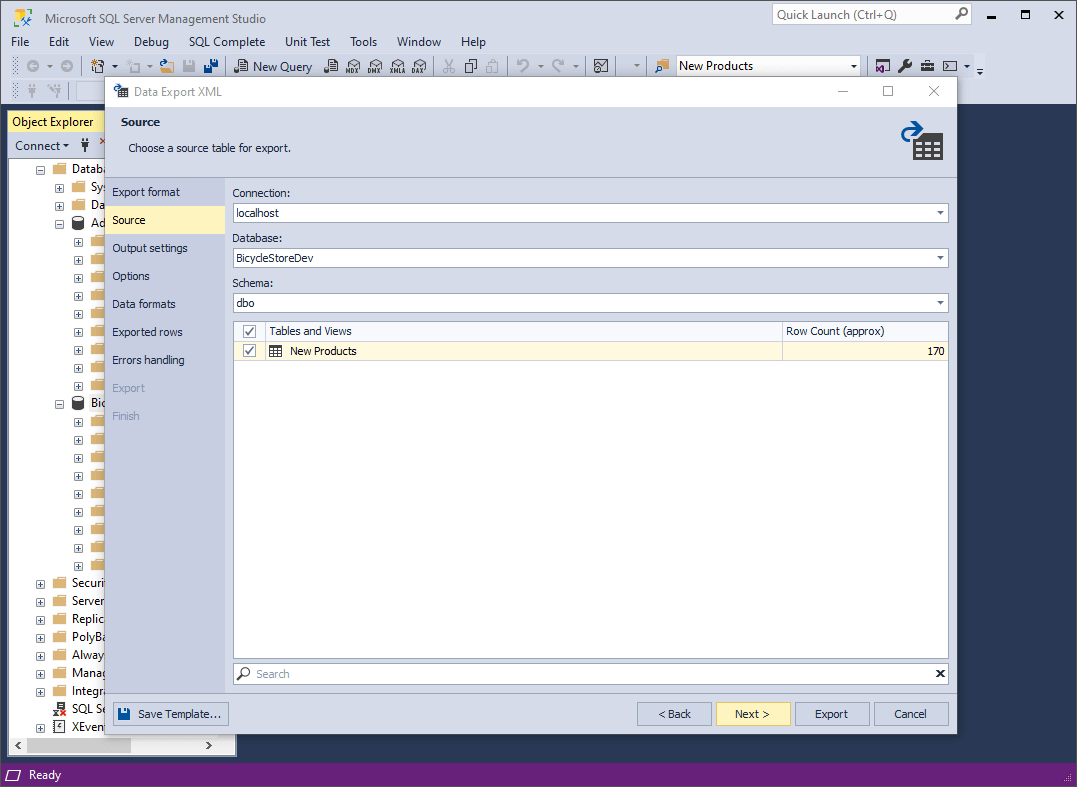
3. On the Source page, select a server connection, a database and its schema, table(s) and view(s) that you want to export, and click Next.
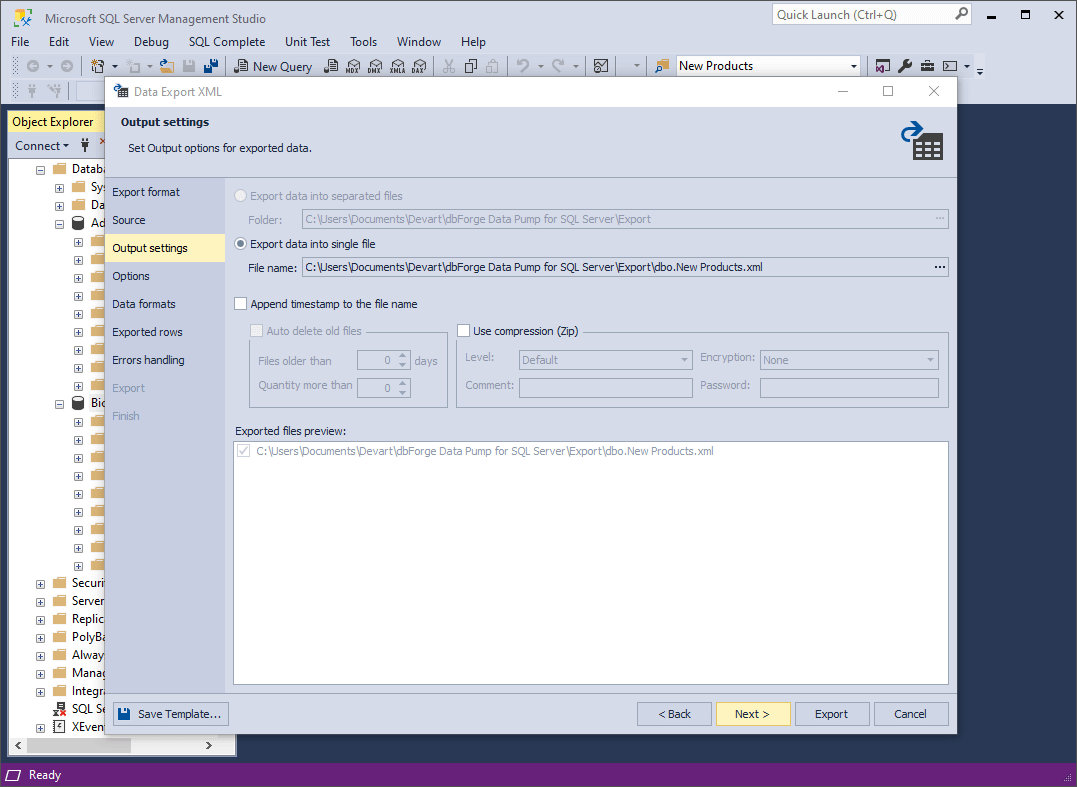
4. On the Output settings page, you have two main options:
-
Export data into separated files, where you specify the path to the folder that they will be saved to.
-
Export data into single file, where you specify the path and the file name.
You will find the list of files to be exported in the Exported files preview box.
You can also enable three additional options:
-
Append timestamp to the file name.
-
Auto delete old files to auto-delete exported files that are older than a specified number of days.
-
Use compression (Zip) to create an archive file with your exported files. Additionally, you can specify the compression level (No Compression, Best Speed, Fast, Default, Good, or Maximum), add a comment, and encrypt your archive with AES128 or AES256 encryption and specify a decryption password.
If the destination folder does not exist, the application will prompt you to create it. Click Yes to proceed.
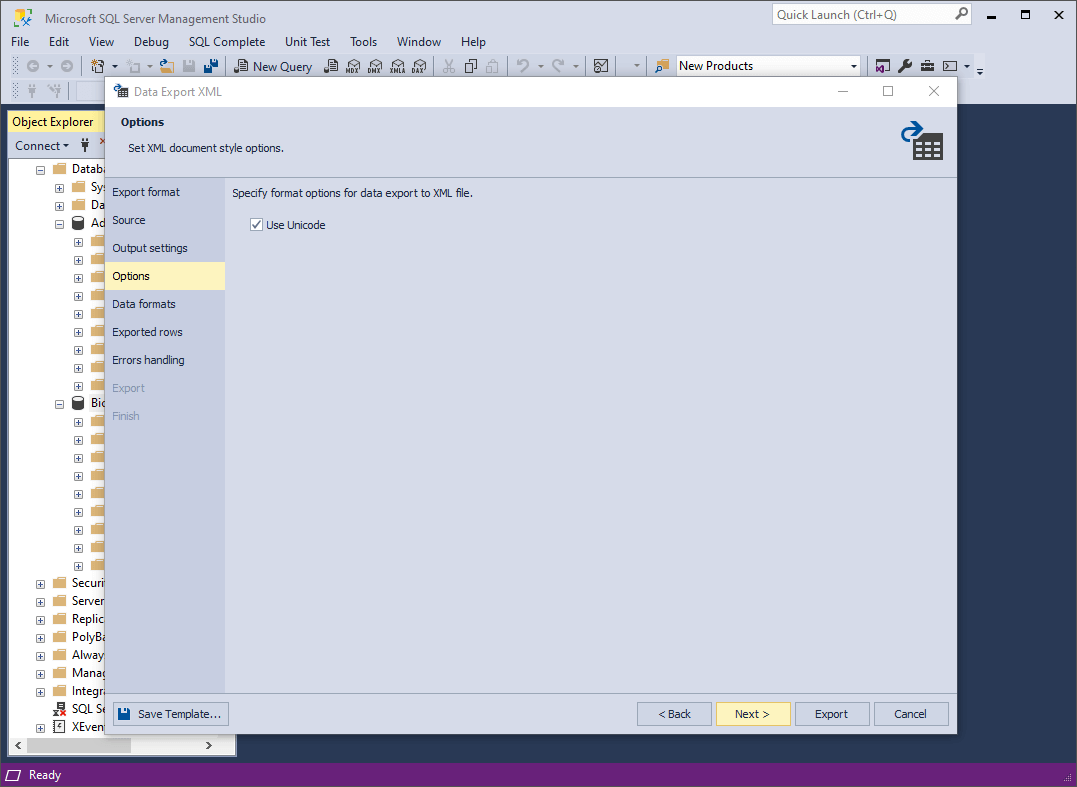
5. On the Options page, you can select whether to Use Unicode in your XML file.
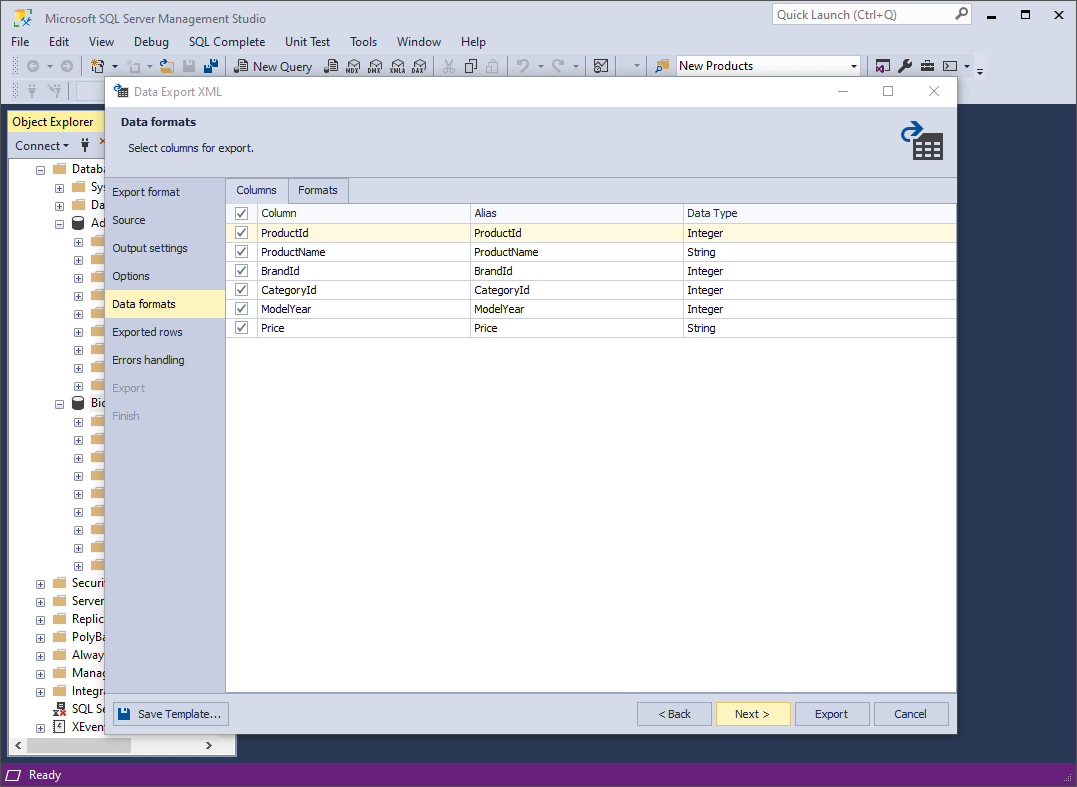
6. On the Data formats page, you have two auxiliary tabs. The first one is Columns, where you can select columns for export and check their aliases and data types.
The second one is Formats, where you can change the default format settings for Date, Time, Date Time, Currency, Float, Integer, Boolean, Null String, as well as select the required binary encoding from the drop-down list.
7. On the Exported rows page, you can select to export all rows, export the rows selected on the Data formats page, or export a specified range of rows.
8. On the Errors handling page, you can specify the error processing behavior (using one of the three available options: Prompt the user for an action, Ignore all errors, or Abort at the first error) and opt to write reports to a log file with a specified path.
Note
If you want to save your export settings as templates for recurring scenarios, click Save Template.
9. Click Export. When your data export is completed, you have several options: you can open the exported file or folder, perform another export operation, view the log file, or simply click Finish.