Viewing Data in Grid Overview
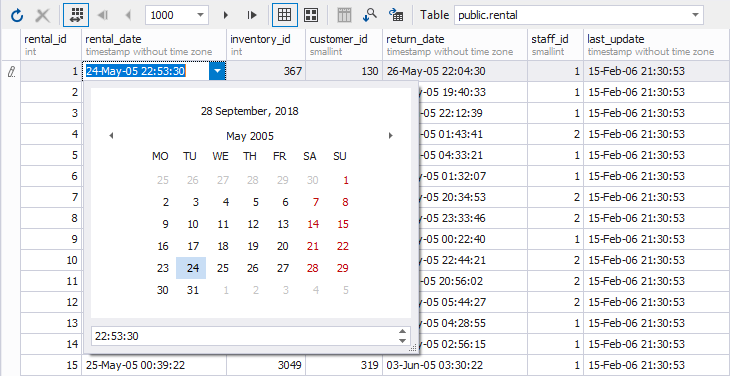
The Data Editor allows you to view and quickly edit data right in the grid.
To Access Data
- Execute a query that returns data.
- Open the table or view editor and switch to the data view.
- Right-click on the table or view in the Database Explorer and choose Retrieve Data from the shortcut menu.
- Double-click a table or view in Database Explorer and switch to the Data view of the Object Viewer. In Query Builder, right-click the table or view in the Data Editor and select Data View on the shortcut menu.
- Drag the table or view from the database explorer to the Data Window.
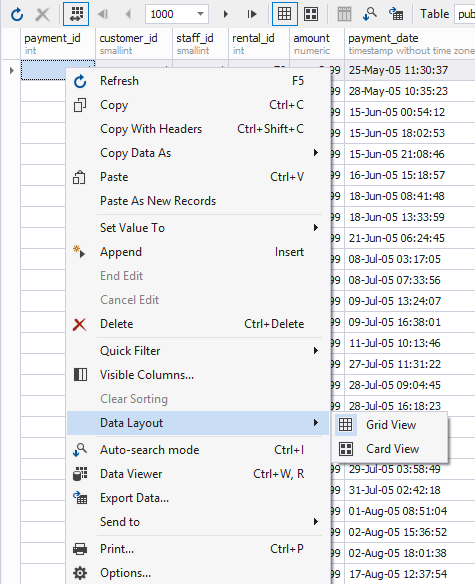
Use the rich set of data management options on the shortcut menu.

Note
Actual document look may slightly vary from the above image, depending on the product you use.
Note
If you want to retrieve all data from a table with a large number of records, a message warning you about the possibility of the Out of memory exception is shown, and you can choose either of the following actions - continue retrieving data, cancel retrieving data, or turn on Paginal Mode.
To simplify data analysis, you can use the following features:
Note
By default, Paginal Mode is enabled in data view with 1000 records per page, so only 1000 records are displayed at once.
You can change columns order and width, group by order via dragging column headers into required place. You can fit the column’s width to the column content by right-clicking on an appropriate header and choosing Best Fit from shortcut menu. To adjust widths of all columns at once, choose Best Fit (all columns) instead. Note that this operation can take some time when there are many records in the grid.
To refresh data, click the Refresh command in the Data menu (for Data view), the shortcut menu, or on the toolbar. To abort too long refresh operation, click the Stop Refresh command on the Data menu (for Data view) or on the toolbar.
Grid rows’ background and foreground colors can be set. You can set them separately for odd and even rows, focused row, selected rows, focused cell, group rows.
Data row can be viewed, edited and printed as cards. To learn more about it, visit the Card View topic.
You can also export data from the grid, using the Export Data button on the toolbar or selecting a corresponding option from the shortcut menu.

Tip: you can use down arrow to add an empty row to the table displayed in the grid. If you’ve added an empty row accidentally, you can easily delete it using the up arrow.
Note
Null values 0000-00-00 in fields of DATE data type are displayed as 01.01.0001. Null values of TIMESTAMP fields are displayed as 01.01.0001 0:00:00.