Working with Code Snippets
This topic explains how to use code snippets in dbForge Studio for MySQL.
Code snippets help you boost SQL code typing. You can use predefined snippets provided in the application and create your own to insert them in SQL scripts and queries.
dbForge Studio code snippets are XML files with the .snippet file name extension.
The Code Snippets window contains a rich collection of templates organized in folders. In this window, you can arrange and preview snippets. In addition, you can use code snippets as a code repository using the Snippets Manager or Project Explorer windows.
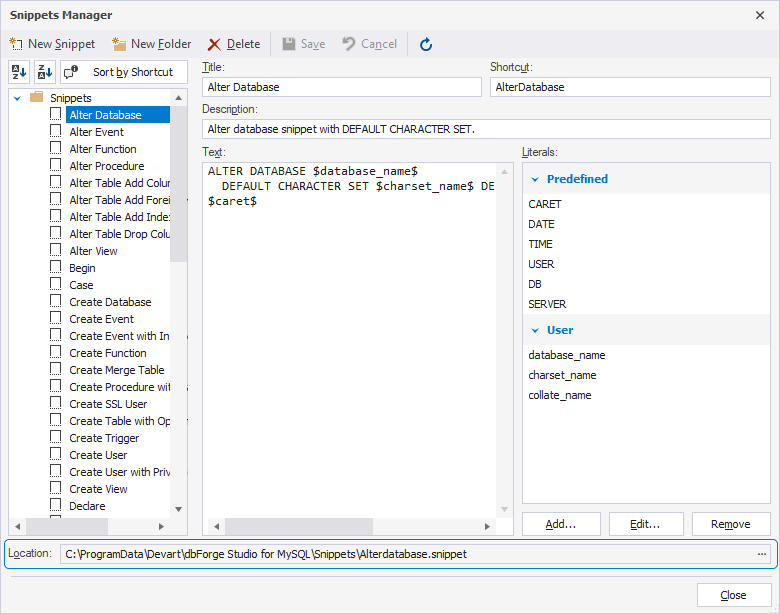
View code snippets
To view a snippet, select it in the Code Snippets window. If the preview pane is not visible, right-click a snippet and select Toggle Preview on the menu.
Inserting Code Snippets
1. Open the Code Snippets window by doing one of the following:
- On the View menu, select Code Snippets.
- Press Ctrl+W,T.
2. In the Code Snippets window, choose the desired template and drag it to the SQL editor.
3. Specify variable names and parameter values in the green lines and press Enter to complete code fragment editing.
Alternatively,
1. On the SQL Editor shortcut menu, select Insert Snippet.
2. Select the desired template.
3. Use Up Arrow and Down Arrow to select the item in the snippets list.
4. Specify variable names and parameter values in the green lines and press Enter to complete code fragment editing.
You can also insert code snippets by entering a template shortcut word or words and pressing Tab.
Note
If you want to include a code fragment into the inserted template, select it with the mouse pointer before placing a snippet in the editor. If the snippet does not provide surrounding, the selected text will be deleted.
To move a snippet to the root folder in the Code Snippets window, drag it onto an existing snippet in the root folder or move it to the upper border of the Code Snippets window.
Creating Code Snippets
1. On the Tools menu, select Snippets Manager to open Snippets Manager.
2. On the Snippets Manager toolbar, select New Snippet.
3. In the Text field, enter the text of the snippet.
4. In the Shortcut and Description fields, specify a shortcut and snippet description, respectively.
Notes
The Location field is read-only and is automatically filled when you select a folder from the snippet list.
If a shortcut is assigned, it will be used as the snippet name. Otherwise, the snippet will be named Snippet by default. To rename a snippet, double-click it in the list and enter the desired name.
5. To save the changes, select Save on the toolbar.
Editing Code Snippets
1. On the Tools menu, select Snippets Manager. The Snippets Manager window opens.
2. Select the required snippet from the list of available snippets.
3. Modify the snippet description, shortcut, and text in the corresponding fields.
4. To save the changes, select Save on the toolbar.
5. To change the snippet name, double-click it in the list of available snippets.
Default Snippets Location
By default, all snippets are stored in a folder that is located at C:\ProgramData\Devart\dbForge Studio for MySQL\Snippets.
You can change the default location when editing an existing snippet or creating a new one by setting a new path in the Location box of Snippets Manager.
Worked example: How to use code snippets as a code repository
Database developers often need to reuse scripts. dbForge Studio provides a solution for organizing and managing script storage efficiently. It allows you to structure scripts based on your needs, access them quickly, and modify the scripts and their storage hierarchy tree. You can achieve this using the Snippets Manager or Project Explorer windows.
Let us learn how to use Snippets Manager as a code repository.
Prerequisites
Before you begin, create an empty folder on your computer to store scripts. In our example, it is D:\ScriptRepository\MySQL.
Note
You can also specify a network folder if multiple users need to access and work with it.
Use Snippets Manager as a code repository
1. Open Snippets Manager by navigating to the Tools menu and selecting Snippets Manager.
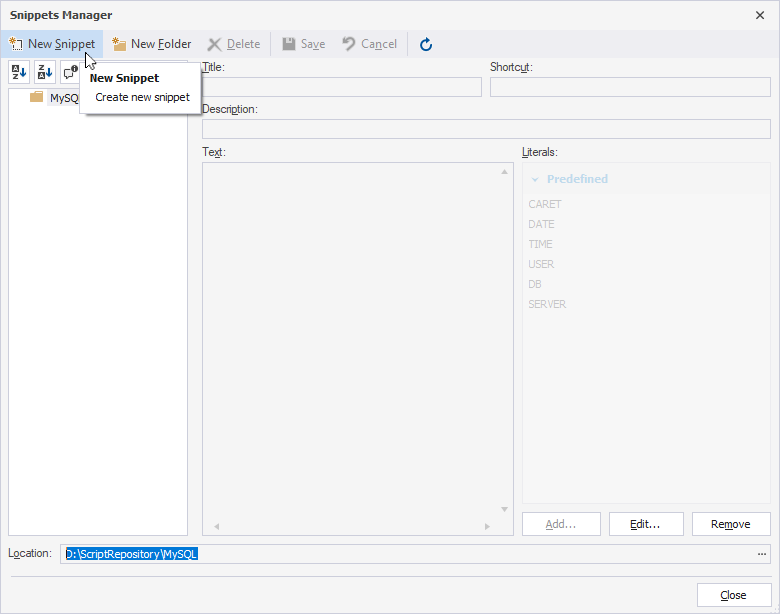
2. At the bottom of Snippets Manager, select … in the Location box.
3. In the Select Folder window that opens, choose a folder you’ve created to store scripts - D:\ScriptRepository\MSSQL - and select Select Folder.
The location folder is now changed to the selected folder - D:\ScriptRepository\MySQL.
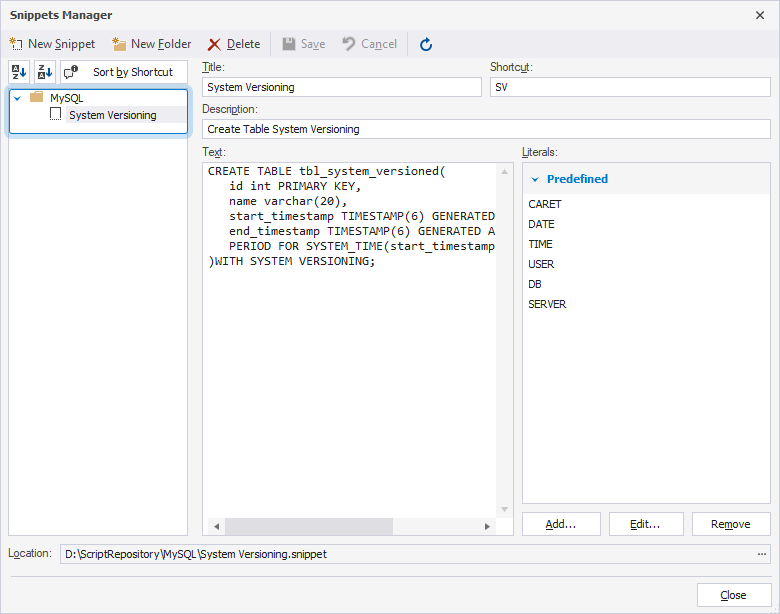
4. On the Snippets Manager toolbar, select New Snippet to create a snippet.
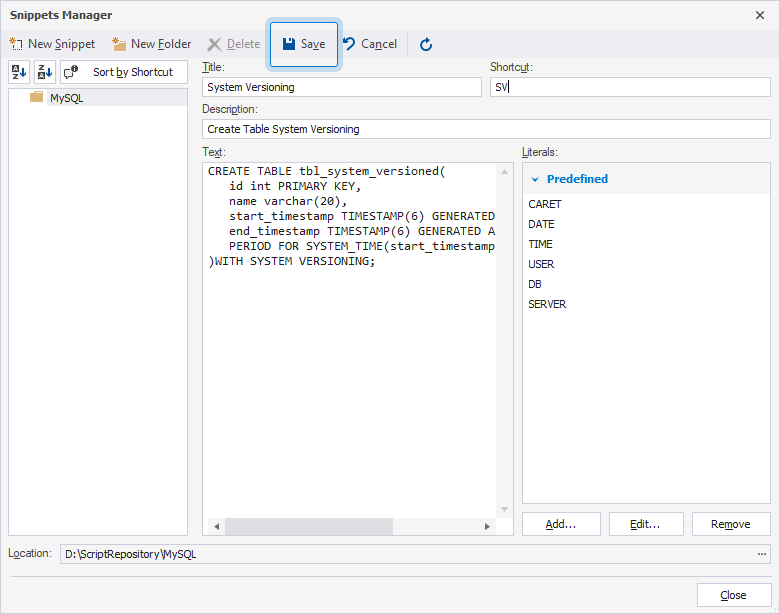
5. Specify the following snippet details:
- Title – Enter a snippet name.
- Shortcut – Assign a shortcut that generates a script from the Text box.
- Description – Provide detailed information.
- Text – Enter the actual script.
6. On the Snippets Manager toolbar, select Save to save the snippet.
7. The created snippet appears under the folder in the left-side tree.
In the same way, you can create and save as many scripts as you need. As a result, you get a script repository, which you can quickly access while creating new scripts with predefined shortcuts.
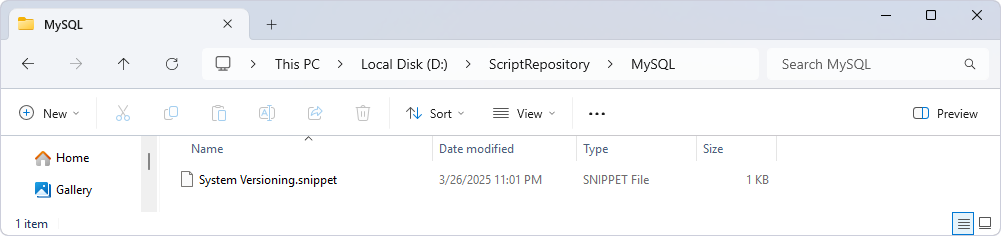
The folder on your computer also displays the created code snippets.
To edit the created snippet:
1. In Snippets Manager, select the snippet in the left-side tree.
2. In the Text box, make the changes to the snippet.
3. To save the changes, select Save on the Snippets Manager toolbar.
To remove a snippet:
1. In Snippets Manager, select the snippet in the left-side tree.
2. On the Snippets Manager toolbar, select Delete to remove a snippet.
Use Project Explorer as a code repository
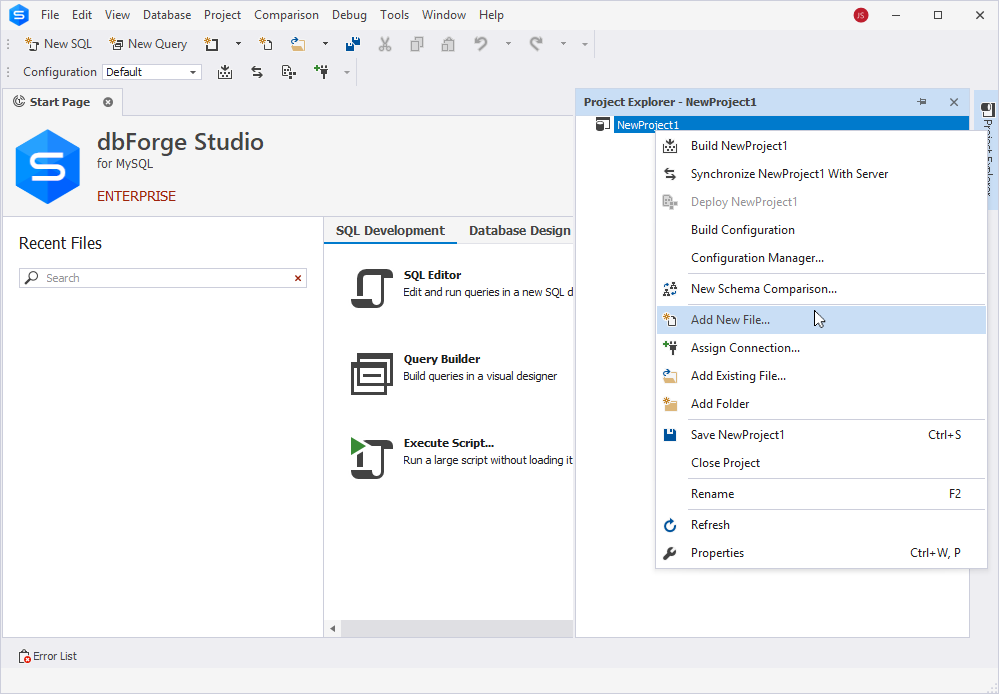
1. Open the New Database Project Wizard by navigating to the File menu and selecting New > Blank Project.
2. In Project Explorer that opens, you can add new or previously saved files.
3. To add a new file, right-click the project name and select Add New File.
3.1. In the Add New File - [project_name] dialog that opens, do the following:
- Under Script files for MySQL, select SQL File.
- In the Name box, specify the file name.
- Select Add.

3.2. The blank .sql file with the specified name opens in a new SQL document.
3.3. Enter the script you want to store in the .sql file.
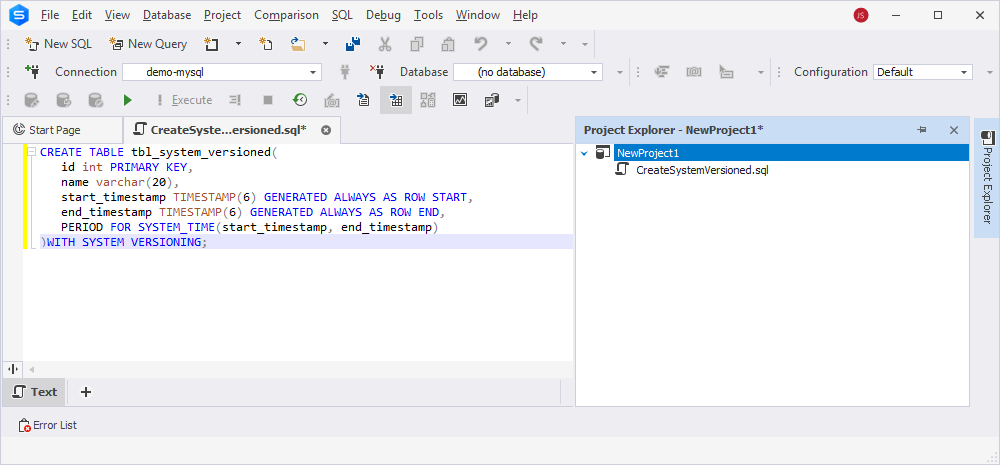
3.4. On the SQL toolbar, select Save to save the file. In the Save As window that opens, specify the project folder and select Save.
4. To add a previously saved .sql file, you must first copy it to the folder where the project was created.
4.1. To update the project and add the file, right-click the project name and select Add Existing File.
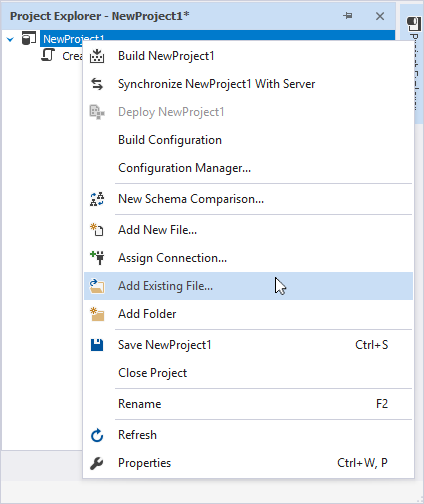
4.2. In the Open File window that opens, change a type file to .sql, choose the file you want to add, and select Open.
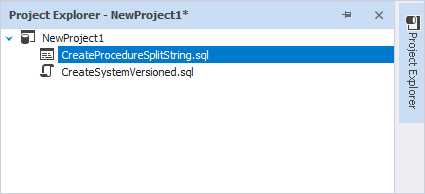
4.3. The file appears in the Project Explorer tree. To view the content of the added file, double-click it. You can also modify it if needed and then save the changes.
This will create a project with a structured hierarchy of predefined scripts, which you can add, delete, edit, and use when writing new scripts.
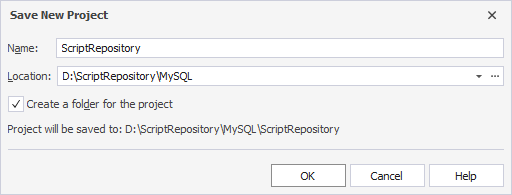
5. Save the project:
5.1. In Project Explorer, right-click the project name and select Save Project. Alternatively, press Ctrl+S.
5.2. In the Save New Project window that opens, select the project name and specify a path to the folder to store the project.
5.3. Select OK to save the project.