Synchronizing Data
Note
Data synchronization can not be rolled back! It may change or delete data in your target database. It is highly recommended to backup target database before synchronizing data.
Synchronizing databases
Before synchronizing data of two databases, you should compare the databases to detect differences between them.
1. Navigate to Comparison > New Data Comparison.
2. Specify a database and connection for both types, Source and Target.
3. Click Compare.
4. Select data to be synchronized. To do this, select check boxes in the column with check boxes for the tables (or views) you want to synchronize. You may also click a separate table and select check boxes in the column with check boxes on the Only in source, Only in target, and Different tabs for individual records to determine which records to synchronize. Use the check box in the header of the grid to apply settings to all the grid rows.
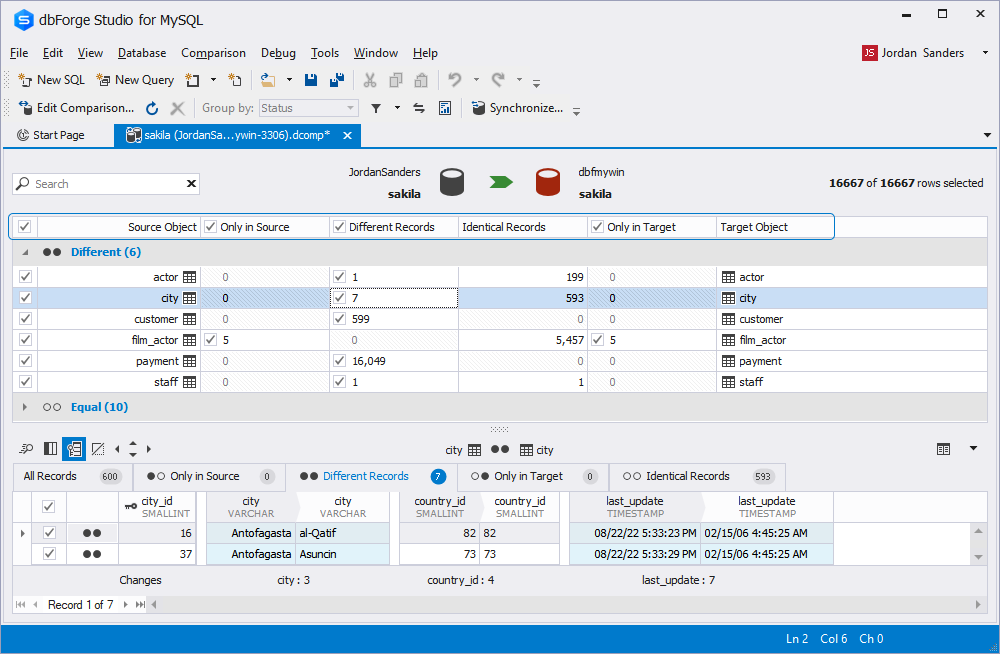
Note
Incorrectly mapped objects are displayed with
icon instead of check box in the Data Comparison document. Objects with no data to synchronize (with only identical records or with no records at all) are displayed without check boxes. You cannot select them for synchronization.
5. On the Comparison toolbar, click Synchronize. The Data Synchronization Wizard will be opened.
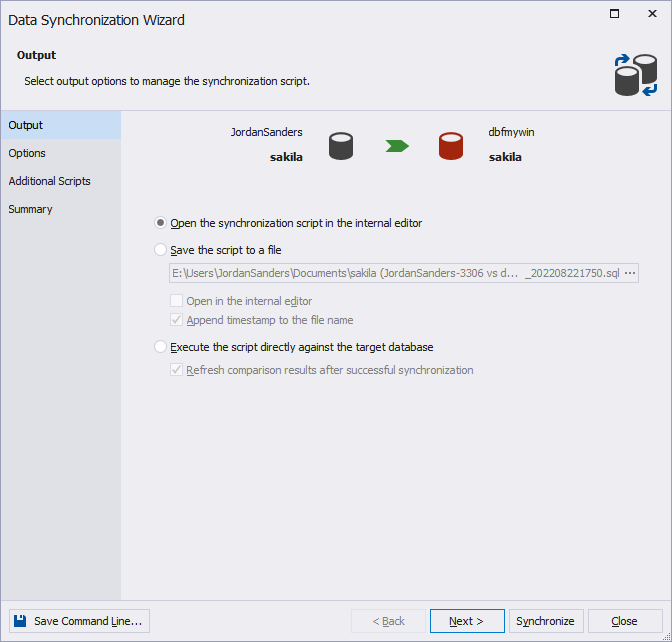
6. Customize the output options to manage the synchronization script and click Next.
7. Customize the synchronization options.
8. Finally, click:
- Synchronize: to generate the update script.
- Next: to set the synchronization options and view the synchronization action plan and synchronization warnings if any exist.
If you have clicked Next, click Synchronize.
Synchronizing scripts folders
If you select a scripts folder as the Target, you can either create a data changes deployment script to update the database from which that scripts folder was created, or update files in the scripts folder directly.