How to create a SQL SELECT statement
The guide describes how to perform the following operations using the Query Builder tool.
Build a SELECT query
1. On the Start Page, click New Query.
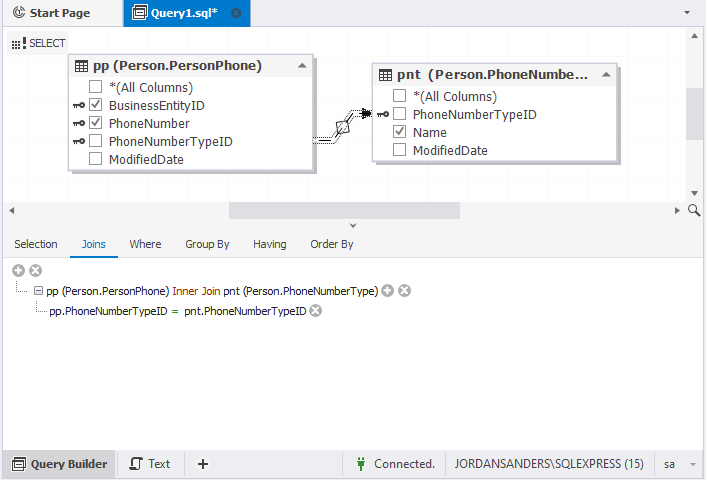
2. From the Database Explorer, drag the required objects to the diagram.
3. As you can see, JOINs have been created automatically. To view the JOIN, double-click it.
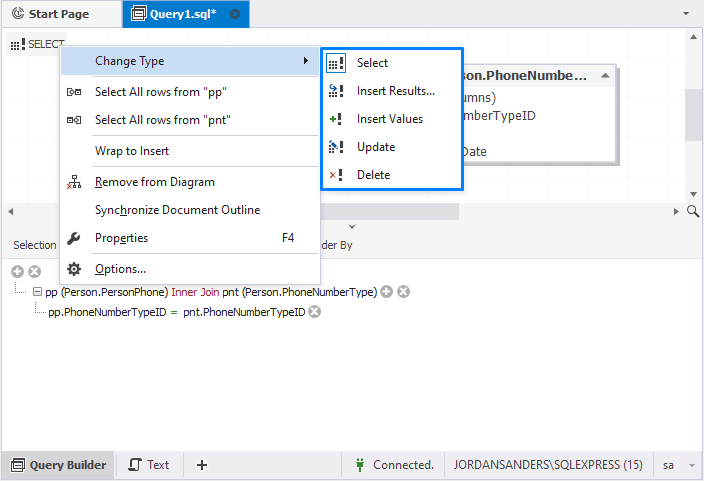
4. By default, the query is created with a SELECT statement type. If you want to change the statement type, in the upper-left corner of the diagram, right-click the SELECT type and select Change Type > the type you want to use from the pop-up menu.
5. On the diagram, select the columns for the query. The selected columns will be automatically displayed on the Selection tab of the Tabbed Editor.
Note
If the Tabbed Editor is not displayed, you can open it by clicking
Show Tabbed Editor on the Query toolbar or main menu.
To exclude the columns, clear the corresponding checkboxes on the diagram.
6. Specify the condition to filter the results. To do this, switch to the Where tab and click ![]() Add.
Add.
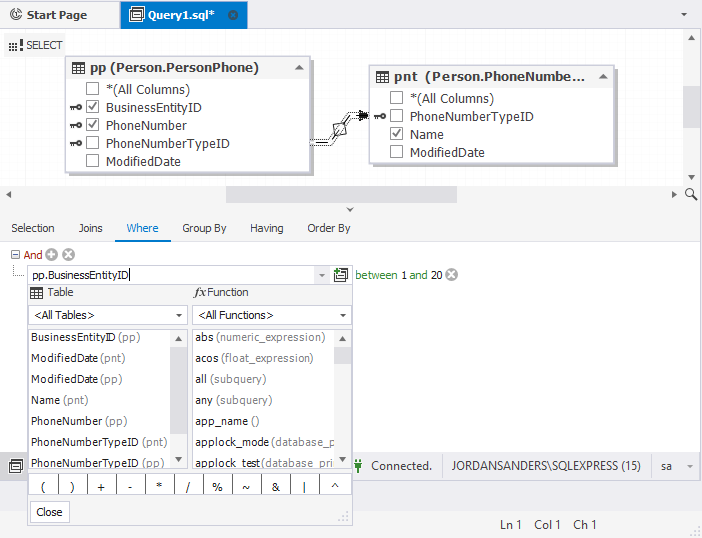
For more information about setting up filtering conditions, see How to design conditions for WHERE clauses.
7. Switch to the Text view to preview a text of the designed query.

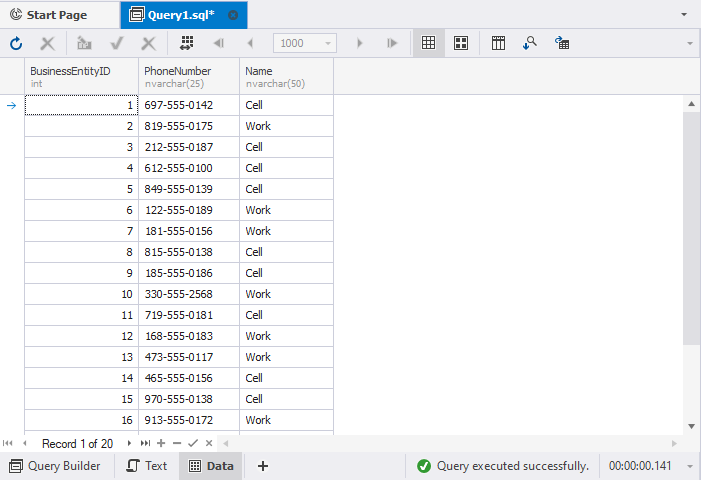
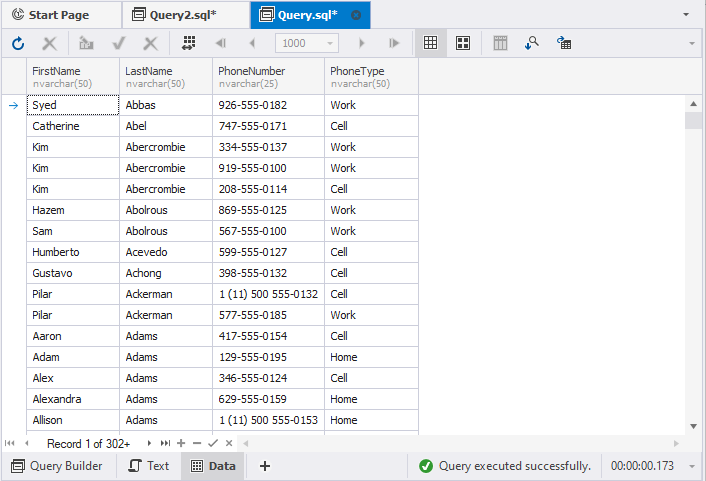
8. To execute the statement, press F5 or click Execute on the standard toolbar. As you can see, the data was retrieved based on the filtering condition.
Now, let’s convert the designed query into a subquery using the Wrap to Subquery functionality.
Wrap a SELECT statement to the subquery
1. Switch to the Query Builder tab.
2. Right-click the diagram and select Wrap to Subquery. Alternatively, on the Query toolbar, click ![]() Wrap to Subquery.
Wrap to Subquery.
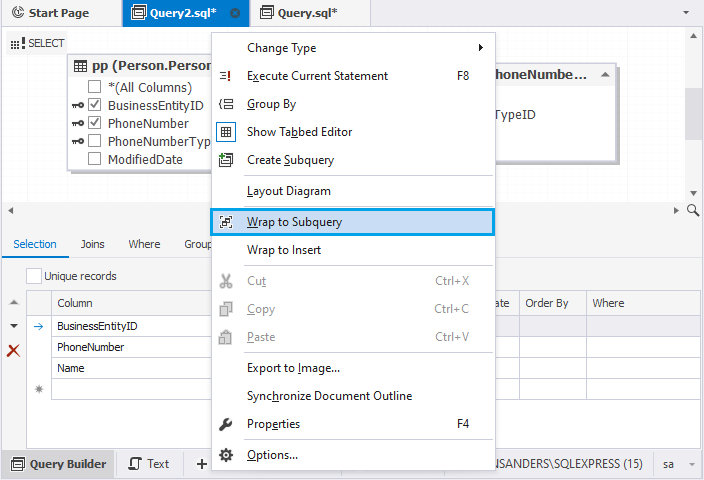
As you can see, the designed query has been converted to the subquery.
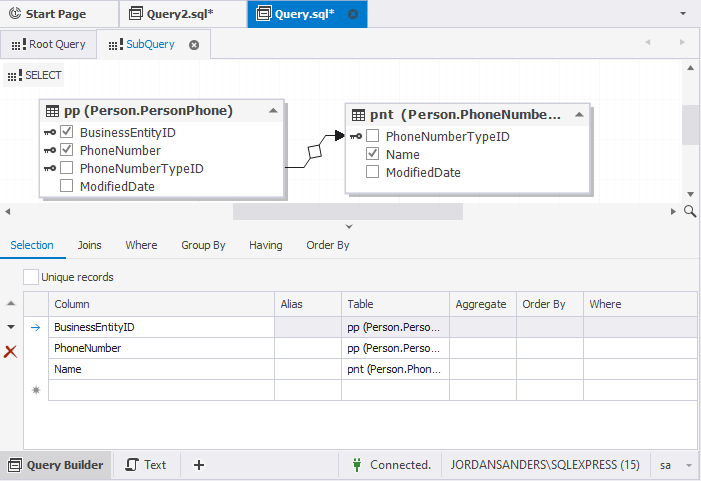
3. Switch to the Root Query tab.
4. From the Database Explorer, drag the table and select the columns.
5. Join the table and the subquery by BusinessEntityID. To preview the generated query text switch to the Text tab.

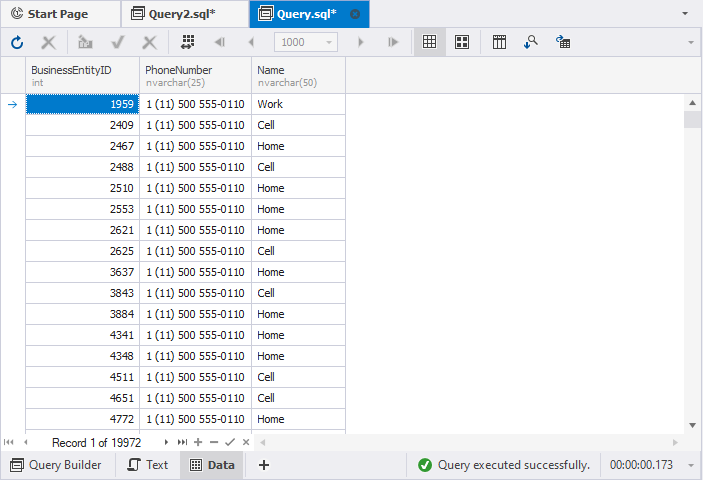
6. Execute the subquery. To do so, switch to Query Builder. On the Root Query tab, right-click the diagram and select Execute Current Statement. The entire query with the subquery will be executed, and the result will be displayed on the Data view grid.
7. If you want to execute the subquery only, switch to the Query Builder > SubQuery tab, right-click the diagram, and select Execute Current Statement. The Data view opens displaying the result.
Let’s view the query structure using the Document Outline window.
Navigate through the query using the Document Outline window
To open the Document Outline window, right-click the diagram and select Synchronize Document Outline.
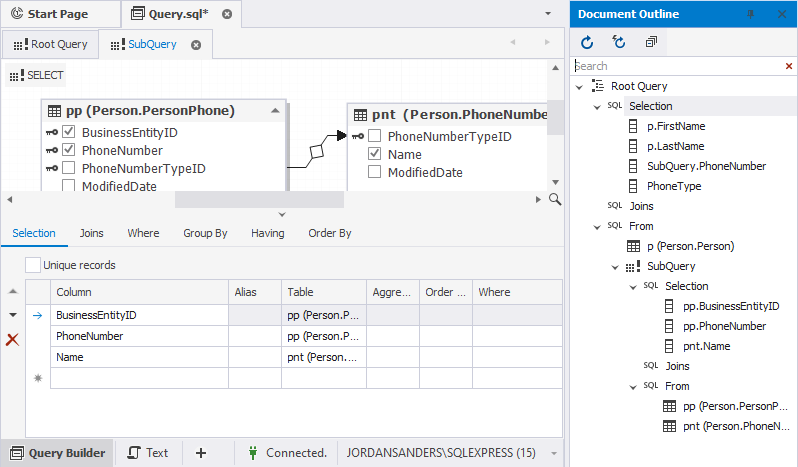
In the Document Outline window, you can view the root query and subquery, as well as navigate through all query elements. Double-click on the element will open the corresponding query element on the Query tab and Tabbed Editor.
Watch the video to see how to create a SQL SELECT statement using the Query Builder tool.
For more information about how to work with subqueries, see How to create subqueries visually.