How to import data in bulk
Bulk data import is required to transfer large volumes of data into a SQL database. The Data Import Wizard available in dbForge Data Pump can import one table at a time, including data format settings, table mapping, import modes, error handling, etc. When you need to transfer multiple tables, you can use the command line. To achieve this, first, create a template file with import settings and a batch file with the tables you want to transfer. This will allow you to automate the process and import as many tables as possible.
Prerequisites
In our example, we’ll transfer tables from Access to SQL Server.
Let’s first execute the SELECT statements for the tables we want to populate with data.
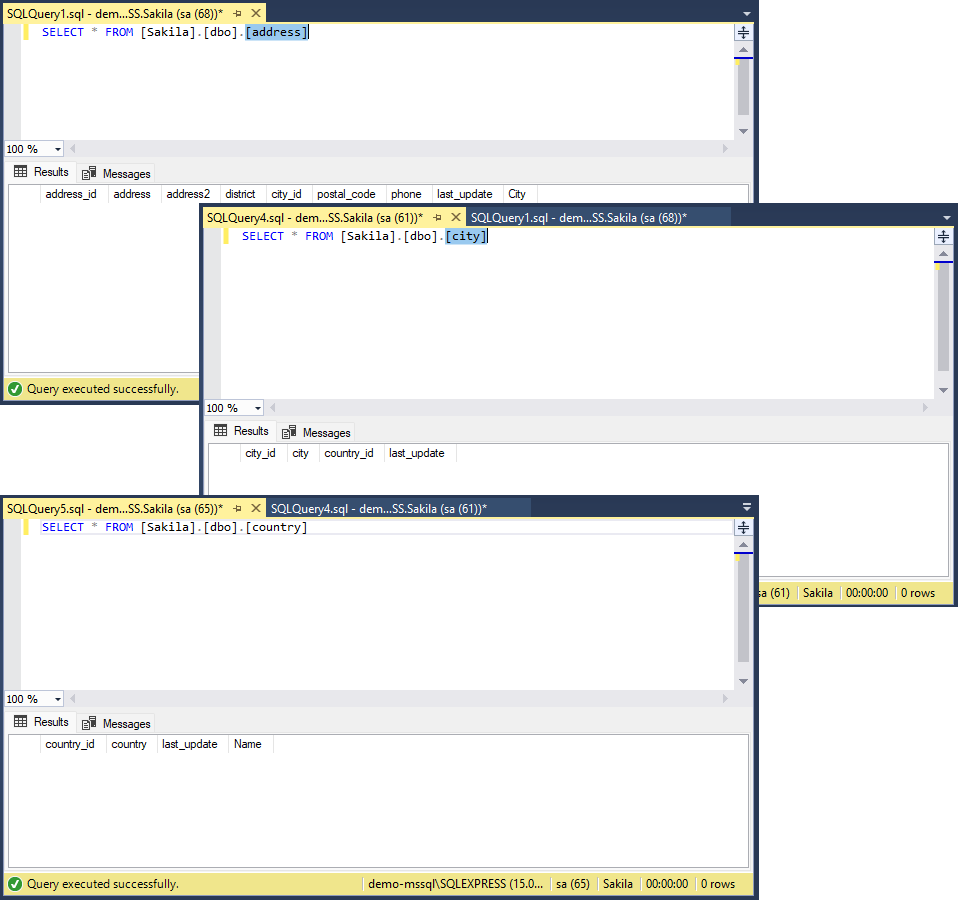
As you can see, all three tables are empty, so we can start filling them with data.
Step 1: Create a template to import data
1. In SSMS Object Explorer, right-click the required database and select Data Pump > Import Data.
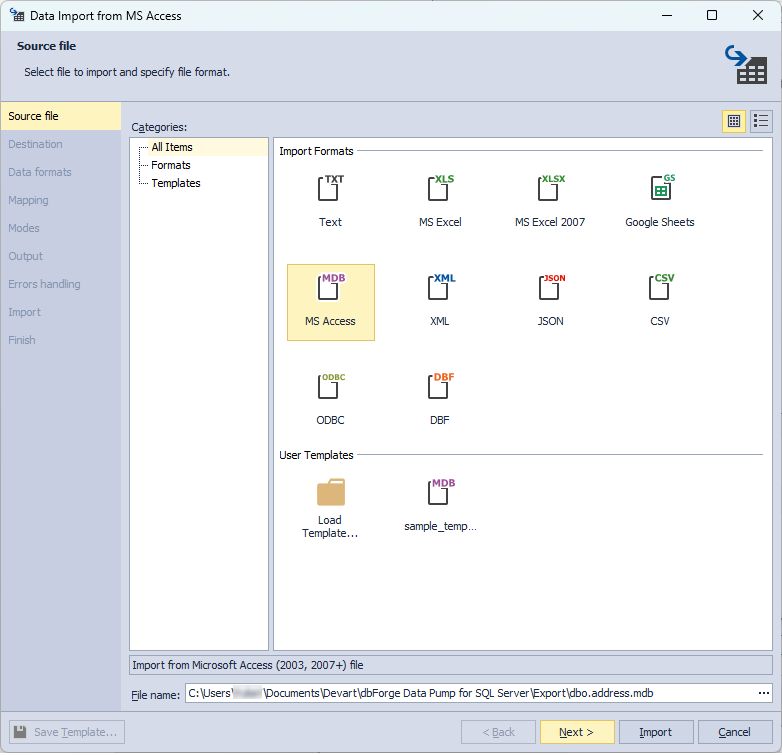
2. On the Data Import wizard > Source file page, choose the .mdb (MS Access) format and the file from which data should be imported. Then, click Next.
3. On the Destination page, select a target server, a schema, a database, and a new table. By default, the name for the target table is inherited from the imported table. Click Next.
Note
Since you opened the Data Import wizard from the Object Explorer, the wizard will open with the predefined connection parameters of the selected table.
4. Go through all wizard pages and specify the necessary information and settings.
5. In the lower-left corner of the wizard, click Save Template, specify the name and path to your template, and click Save. To run correctly, ensure the template and all the involved files are stored on your main C: hard drive.
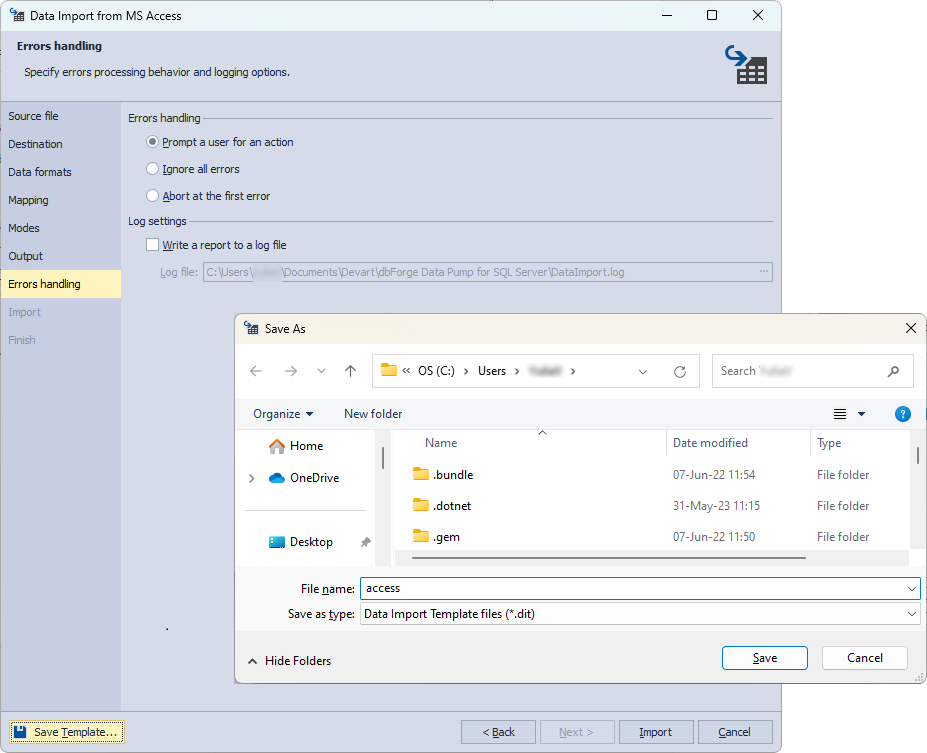
The template is ready, and we can import data from multiple tables using the command line.
Step 2: Create a bat. file
1. In any third-party text editor, for example, Notepad, enter the script to import data in bulk as follows:
- Type a path to the datapump.com file located in the dbForge Data Pump for SQL Server installation folder on your PC.
- Press the SPACE key and enter the
/dataimportoperation with arguments.
"C:\Program Files\Devart\dbForge SQL Tools Professional\dbForge Data Pump for SQL Server\datapump.com" /dataimport /templatefile:<filepath> /table:<targettable> / inputfile:<filename> /inputtable:<sourcetable>
-
The arguments should be substituted with your actual data:
/templatefile: Name of the template .dit file you created in the Data Import wizard./table: Full name of the target SQL Server table, including the corresponding schema and database, for example, sakila.dbo.country./inputfile: Name of the source file from which data should be imported./inputtable: Name of the source table from the said source file.
Note
As a result, you’ll need to write down a similar set of commands for all the tables you want to import.
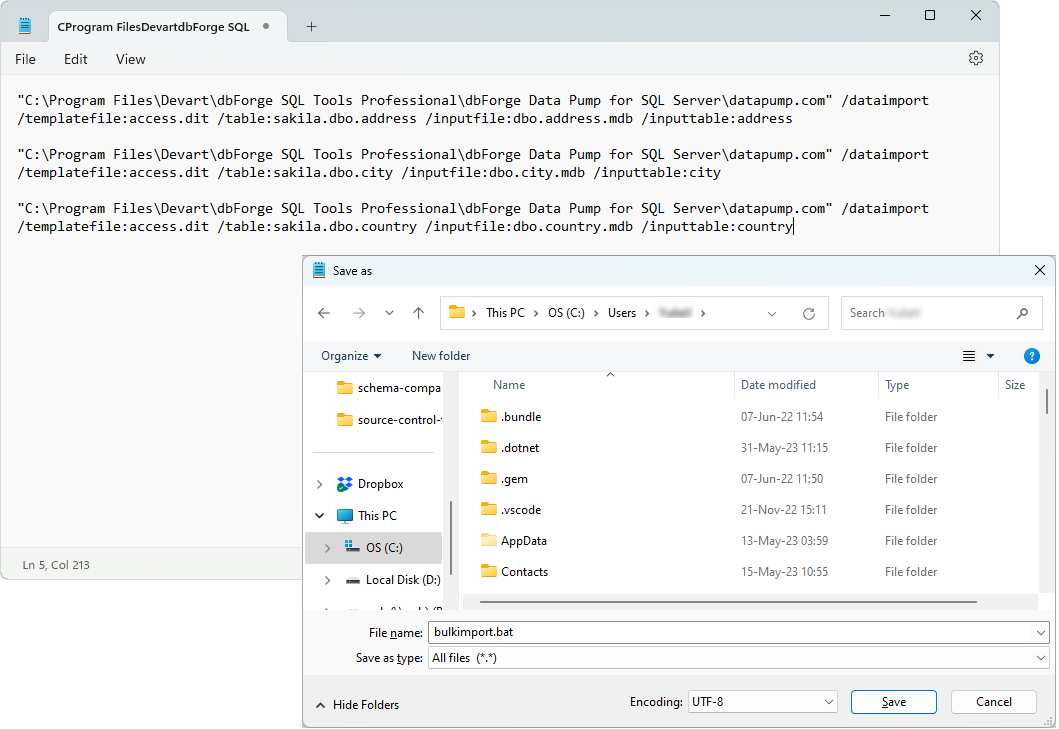
2. In our example, we import data from three tables. So, the batch file should be as follows:
"C:\Program Files\Devart\dbForge SQL Tools Professional\dbForge Data Pump for SQL Server\datapump.com" /dataimport /templatefile:access.dit /table:sakila.dbo.address /inputfile:dbo.address.mdb /inputtable:address

"C:\Program Files\Devart\dbForge SQL Tools Professional\dbForge Data Pump for SQL Server\datapump.com" /dataimport /templatefile:access.dit /table:sakila.dbo.city /inputfile:dbo.city.mdb /inputtable:city

"C:\Program Files\Devart\dbForge SQL Tools Professional\dbForge Data Pump for SQL Server\datapump.com" /dataimport /templatefile:access.dit /table:sakila.dbo.country /inputfile:dbo.country.mdb /inputtable:country
3. Save the batch in the same directory as the template file and files with data to be imported.
Step 3: Import data from the command line
1. Navigate to the batch file you’ve created and run it as administrator.
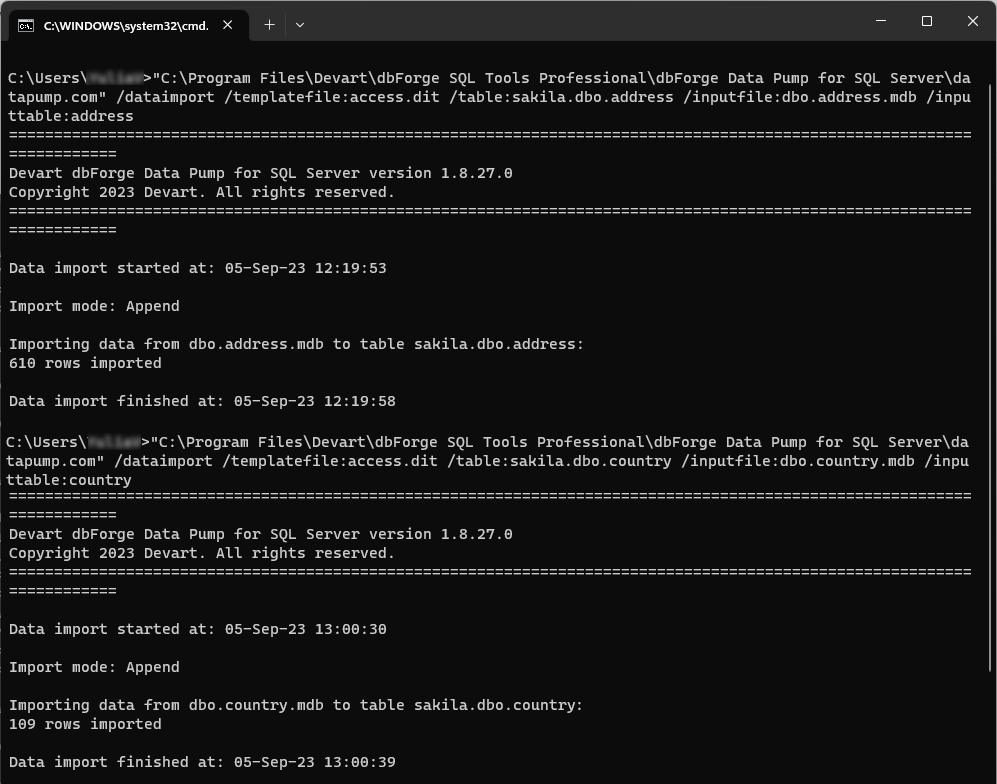
2. The result should be as follows:
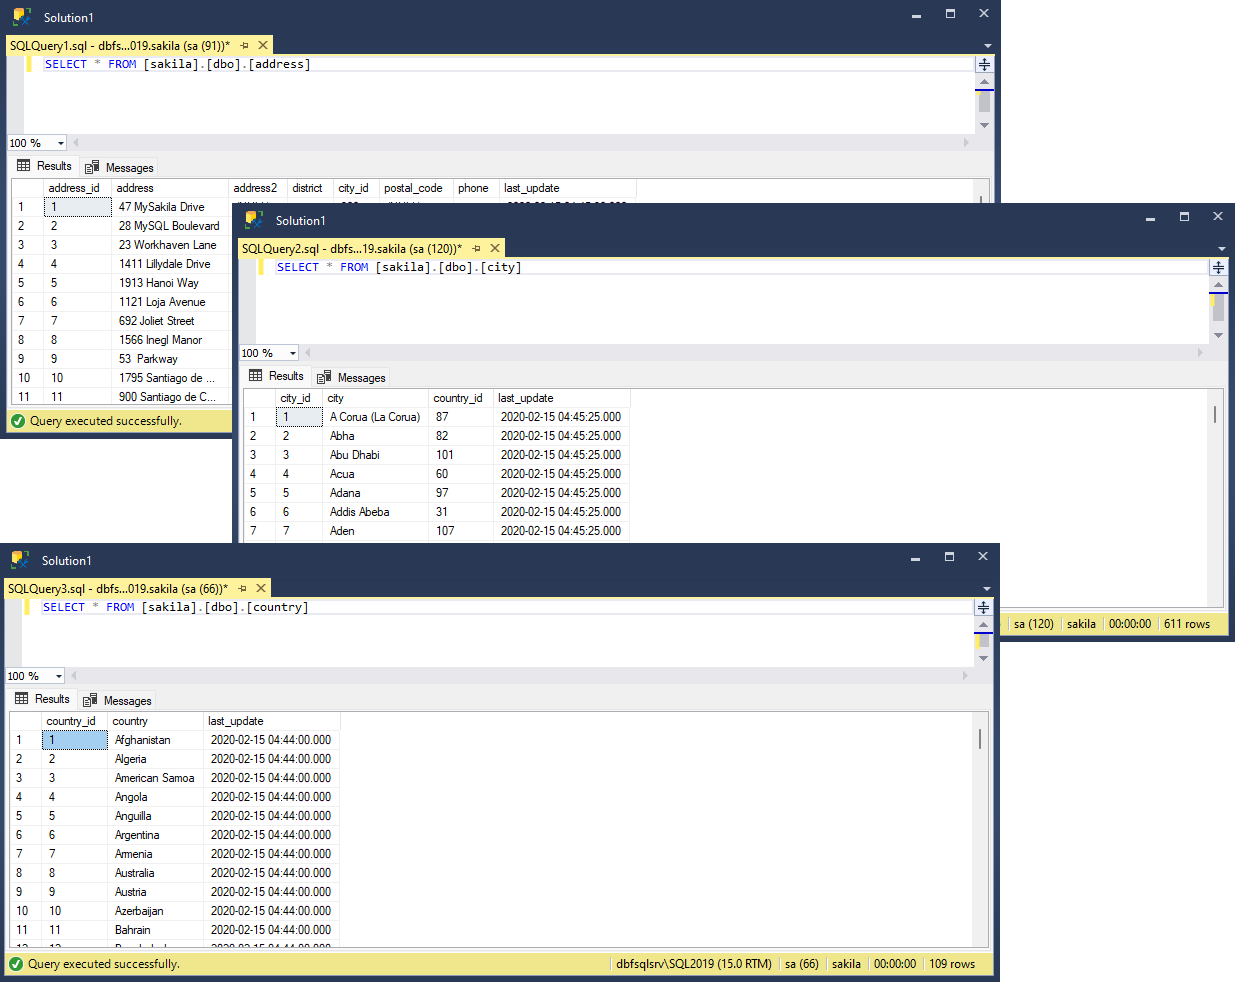
Now, get back to the SSMS and retrieve data from the address, city, and country tables to verify that the data has been imported.
Helpful materials
Automating Bulk Data Import from MS Access to SQL Server
Discover how to efficiently migrate data in large quantities from MS Access tables to SQL Server using the combined power of dbForge Data Pump and the PowerShell command line.