How to configure ODBC data source for SQL Server
To load or transfer SQL Server data using an ODBC provider, a data source name should be configured to connect to an ODBC data source.
Note
Prior to start configuring an ODBC data source, download and install ODBC drivers for SQL Server.
Since SSMS is a 32-bit application, only 32-bit ODBC drivers can be downloaded and installed.
To set up a new file data source
1. Open Control Panel > Administrative Tools and run ODBC Data Sources (32-bit).
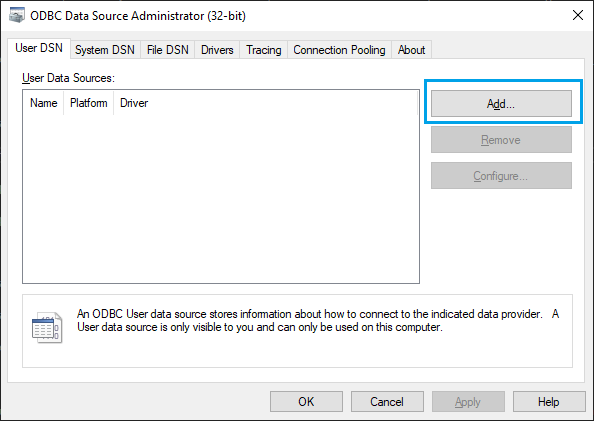
2. In the ODBC Data Source Administrator dialog that opens, on the User DSN tab, click Add.
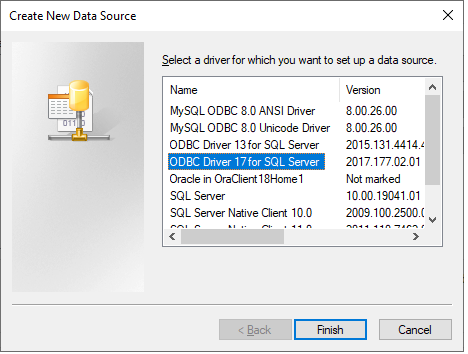
3. In the Create New Data Source dialog, select a driver for which you want to set up a data source and click Finish.
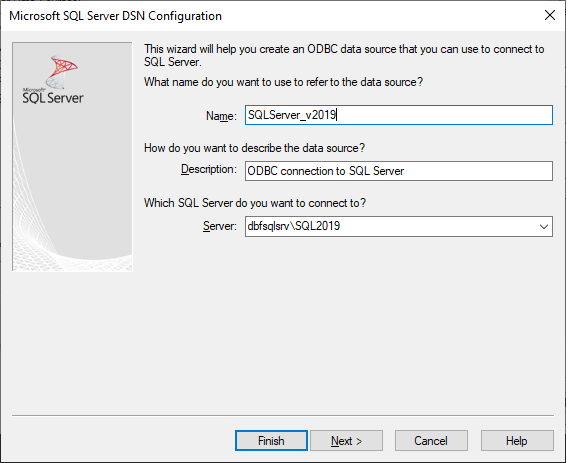
4. In the Create a New Data Source to SQL Server that opens, enter the following details and click Next:
- Name of the data source
- SQL Server you want to connect to
You can add the other information requested in the dialog or you leave those fields blank.
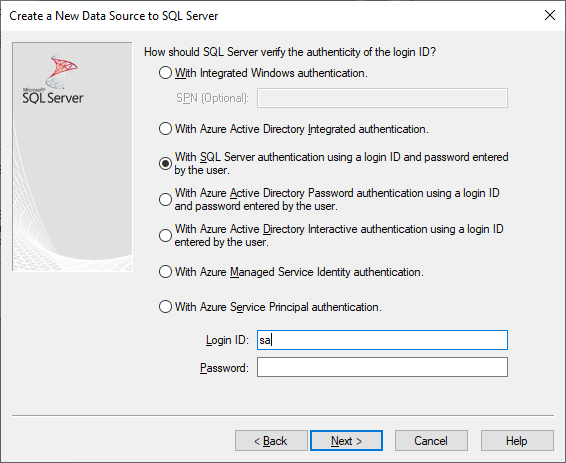
5. Select With SQL Server authentication using a login ID and password entered by the user, enter the login and password to connect to SQL Server, and click Next.
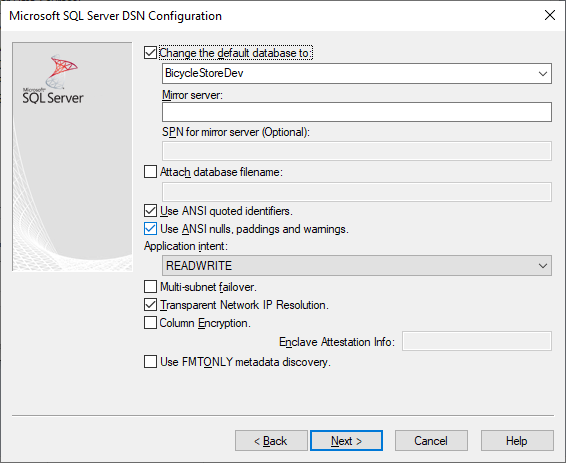
6. Select the Change the default database to check box and the database from the drop-down list. Then, click Next.
7. Click Finish.
8. In the ODBC Microsoft SQL Server Setup dialog that opens, view the data source configuration and click OK.
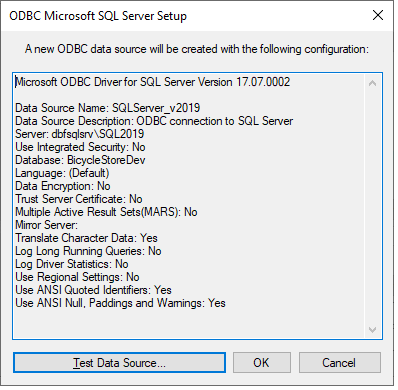
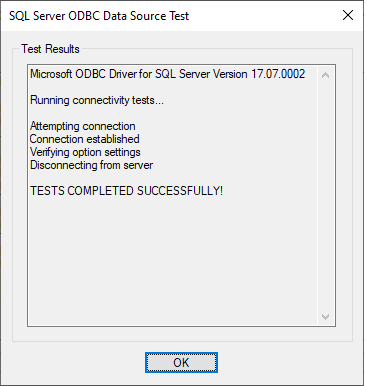
Optional: To verify the data source configuration, click Test Data Source. The pop-up displaying the test results completed successfully appears. Click OK.
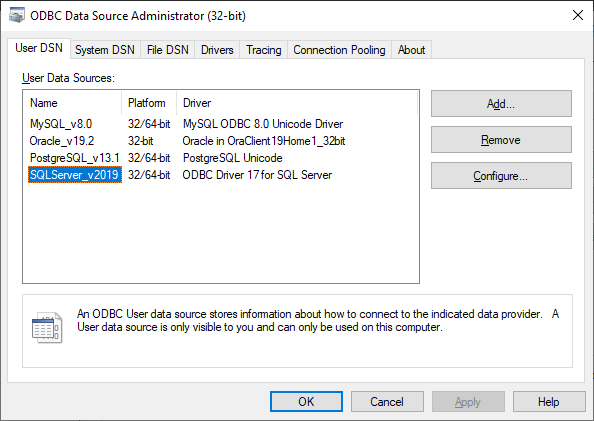
9. On the User DSN tab, the configured SQL Server data source is displayed.