How to recover individual rows from a backup
It is a common practice for users to accidentally delete or modify critical records in tables. In such cases, restoring specific rows from a backup is often the quickest and most effective solution.
Restore rows from a backup
1. On the toolbar, click New Data Comparison.
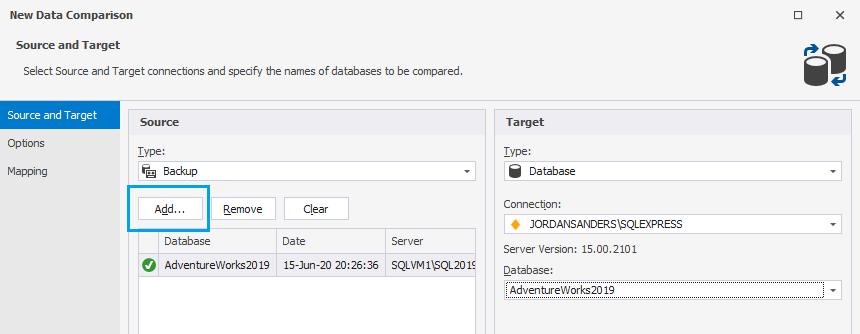
2. On the New Data Comparison wizard > Source and Target page, select the source and target sources:
- Under Source:
- Type: Select Backup as the data source
- Click Add to add a backup file. In the Open window, select the file and click Open
- Under Target:
- Type: Select Database as the target source
- Connection: Select the server connection on which the target database is located
- Database : Select the database to be compared
3. Switch to the Options page, set up data comparison options, and then click Next. For more information, see Configure comparison options.
4. On the Mapping page, select tables, views, and columns to be compared, and then click Compare. For more information, see Select tables, views, and columns for comparison.
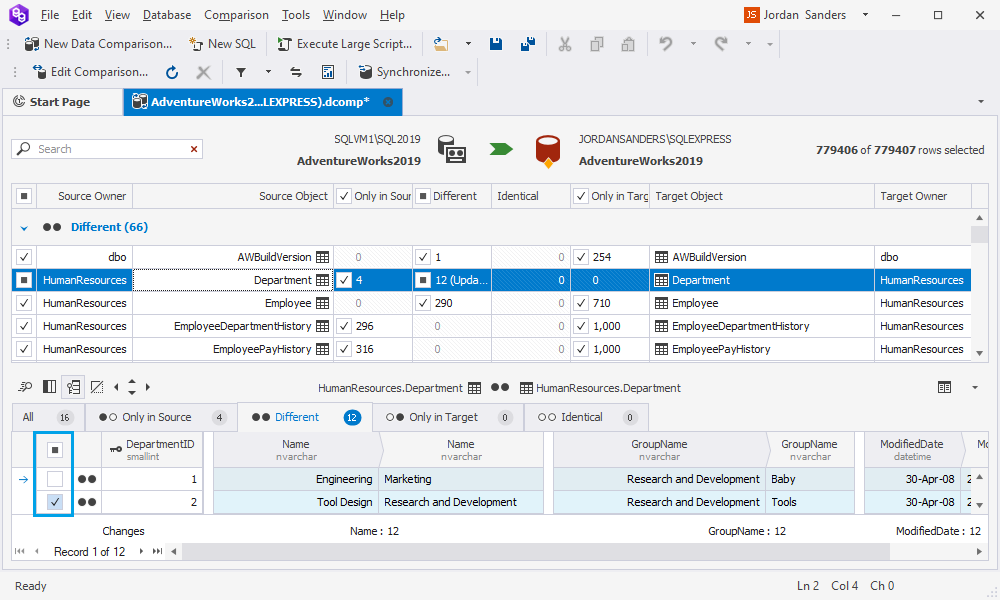
The Data Comparison document opens displaying source and target objects, the schema they belong to, and the number of different and identical records in the object. By default, all database objects are selected. You can use checkboxes to include or exclude objects and records for synchronization.
5. When you click the object in the upper grid of the document, the bottom Data differences view panel displays all the rows that belong to the selected object. The rows are categorized as identical, different, located only in the source, and located only in the target.
By default, all rows are selected. To exclude the rows from synchronization, clear the checkboxes next to the corresponding rows.
6. When everything is set, click Synchronize data to the target database to proceed with the synchronization process. For more detailed information, see the Deploy data changes documentation.
![]()
After synchronization has been done, the databases are updated with the selected rows, completing the data recovery process.