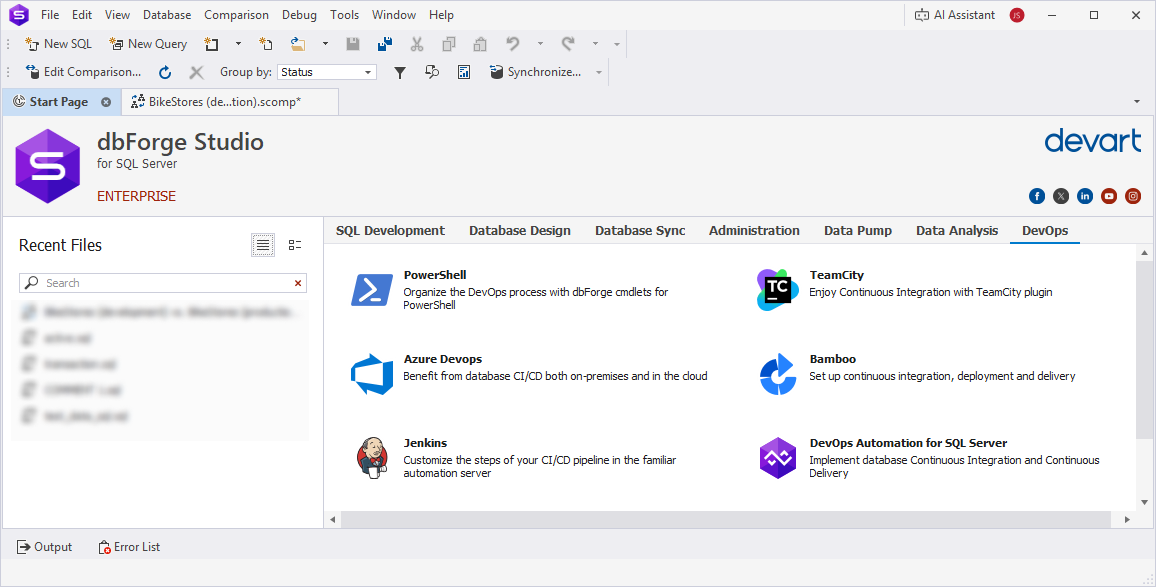
Integrate Schema Compare into DevOps
The Schema Compare tool in dbForge Studio for SQL Server can be integrated into a Continuous Integration (CI) workflow using PowerShell cmdlets.
Database schema synchronization can be automated not only from the command line, but also using a collection of PowerShell scripts and add-ins for Jenkins, Bamboo, and other CI/CD tools.
To use PowerShell scripts in dbForge Studio, you first need to install them in one of these ways:
- By using the PowerShell Gallery.
- By installing dbForge DevOps Automation as a part of the dbForge SQL Tools.
Tip
Use these guides to learn how to download and install add-ons for the following CI/CD tools:
Prerequisites
- Install dbForge DevOps Automation for SQL Server and dbForge Studio for SQL Server on your computer.
- Install PowerShell version 3.0 or higher.
Note
PowerShell is installed by default on Windows 8, 8.1, 10, and 11. For other versions, download it from the Microsoft Download Center.
To check your PowerShell version:
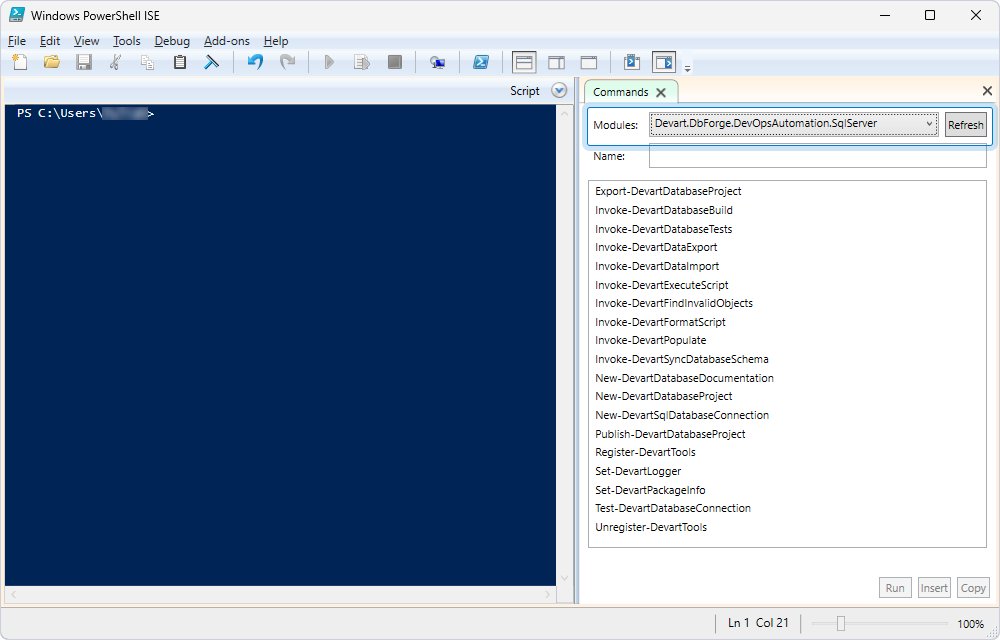
1. Open Windows PowerShell ISE.
2. Run the following command:
$PSVersionTable.PSVersion3. In the Major column, check the current version installed on your computer.
You can use dbForge Studio for SQL Server to create databases from state-based scripts by using the state-based or migration scripts approaches.
Workflow
When the CI process starts, a scripts folder is retrieved from the remote repository to the local machine.
1. Use the Invoke-DevartDatabaseBuild cmdlet to create a local database from the scripts folder. This cmdlet automatically launches Schema Compare.
2. Each time you change the database, use Schema Compare to synchronize the changes with the scripts folder so the CI process always uses the updated scripts.
3. Use the Invoke-DevartSyncDatabaseSchema cmdlet to compare and synchronize schemas.
Synchronize the database with the scripts folder
To synchronize the changes with the scripts folder:
1. Open dbForge Studio for SQL Server.
2. Start the New Schema Comparison wizard.
3. Set the source to the database and the target to the scripts folder.
4. Configure the required options, then click Compare.
5. In the Schema Comparison document, click Synchronize objects to the target database to update the scripts folder with the latest changes.
Install dbForge DevOps Automation PowerShell for SQL Server
dbForge DevOps Automation for SQL Server is included in dbForge SQL Tools (Professional and Enterprise editions) and contains the PowerShell module.
To install dbForge DevOps Automation PowerShell for SQL Server:
1. Log in to your Devart account, or sign up if you don’t have one.
2. Download dbForge DevOps Automation PowerShell for SQL Server.
3. Locate and run the sqltoolsent.exe file.
4. In the setup installer, click Install.
5. On the Select Products page, select the dbForge DevOps Automation PowerShell for SQL Server checkbox, then click Next.
6. Click Finish to close the wizard.
The Devart.DbForge.DevOpsAutomation.SqlServer module with a set of cmdlets appears in Windows PowerShell ISE.
Note
For more information about PowerShell cmdlets, see the corresponding guide for a specific cmdlet.
For more information about the list of requirements to run dbForge DevOps Automation, see Requirements and compatibility.
Create a database using the Invoke-DevartDatabaseBuild cmdlet
The Invoke-DevartDatabaseBuild cmdlet creates a database on SQL Server from a scripts folder.
To create a database using the cmdlet:
1. Run Windows PowerShell ISE on your computer.
2. Execute the following PowerShell script.
# Variables
$serverName = "demo-mssql\SQLEXPRESS02"
$databaseName = "AdventureWorks2022"

$scriptFolder = "D:\ScriptsFolder\"

# Create a database connection
Write-Host "Creating database connection..."
$connection = New-DevartSqlDatabaseConnection -Server $serverName
-Database $databaseName -WindowsAuthentication $true

# Test a database connection
Write-Host "Testing database connection..."
Test-DevartDatabaseConnection -Connection $connection;

# Recreating the database
Write-Host "Recreating database..."
Invoke-DevartDatabaseBuild -SourceScriptsFolder $scriptFolder -Connection $connection
The table describes the parameters from the script.
| Name | Description |
|---|---|
-Connection |
Connection to the server where the database will be created. |
-SourceScriptsFolder |
Scripts folder from which the database will be created. |
See also: How to automatically track database schema changes with PowerShell scripts
Synchronize schemas using the Invoke-DevartSyncDatabaseSchema cmdlet
After creating the database with the Invoke-DevartDatabaseBuild cmdlet, you can use the Invoke-DevartSyncDatabaseSchema cmdlet to compare and synchronize schemas between the database and a scripts folder (or another database). This allows you to automate the schema comparison step and apply changes as part of your CI/CD process, ensuring that the target environment stays in sync with the desired state.
1. Run Windows PowerShell on your computer.
2. Execute the following PowerShell script but replace the parameters with your actual data:
$sourceConnection = New-DevartSqlDatabaseConnection -Server "ProdSrv" -Database "Sales"
$targetConnection = New-DevartSqlDatabaseConnection -Server "TestSrv" -Database "Sales_Test"

$syncResult = Invoke-DevartSyncDatabaseSchema `
    -Source $sourceConnection `
    -Target $targetConnection `
    -Report `
    -ReportFilePath "D:\Reports\SchemaCompare.html" `
    -ReportFormat Html `
    -SynchronizationOptions "/IgnoreCase:Yes" `
    -TransactionIsolationLevel ReadCommitted

if ($syncResult) {
    Write-Host "Schema synchronized successfully"
} else {
    Write-Host "Schema synchronization failed"
}
The table describes the parameters from the script.
| Name | Description |
|---|---|
-Source |
Specify a source database. |
-Target |
Specify a destination database to be updated. |
-Report |
Generates a schema comparison report. |
-ReportFilePath |
Enter a path to the report file. |
-ReportFormat |
Specify a format of the comparison report. |
-SynchronizationOptions |
Specify the Schema Compare options used during creation of the script for synchronization. To include additional options, specify a slash-separated list of the options. |
-TransactionIsolationLevel |
Specify the isolation level for the transactions during the temporary deployment for validation. |