Command-line wizard
The built-in command-line wizard helps you generate command-line syntax based on the options you select. You can save the generated command to a .bat file and use it to schedule or automate data comparison and synchronization tasks.
Open the command-line wizard
Open the command-line wizard in one of these ways:
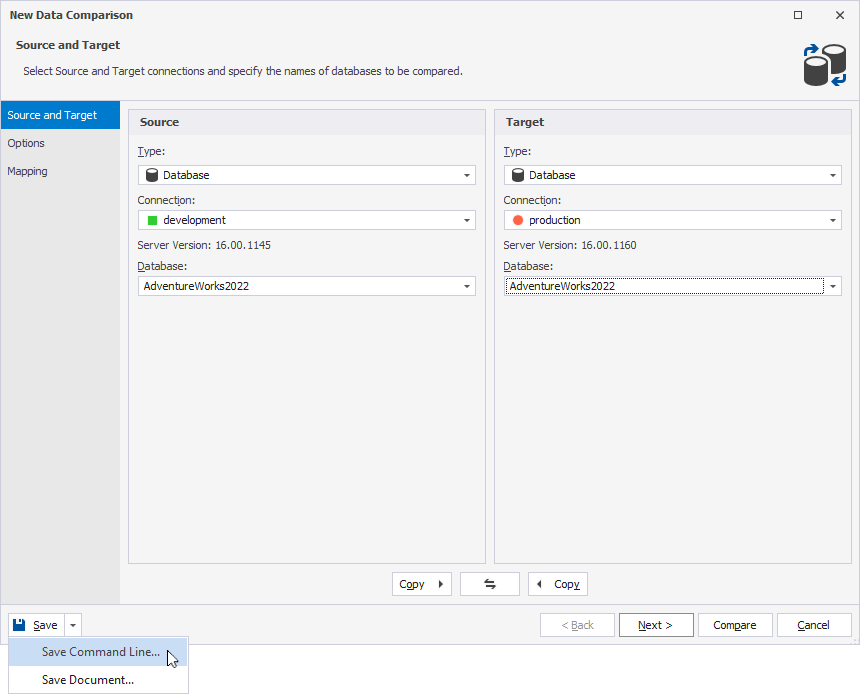
- In the lower-left corner of the New Data Comparison wizard, click the arrow next to Save, then select Save Command Line.
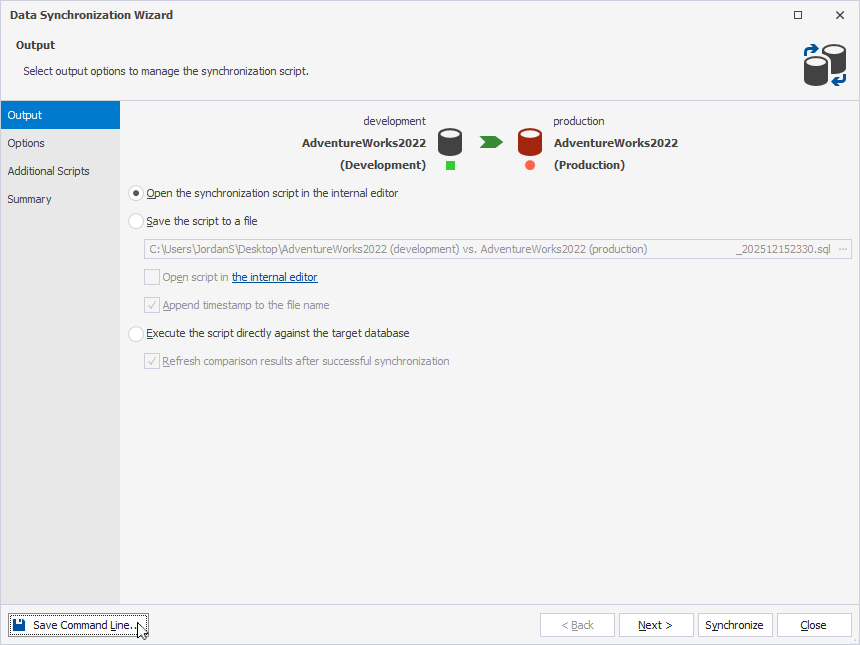
- In the lower-left corner of the Data Synchronization Wizard, click Save Command Line.
Command-line wizard options
The table provides options available in the command-line wizard.
Tip
To include an option, select its checkbox. To exclude an option, clear its checkbox.
| Option | Description |
|---|---|
| Comparison Project | Loads command-line settings from a comparison (.dcomp) project file. Usage: /compfile:<file_path> |
| Source | Specifies the source for comparison by using one of the following options:
|
| Target | Specifies the target for comparison by using one of the following options:
|
| Comparison Options | Specifies the options to manage data comparison. To select the options, click the ellipsis (…) and select the required options, then click OK. |
| Report | Generates a data comparison report file. If the output file name uses the .html, .xls, or .csv extension, the format is selected automatically. Usage: /report:<file_path> |
| Report Format | Specifies the format of a data comparison file. Available options:
The Report Format option is available when the Report option is selected. Usage: /reportformat:<HTML|XLS|CSV> |
| Include Objects | Specifies the objects that will be included in the report. Available options:
The Include Objects option is available when the Report option is selected. Usage: /IncludeObjects:<All|Diff|SelectForSync> |
| Append timestamp to the report | Generates the folder name with a timestamp for a comparison report. The Append timestamp to the report option is available when the Report option is selected. |
| Include compare and sync options | Includes the comparison and synchronization settings in the comparison report. The Include compare and sync options option is available when the Report option is selected. |
| Warnings | Includes the comparison and synchronization warnings in the comparison report. The Warnings option is available when the Report option is selected. By default, the option is selected. |
| Show the number of differences for each column | Shows the number of differences for each column. The Show the number of differences for each column option is available when the Report option is selected. By default, the option is selected. |
| Include actual data records for different objects | Includes the data records for different objects in the comparison report. The Include actual data records for different objects option is available when the Report option is selected. |
| Hide unmodified columns | Excludes columns without differences from the comparison report. By default, the option is selected. |
| Log File | Generates a comparison log file in the specified directory. Usage: /log:<file_path> |
| Synchronization | Starts database synchronization. If an output file path is specified, only a synchronization script is generated. Usage: /sync:<file_path> |
| Synchronization Options | Specifies the options to manage a synchronization script. To select the options, click the ellipsis (…) and select the required options, then click OK. The Synchronization Options option is available when the Synchronization option is selected. |
| Synchronization File | Specifies the full path to the database synchronization script file. The Synchronization File option is available when the Synchronization option is selected. |
| Execute | Executes the generated synchronization script. The Execute option is available when the Synchronization option is selected. |
| Error Code | Adds an exit code check between the comparison and synchronization steps. If the comparison step fails, the synchronization script is not executed, and the .bat file exits immediately. The Error Code option is available when the Execute option is selected. |
| Arguments File | Generates a .txt file containing command-line settings and arguments that will be stored at the specified path. Usage: /argfile:<file_path> |
| Echo OFF | Wraps all text in the .bat file within the @Echo OFF ... Echo ON block. |
| Keep opened | Adds the pause command at the end of the .bat file. |
| PowerShell | Adds the & symbol at the beginning of the .bat file. |
The text box displays the generated script with the specified options.
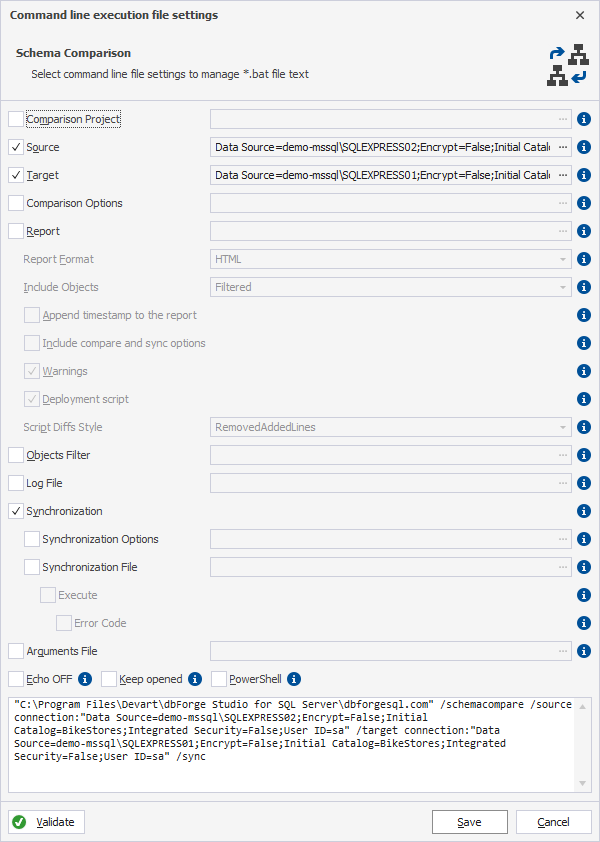
To save the settings in the .bat file, click Save.
To close the dialog, click Cancel.
Command-line validation
To verify the settings, click Validate.
If the parameter validation succeeds, the following message appears:
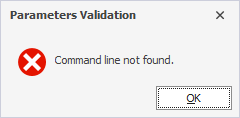
If the parameter validation fails the tool displays the error, for example: