Perforce Repository Integration Setup
System Requirements
To work with Perforce, Review Assistant requires P4 (Command-Line Client). You can download it from the Perforce official website.
Note: If you already work with Perforce, for example, via 4V (visual client), or via P4VS (Perforce Plug-in for Visual Studio), no additional installation is required.
To set up an integration with a Perforce repository for the project:
-
Click the Options button on the Code Review Board.
-
Go to the Projects tab.
-
Select a project from the list.
-
Click Add New Repository.
-
Select Perforce as a repository type.
-
Specify a Host — your Perforce server URL, for example: PerforceServer:8080
-
Specify the Perforce server settings
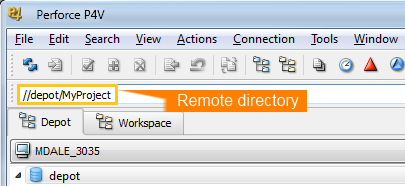
Remote directory — Perforce server-side directory. For example: //depot/MyProject
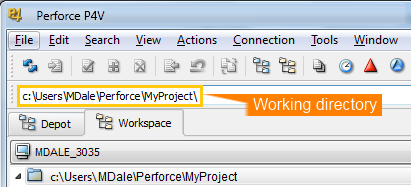
Working directory — where you check out the source code. For example: c:\Users\UserName\Perforce\MyProject
-
Enter a Description.
-
Click Credentials, and enter the login information to connect to Perforce, then click OK.
You will be notified when a connection is established (or if the connection failed).
-
Click Apply.
-
Go to the Version Control tab.
-
Provide path to the p4.exe file.
Note: Working directory path may vary for different PC’s; If you change this settings, they will be stored only for current Windows user.
Note: If you enter a new working directory or change the existing one, you can also set it as a default directory or reset it to the default value.