How to export SQL Server data to ODBC
ODBC (Open Database Connectivity) is a standard API for accessing database management systems. ODBC is not limited to a single DBMS owing to an ODBC driver, which is used as a translation layer between the application and the DBMS. The application uses ODBC functions through an ODBC driver manager with which it is linked, and the driver passes the query to the DBMS.
To export data to ODBC:
1. In Database Explorer, right-click the required table or selected data in the grid, and then select Export Data from the shortcut menu.
Note
Query Builder comes with Paginal Mode enabled by default, limiting data selection to the first 1000 records. To export more records, disable the Paginal Mode and press Ctrl+End to fetch all the selected data at once. Then, click
Export Data at the top of the grid to open the Data Export Wizard.
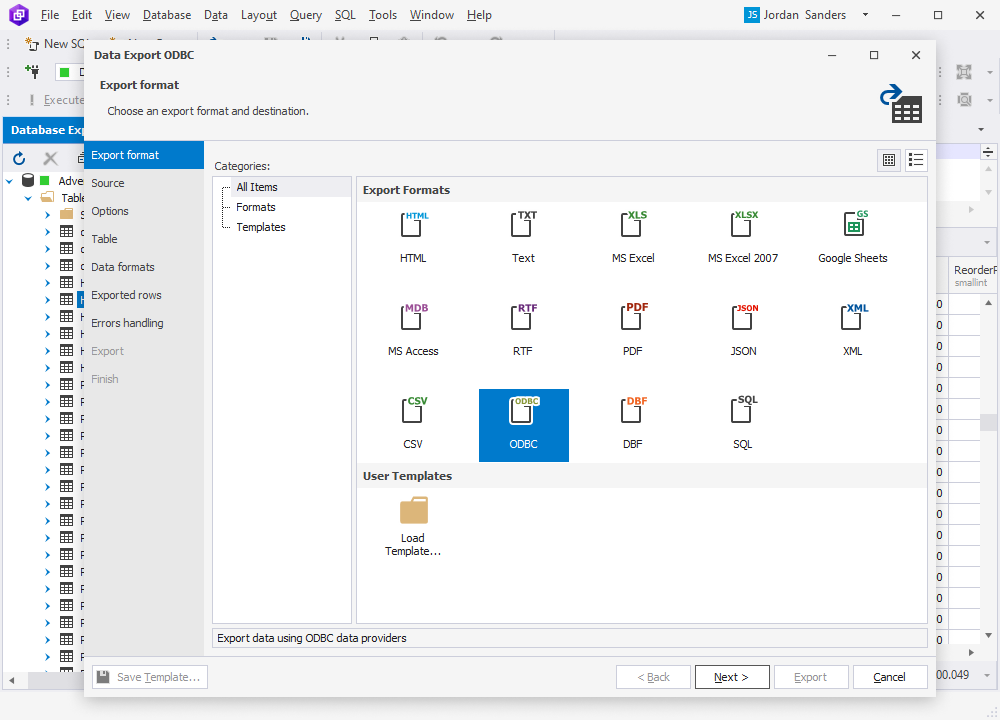
2. On the Export format page, select the ODBC export format or load export options from a template file if you saved it previously. Click Next.
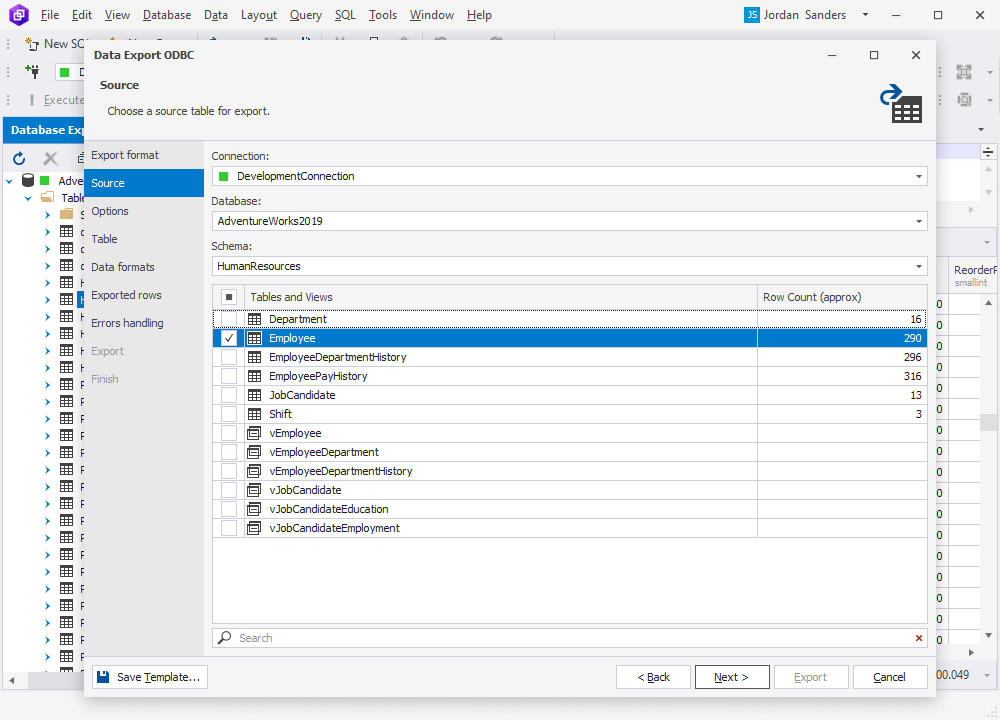
3. On the Source page, select a server connection, a database and its schema, table(s) and view(s) that you want to export, and click Next.
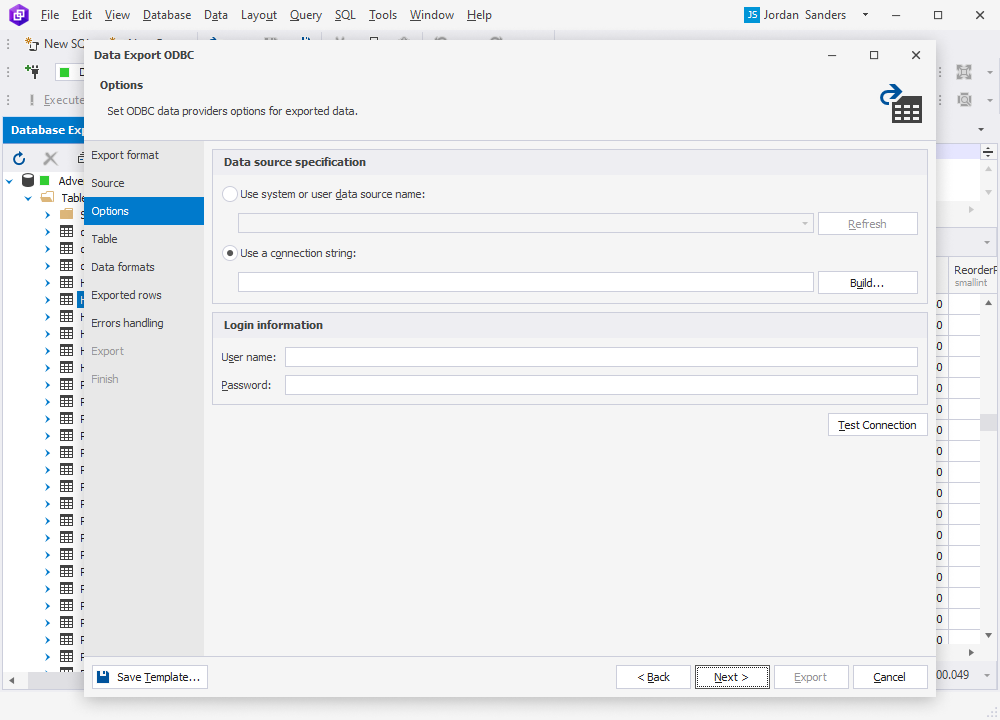
4. On the Options page, you can configure the data source specification (either using a connection string or by specifying a system or user data source name). Then enter your login information and click Next.
5. On the Table page, select a target table or view (either new or existing one) for export and click Next.
6. On the Data formats page, you have two auxiliary tabs. The first one is Columns, where you can select columns for export and check their aliases and data types.
The second one is Formats, where you can change the default format settings for Date, Time, Date Time, Currency, Float, Integer, Boolean, Null String, as well as select the required binary encoding from the drop-down list.
7. On the Exported rows page, you can select to export all rows, export the rows selected on the Data formats page, or export a specified range of rows.
8. On the Errors handling page, you can specify the error processing behavior (using one of the three available options: Prompt the user for an action, Ignore all errors, or Abort at the first error) and opt to write reports to a log file with a specified path.
Note
If you want to save your export settings as templates for recurring scenarios, click Save Template.
9. Click Export. When your data export is completed, you have several options: you can open the exported file or folder, perform another export operation, view the log file, or simply click Finish.
Note
To learn how to start working with Devart ODBC drivers effectively, refer to How to configure Devart ODBC drivers.