Manipulating User Accounts
This topic tells you how to manipulate user accounts with dbForge Fusion for SQL Server Security Manager.
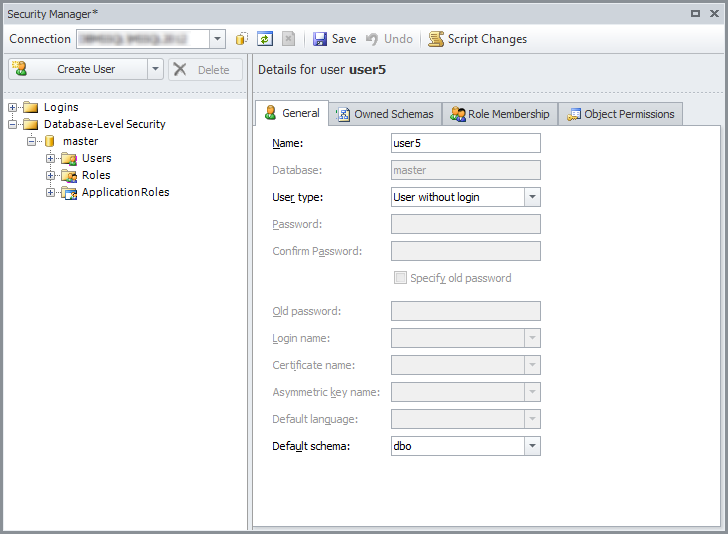
Security Manager provides an easy way to add, alter, or remove users visually without typing an SQL code. To open Security Manager, on the Fusion menu, point to Microsoft SQL Server, and select Security Manager.
Creating a User Account
-
Open Security Manager.
-
Click the Create User button above the User List
-or-
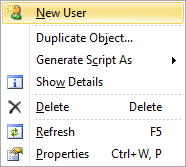
right-click a user and select New User on the shortcut menu.
-
Fill in the Name, Database, Password, and Confirm Password fields.
-
Grant necessary privileges to a user (For information about granting privileges to user, see the Granting Privileges on Database Objects, and Using Roles in Security Manager topics).
-
Optionally, set the server resources limit for the user.
-
Click the Save button on the Security Manager toolbar.
Duplicating Users
dbForge Fusion for SQL Server allows you to create a new user, based on the existing one. To do it, right-click the user in Security Manager and select Duplicate Object on the shortcut menu. The right part of the editor will contain a new user, that is an exact copy of the existing one except its name. Make changes to the user if you need and save it. Note that no user will be created until you Save the changes.
Editing a User Account
Open Security Manager and select the required user account in the tree. After editing, click the Save button on the Security Manager toolbar to apply changes. If you want to discard changes, click the Undo button on the Security Manager toolbar. You can view SQL statements that should be executed to apply changes. To view them, click the Script Changes button on the Security Manager toolbar.
Deleting a User Account
Open Security Manager, right-click the account you want to delete, and select Delete on the shortcut menu, or select the required user in the list and click the Delete button above the user List, or press the DELETE key.