How to import data from Microsoft Access to SQL Server
MDB is the default database file format used in Microsoft Access 2003 and earlier. An MDB file stores data in database tables that are linked to each other via primary and foreign keys. It contains the complete structure of database tables and may also store queries, stored procedures, and database security settings.
Note
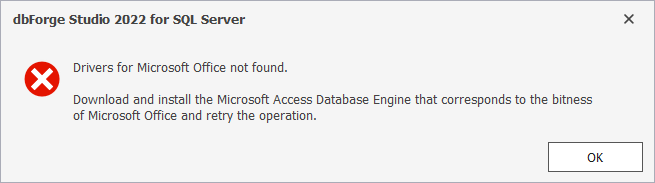
Make sure that Microsoft Access Database Engine 2016 Redistributable x32 and x64 (accessdatabaseengine.exe and accessdatabaseengine_X64.exe) are installed on your computer. Otherwise, you might encounter the following error during data import:
To import data from Microsoft Access:
1. In Object Explorer, right-click a database, point to Data Pump, and then click Import Data.
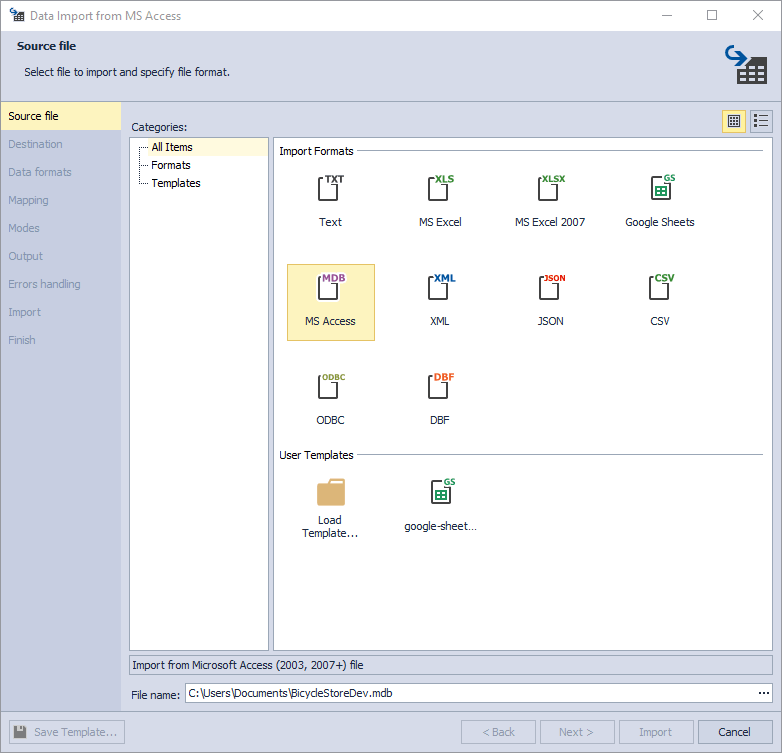
2. On the Source file page, select the MS Access import format. Load import options from a template file in User Templates if you saved it previously. Specify the path and the name of your source file and click Next.
Note
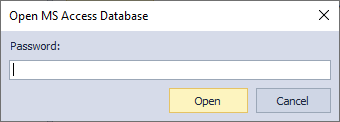
If your source file is protected with a password, the Open MS Access database dialog box will appear and prompt you to enter the password and click Open to proceed.
3. On the Destination page, you have two sections, Source and Target.
- In the Source section, you can look up and select the required table/view. To quickly find a table/view in the list, start typing its name in the search bar. The list will be filtered automatically, showing the tables/views containing the typed characters in their names.
Note
You can use a custom query for partial data import. Click Custom Query and edit the query. Click OK to save the changes.
- In the Target section, select a target server connection, a database, and its schema. Then select whether the data will be imported into a New table (in this case, you need to specify its name) or into an Existing table. Click Next.
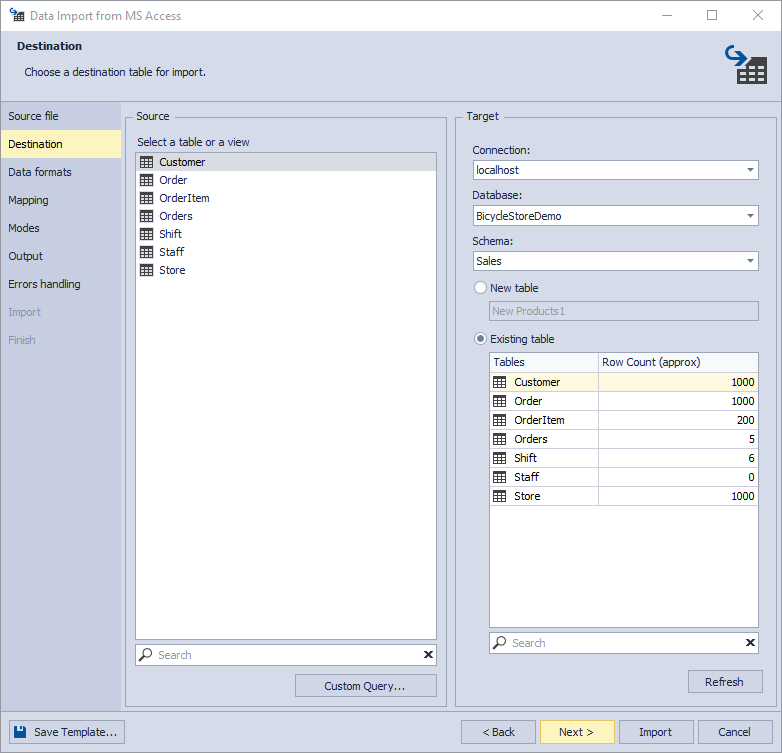
As you can see in the screenshot, the Customer table is currently selected for importing, and that is where the data will be imported to.
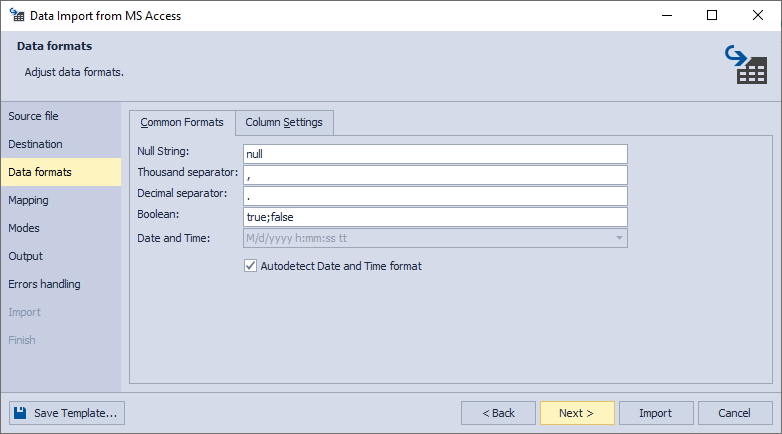
4. On the Data formats page, you have two auxiliary tabs. The first one is Common Formats, where you can specify the formats for null strings, thousand and decimal separators, boolean variables, date and time. There is also a check box Autodetect Date and Time format, selected by default.
The second one is Column Settings, where you can configure the format settings for separate columns. You have 4 options here: Null String, Left Quote, Right Quote, and Date and Time. Note that if a format mask is not set, the application will identify date/time values automatically.
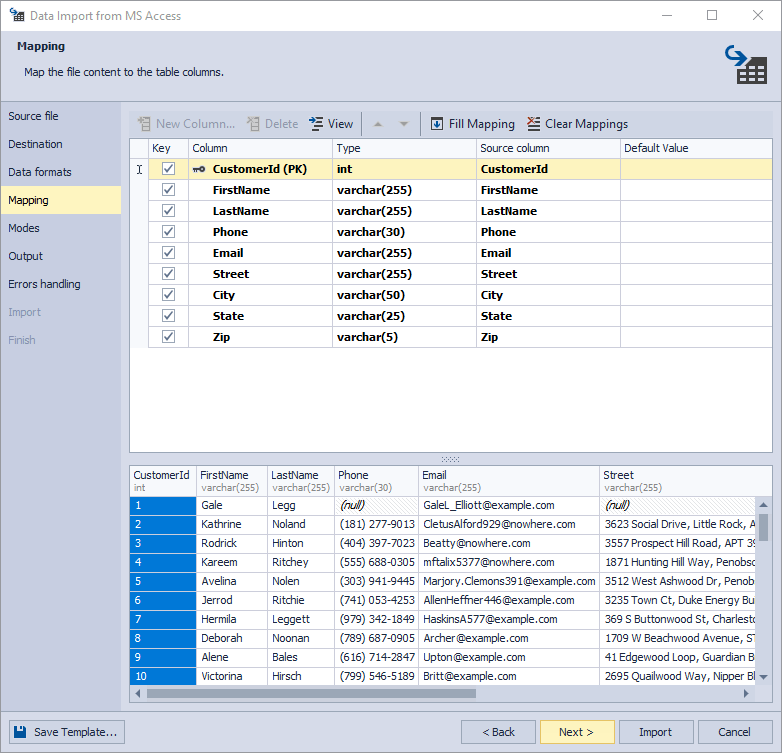
5. On the Mapping page, you can map the source columns to the target ones. If you are importing data into a new table, the application will automatically create and map all the columns. You can add, delete, edit, and reposition columns with the corresponding buttons and see the results in the Preview section.
Select the key columns to import using the following modes: Update, Append/Update, and Delete.
Note
If you are importing into an existing table with, only columns with the same names will be mapped, and the rest should be mapped manually. If no columns with the same name are found, they are mapped in succession - the 1st column in Source with the 1st column in Target, etc. If exporting to an existing table with a key column, it will be selected automatically.
Finally, to clear the mapping of all columns, click Clear Mappings on the toolbar. To restore it, click Fill Mapping. Click View to see the column properties.
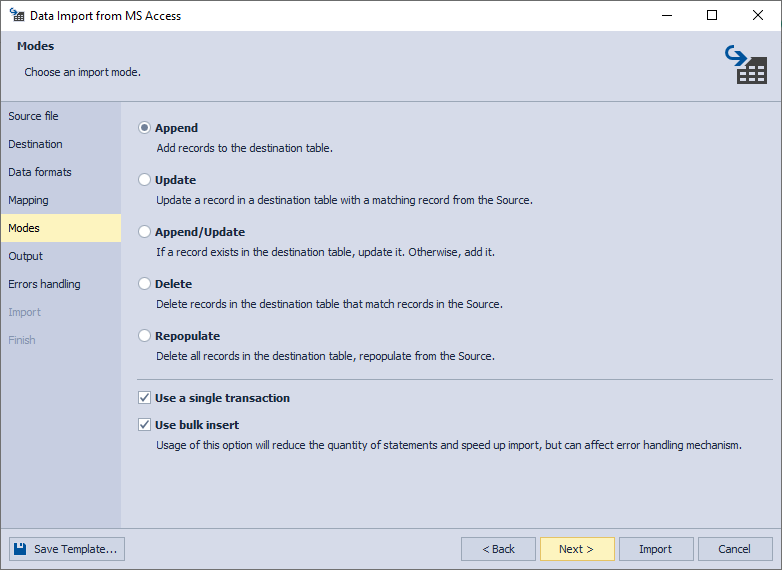
6. On the Modes page, select an import mode. There are 5 available modes:
- Append - add records to the target table
- Update - update a record in the target table with a matching record from the source
- Append/Update - update a record if it exists in the target table; otherwise, add a record
- Delete - delete records in the target table that match records in the source
- Repopulate - delete all records in the target table and repopulate them from the source
Note
All five modes are accessible only when you have selected a key column on the Mapping page.
Optionally, you can select Use a single transaction and Use bulk insert (the latter of which reduces the number of statements and speeds up import, but can affect the error handling mechanism).
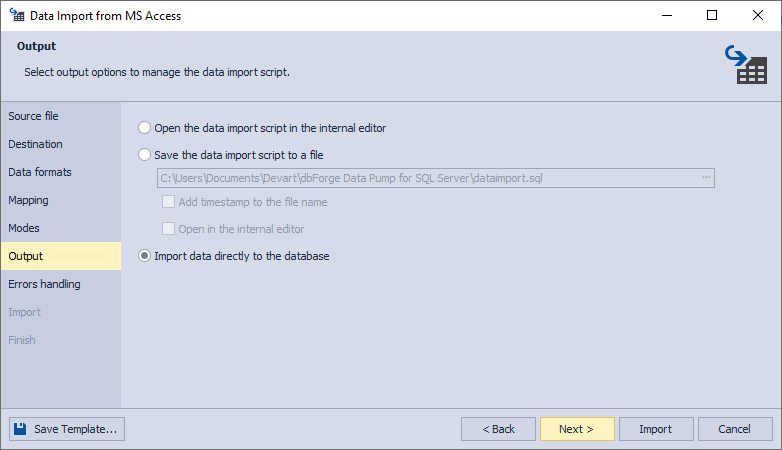
7. On the Output page, you have 3 options:
- Open the data import script in the internal editor.
- Save the data import script to a file. To use this option, specify the path and the file name. Additionally, you can select the corresponding checkboxes to Add timestamp to the file name and Open in the internal editor.
- Import data directly to the database.
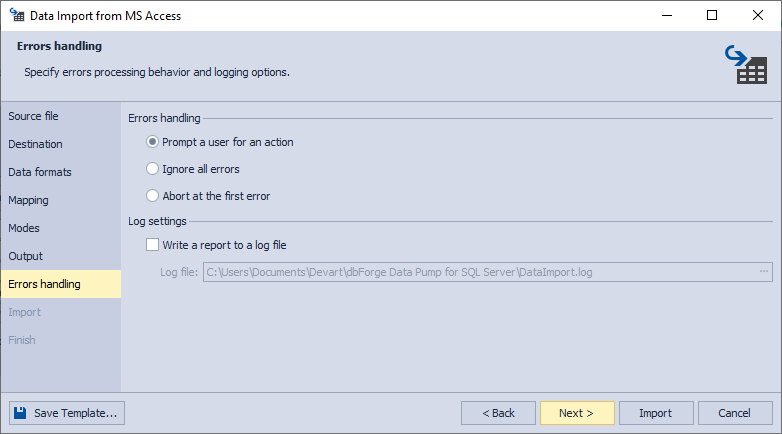
8. On the Errors handling page, you can specify the error processing behavior (using one of the three available options: Prompt the user for an action, Ignore all errors, or Abort at the first error) and opt to write reports to a log file with a specified path.
Note
If you want to save your import settings as templates for recurring scenarios, click Save Template.
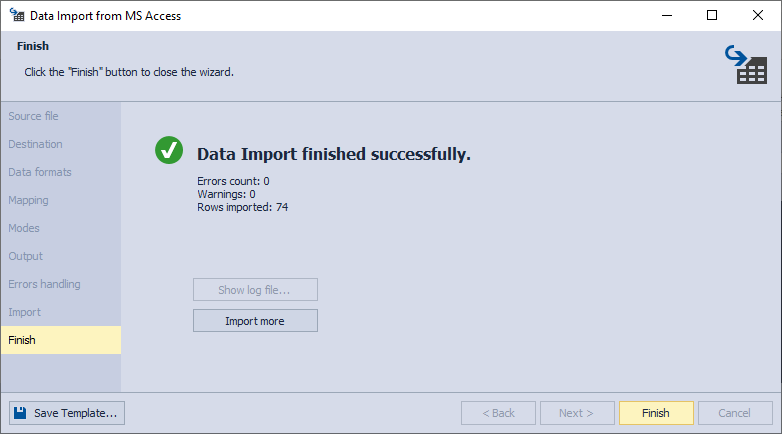
9. Click Import. When your data import is successfully completed, you can view the log file or click Finish to exit the wizard.
To transfer a large amount of data, refer to How to import data in bulk.
Helpful materials
How to Convert a Microsoft Access Database to a SQL Server Database
Learn how to use dbForge Studio for SQL Server to migrate a Microsoft Access database to a SQL Server database.