Configure table generation settings
After you set the default options for your data generation project, you can customize the settings for each table.
To configure table generation settings:
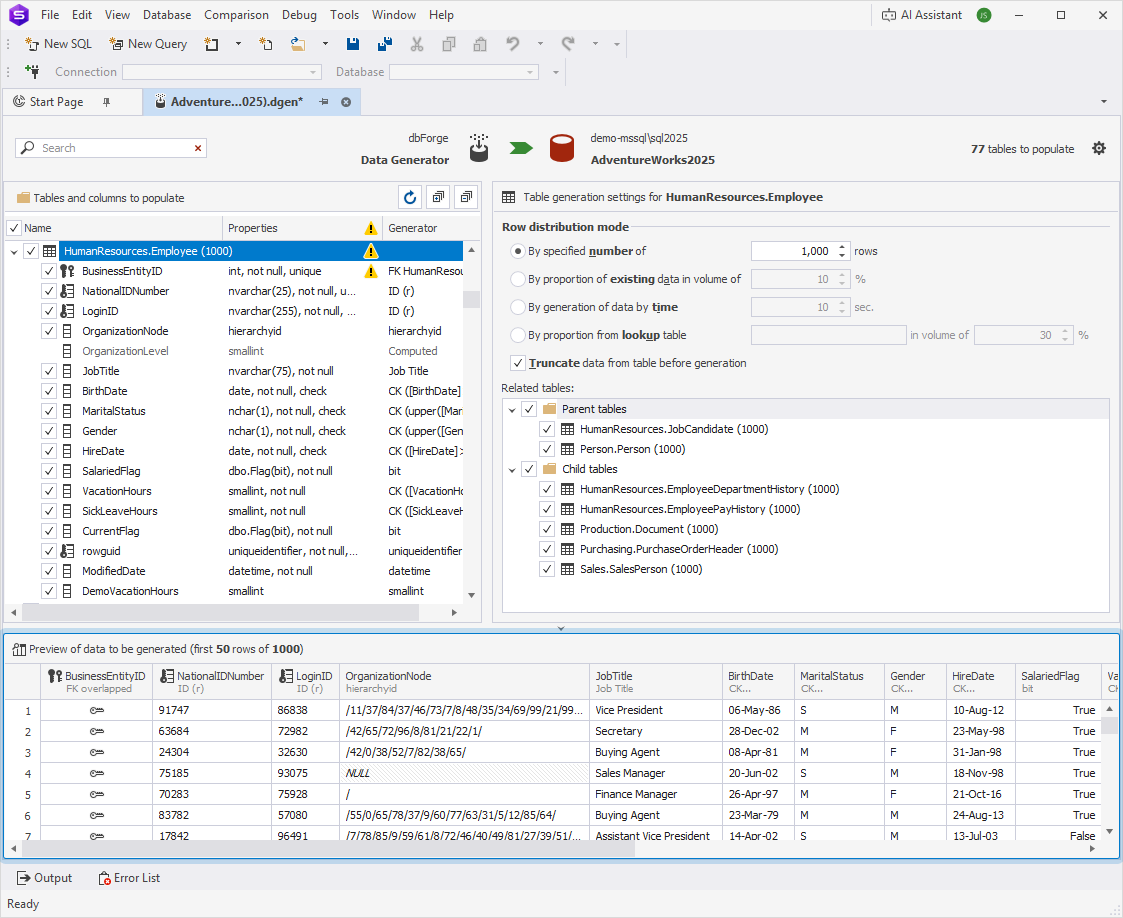
1. Under Tables and columns to populate, select the table you want to populate.
Tip
To update a list of tables and columns, click
.
To expand all tables and columns, click
.
To collapse all tables and columns, click
.
To review or update the data generation project settings, click
.
2. Under Table generation settings, configure table generation settings.
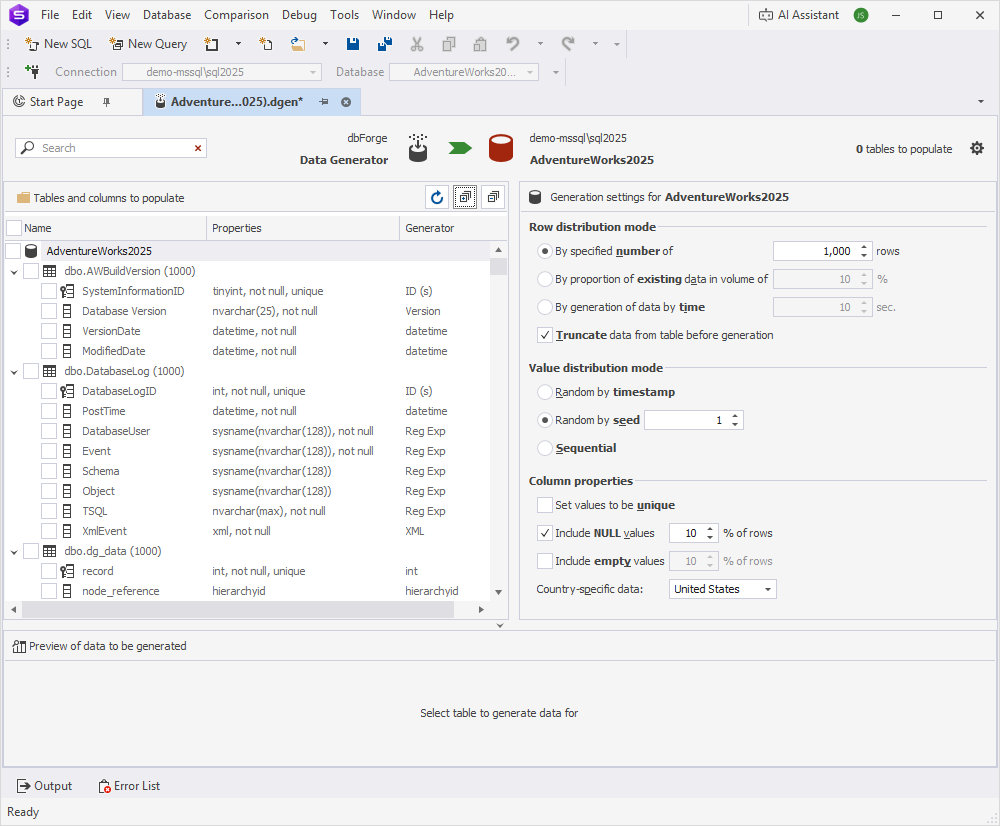
The table provides a detailed description of data generation settings for tables.
| Name | Description | Default value |
|---|---|---|
| By specified number of | Sets the number of rows to populate. | 1000 rows |
| By proportion of existing data in volume of | Specifies the percentage of rows to populate. | 10% |
| By generation of data by time | Specifies the time period in seconds during which data will be generated for each table. | 10 sec |
| By proportion from lookup table | Specifies the proportion of data to generate from a lookup table. | 30% |
| Truncate data from table before generation | Specifies whether to remove existing data from the target table before generating new data.
|
3. Under Related tables, review and select the tables related to the current table for data population. They are grouped into Parent tables and Child tables.
Note
A parent table contains the primary key that other tables reference. A child table contains a foreign key that references the primary key of the parent table. If you exclude related tables from data generation, the process may fail due to referential integrity constraints.
The configuration results appear in the Preview area.
After you configure table generation settings, you can configure column generation settings.