Create rollback scripts
If you encounter any issues or errors during the deployment, you can create a data rollback script to undo changes and restore the SQL database to its previous state.
Note
Always create an undo or rollback script before deploying the database changes.
Workflow
You can create a rollback script in one of these ways:
- Method 1: Perform the comparison using the same settings as when comparing databases for deployment, then change the synchronization direction, and generate the script.
- Method 2: Use the same comparison settings as for a deployment script, but swap the source and target databases on the Source and Target page of the New Data Comparison or Change Data Comparison Properties wizard, re-run the comparison, and generate a script.
Recommendations
Before deploying data changes, it is recommended to:
- Back up the database.
- Save the database structure to a scripts folder.
Method 1 – Create a data rollback script
2. Right-click the Data Comparison results grid and select Change Synchronization Direction.
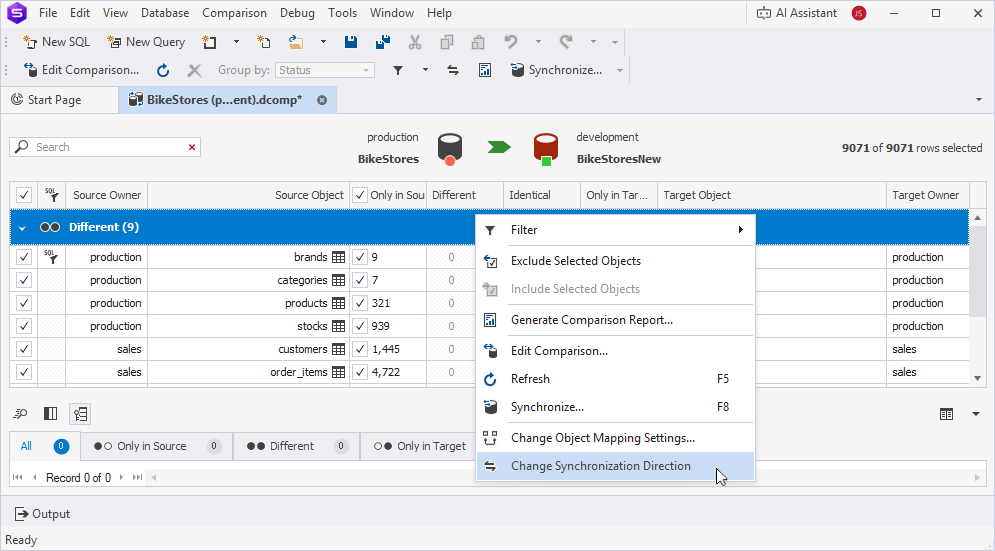
The synchronization arrow now turns red and gets the opposite direction.

3. At the top of the document, click  to open the Data Synchronization Wizard.
4. Select an output option to generate a synchronization script.
5. Click Synchronize.
Method 2 – Create a data rollback script
1. Open the New Data Comparison wizard in one of these ways:
- In the top menu, select Comparison > New Data Comparison.
- On the Start Page, select Database Sync > New Data Comparison.
- In Database Explorer, right-click the server connection or database and select Tasks > New Data Comparison.
Note
If you have already performed the data comparison, on the Comparison toolbar, click Edit Comparison to open the Change Data Comparison Settings wizard.
2. On the Source and Target page, click ![]() .
.
3. Optional: Configure data comparison options.
4. Click Compare.
5. Review the generated .dcomp file.
6. At the top of the Data Comparison document, click  to open the Data Synchronization Wizard.
7. Select an output option.
8. Click Synchronize.