Manual installation of dbForge Studio via CrossOver
You can install dbForge Studio for MySQL manually. In this case, you will also have to install all the required prerequisite software manually as well.
Manual installation comprises the following steps:
Step 1. Install the prerequisite software
Step 2. Install dbForge Studio
Note
This guide implies that you have already downloaded and installed CrossOver 22 for macOS or Linux.
Install the prerequisite software
To run properly, dbForge Studio for MySQL depends on other components, namely .NET Framework 4.7.2, and before installing the Studio, you need to make sure that the environment it will operate in meets the prerequisite requirements.
Thus the first step is to install the .NET Framework 4.7.2 package into a bottle where dbForge Studio will be later installed.
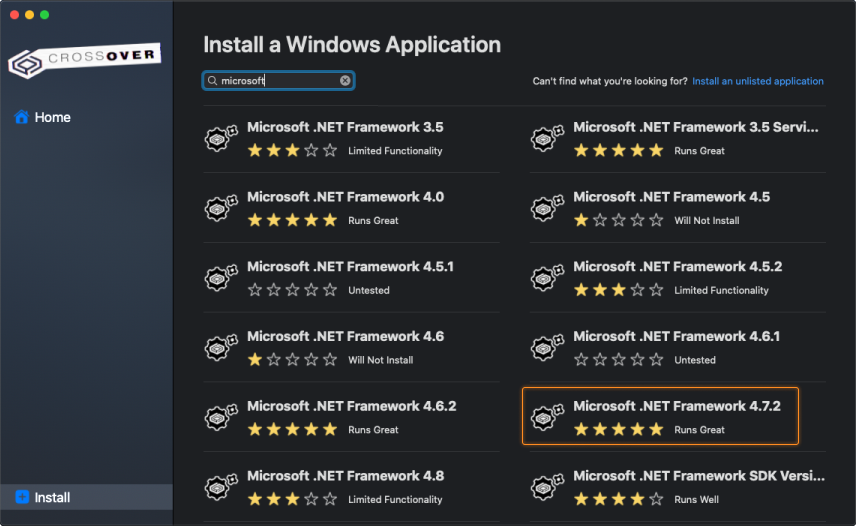
1. Open CrossOver. On the Install a Windows Application page, start entering “Microsoft .NET Framework 4.7.2” in the search box. Then click Microsoft .NET Framework 4.7.2 in the results.
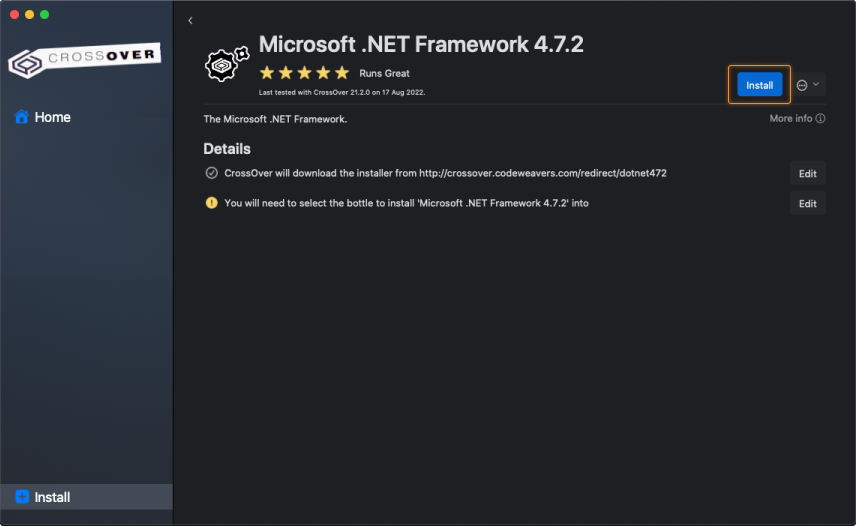
2. On the dedicated page of .NET Framework 4.7.2, click Install.
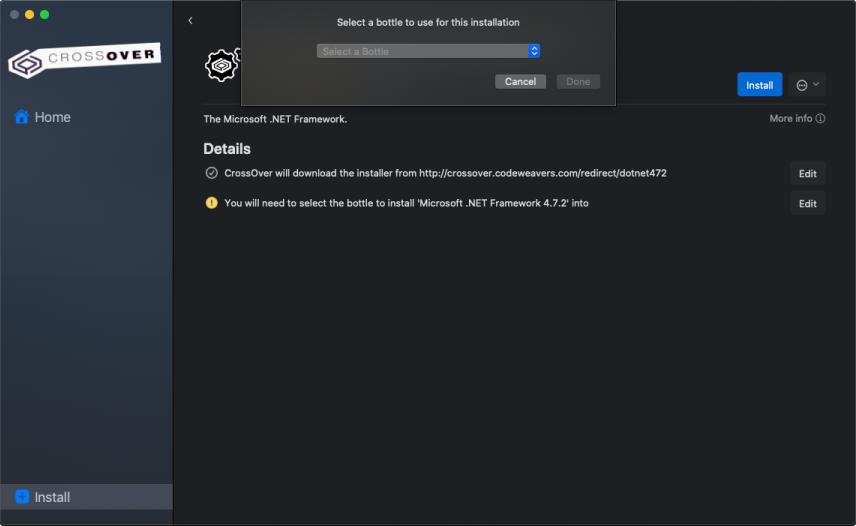
3. You will be prompted to select a bottle for the .NET Framework package to be installed into. Click Select a Bottle to either create a new bottle or select an existing one.
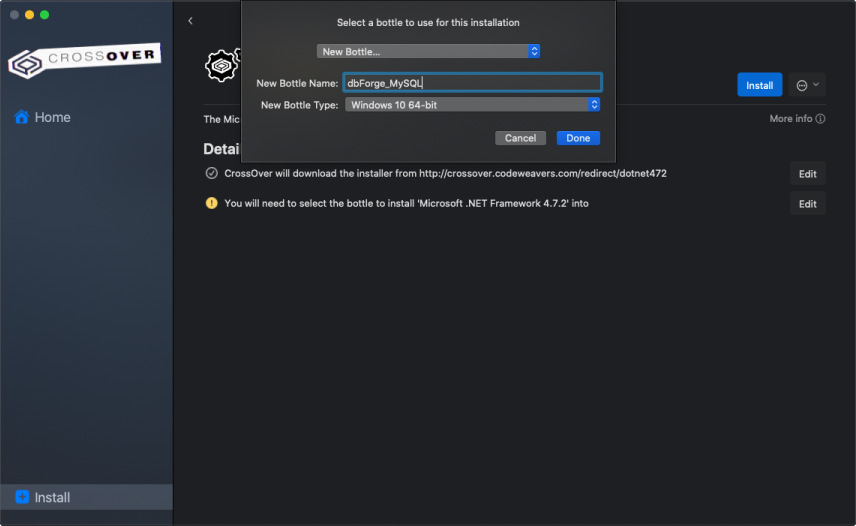
4. If you create a new bottle, specify the bottle name and make sure you select the Windows 10 64-bit bottle type. Then click Done.
5. The installation of the .NET Framework package commences. Please note that it may take some time.
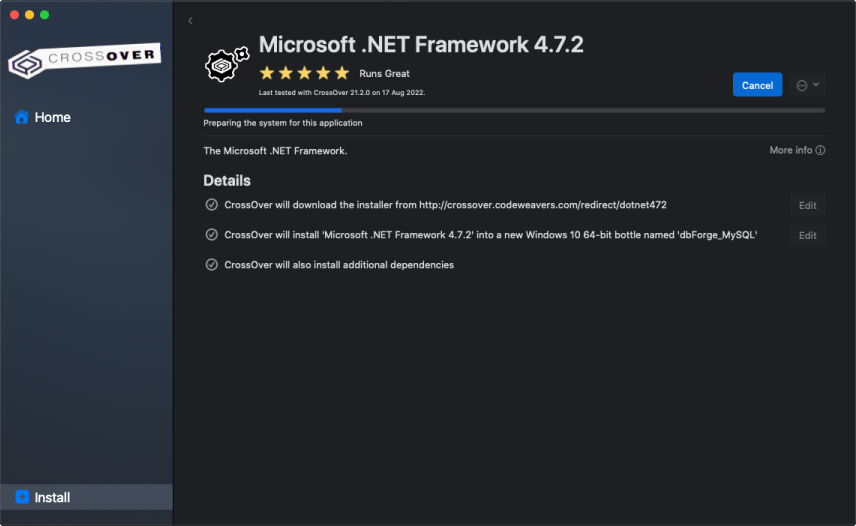
Note
If you have previously selected a bottle where .NET Framework 4.7.2 is already installed, this step will be skipped automatically.
The installer will guide you through all the steps. You will need to agree to the license terms and confirm the reboot of the bottle environment by clicking Restart Now after each prerequisite is installed. Note that your machine will not be rebooted.
Note
If CrossOver freezes at some point while installing the .NET Framework 4.7.2 package, abort the installation and start the process anew, having selected the same bottle.
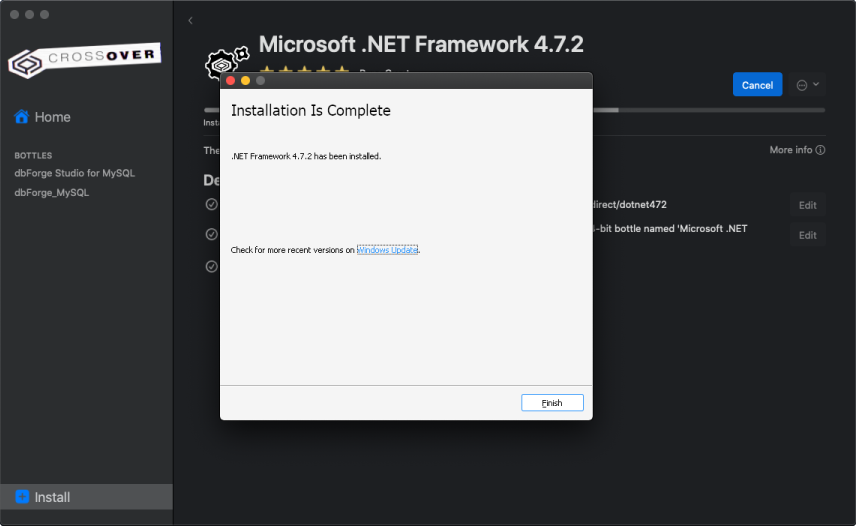
After the successful installation of the last required component - .NET Framework 4.7.2 - click Finish. Now CrossOver is ready to install dbForge Studio for MySQL.
Install dbForge Studio into the bottle
Note
Before you start, download the dbForge Studio installer file. To avoid possible installation issues, make sure the installer file is placed on the local drive of your machine (for instance, in the standard Downloads folder of your Mac).
1. Go to the newly created bottle and click either Install in the lower left corner of the screen or Install Application into Bottle under Bottle Actions.

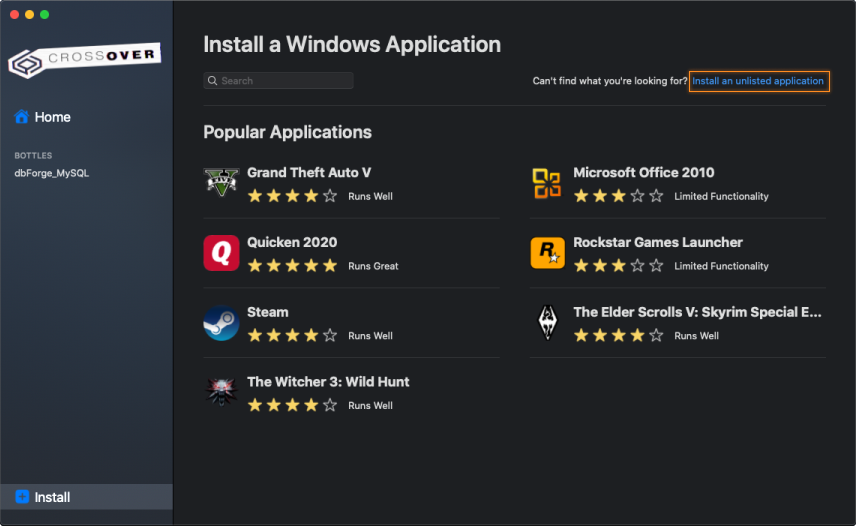
2. On the Install a Windows Application page, click Install an unlisted application.
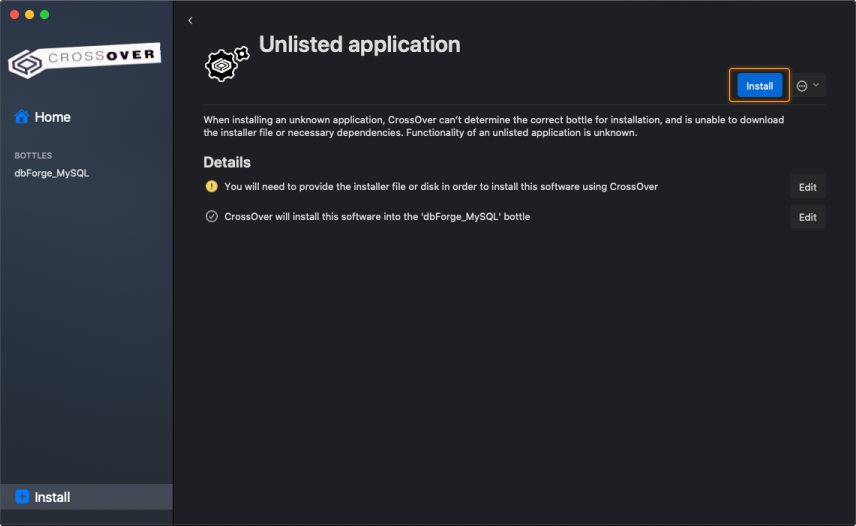
3. On the Unlisted Application page, click Install.
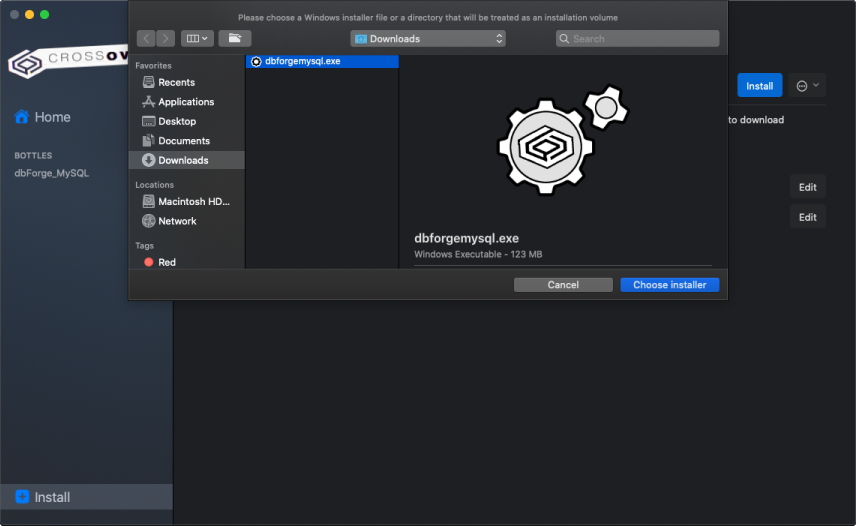
4. Now you need to specify the location of the previously downloaded installer file (in our case, it is the default Downloads folder). Find and select the required file and click Choose installer.
5. The installation commences, and CrossOver proceeds to install dbForge Studio. When the wizard opens, click Install.

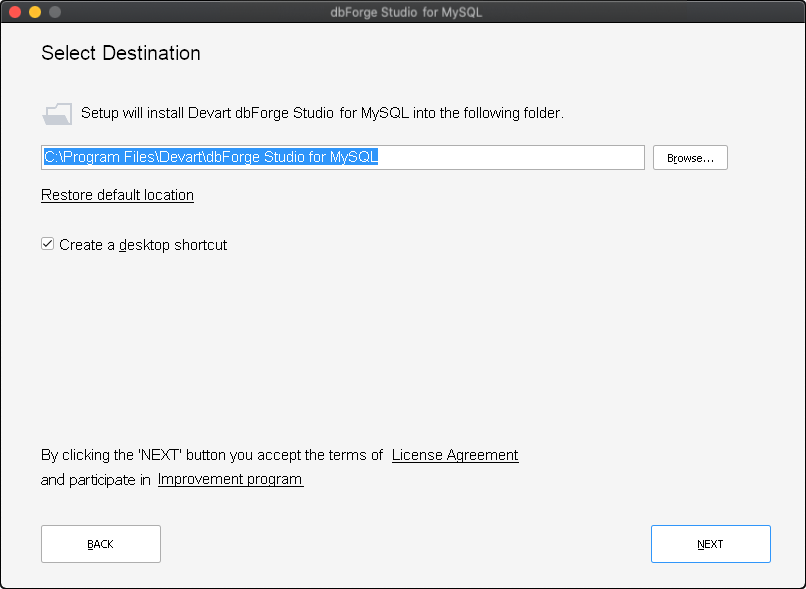
6. On the Select Destination page, select the destination folder for the Studio and click Next.
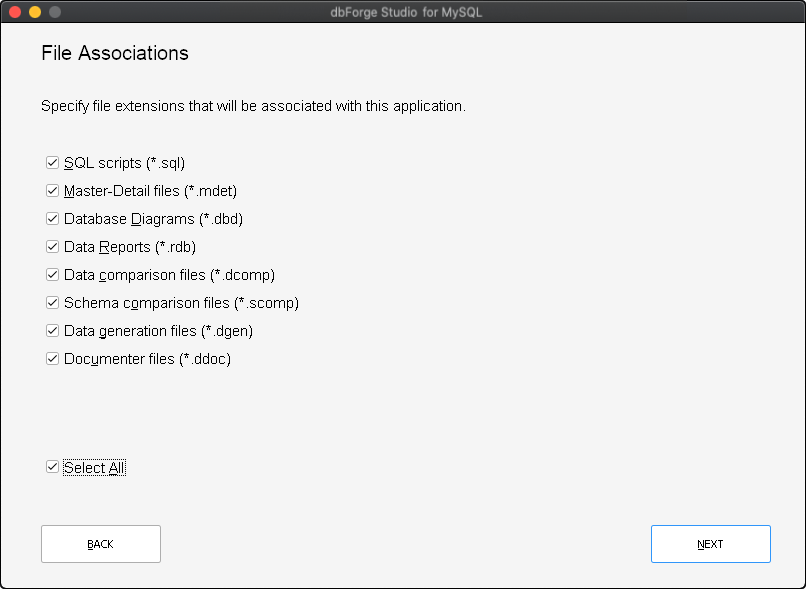
7. On the File Associations page, you can keep all the selected settings unchanged. Click Next to continue.
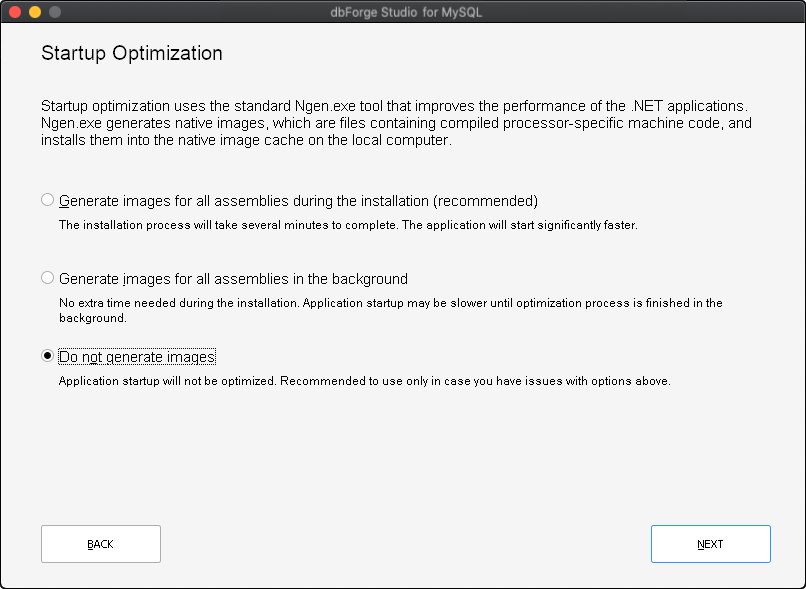
8. On the Startup Optimization page, select the preferred option and click Next.
Note
If you select to generate images, the installation will require a bit of extra time, but the application launch will commence faster in the future.
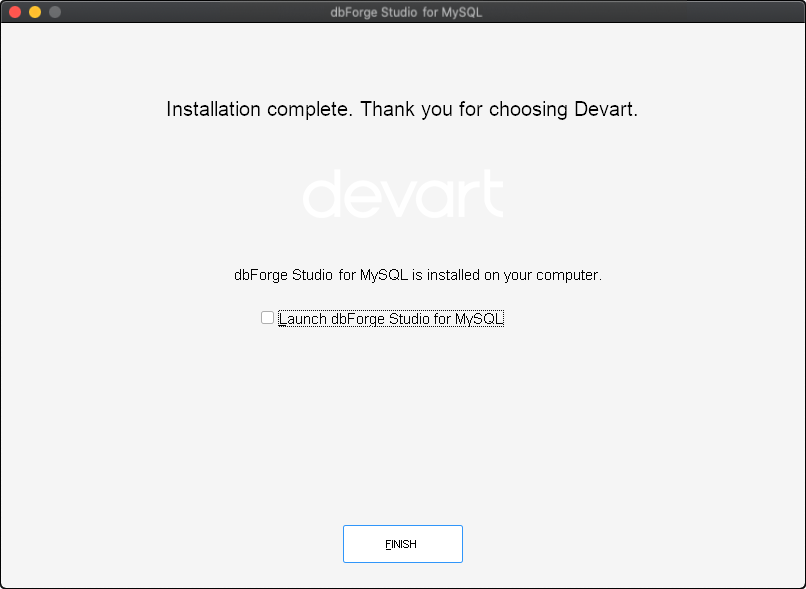
9. Wait for the installation process to complete. Afterwards, click Finish.
Important!
The checkbox Launch dbForge Studio for MySQL should be cleared in order to let CrossOver properly finalize the installation; otherwise CrossOver will finalize it only when the Studio will be closed.
10. CrossOver will confirm a successful installation, and dbForge Studio for MySQL will appear installed in the bottle.
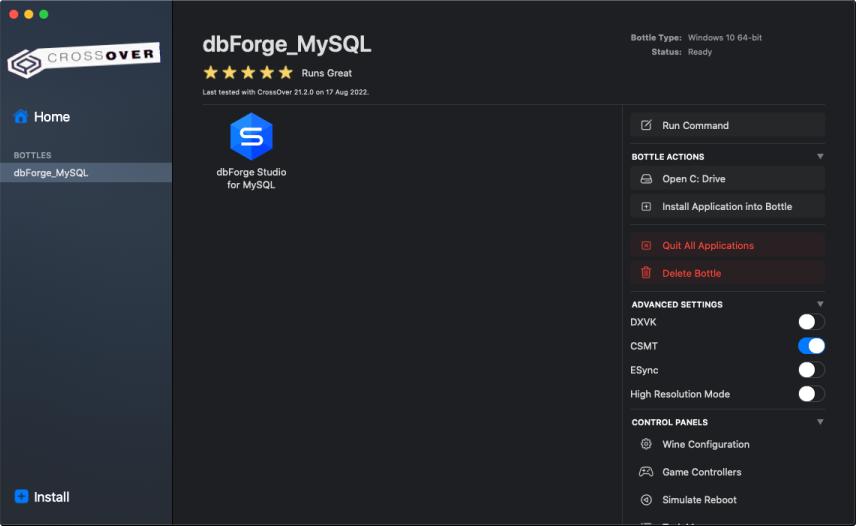
Note
It is recommended to turn on the High Resolution Mode toggle in the bottle configuration under Advanced Settings. After you do it, you will need to reboot the bottle by clicking Reboot Bottle and Enable High Resolution Mode. This will make your work with the Studio more convenient.

Use our step-by-step guide for installing MySQL Server 5.7 and 8 on Ubuntu, Debian, CentOS or macOS.