Use variables in scripts for automated DevOps pipelines
To automate schema comparisons, the built-in Command Line Wizard in dbForge Schema Compare can be used. This tool converts selected comparison and synchronization options into command-line syntax, saving them as a *.bat file for future automated execution.
By default, dbForge Schema Compare generates scripts with hardcoded values. However, static data such as credentials, server names, and database names can be replaced with variables to make the script more adaptable and reusable in different scenarios. These variable values can be easily updated that allows dynamic data handling without the need to create separate scripts for each specific case.
This guide will show how to use variables in the scripts to automate the schema comparison process.
Workflow
1. Creating a command-line script for schema comparison.
2. Rewriting the script with variables.
3. Running the PowerShell file.
Creating a command-line script for schema comparison
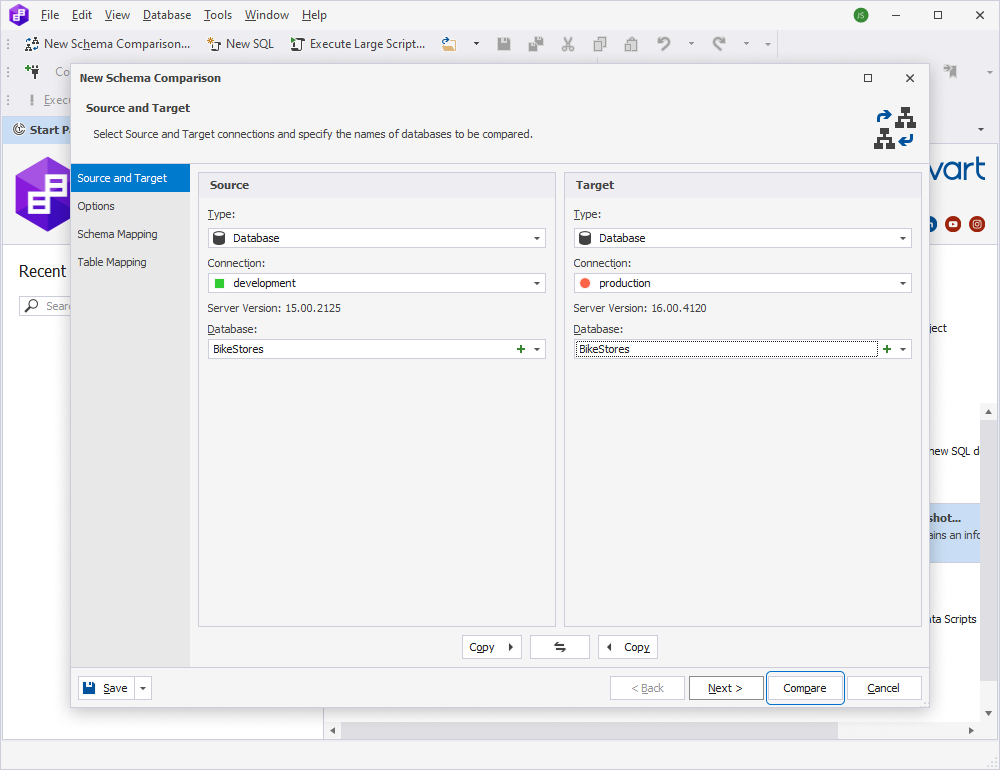
1. On the toolbar, click New Schema Comparison to open the New Schema Comparison wizard.
2. On the Source and Target page of the wizard, specify the source and target details:
- Choose Database as a source and target type
- Select the source and target server connection and databases to be compared
3. Optional: On the Options page, select the comparison options and then select Compare.
4. On the top of the Schema Comparison document that opens, click Synchronize objects to the target database to open the Schema Synchronization Wizard.

5. On the Output page of the wizard, select Save Command Line to open the Command Line wizard. The generated script contains the actual data:
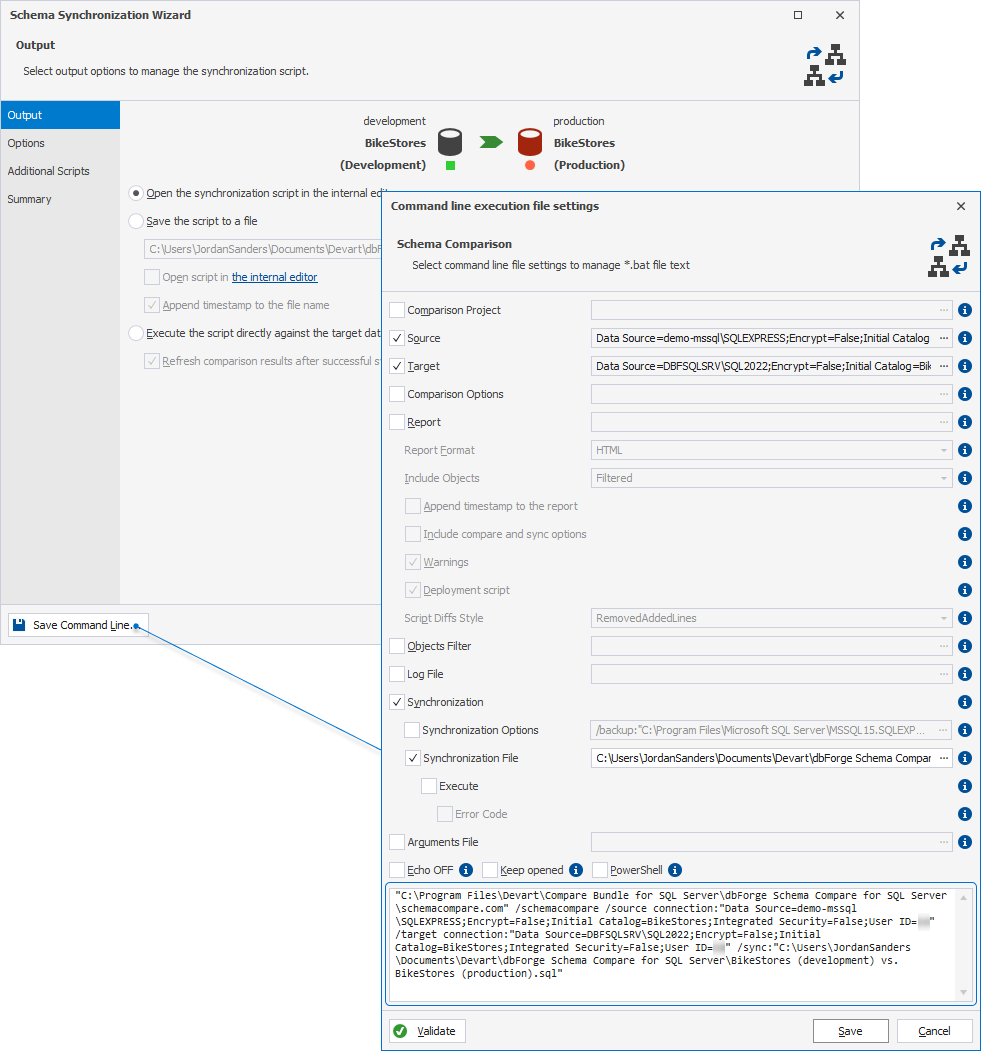
Next, we’ll rewrite the script and declare variables to server names, database names, and credentials.
Rewriting the script with variables
1. Open a text editor or PowerShell Integrated Scripting Environment (ISE).
2. Copy the script from the Command Line wizard and paste it into the text editor.
3. Declare variables in the script:
# Declare variables

$sourceServer = "source_server"
$sourceDatabase = "source_database"
$sourceUser = "source_user"
$sourcePassword = "source_password"
$targetServer = "target_server"
$targetDatabase = "target_database"
$targetUser = "target_user"
$targetPassword = "target_password"
$syncFile = "sync_file"

# Run schema comparison using dbForge Schema Compare via PowerShell

&"C:\Program Files\Devart\Compare Bundle for SQL Server\dbForge Schema Compare for SQL Server\schemacompare.com" /schemacompare /source connection:"Data Source=$sourceServer;Encrypt=False;Initial Catalog=$sourceDatabase;Integrated Security=False;User ID=$sourceUser;Password=$sourcePassword" /target connection:"Data Source=$targetServer;Encrypt=False;Initial Catalog=$targetDatabase;Integrated Security=False;User ID=$targetUser;Password=$targetPassword" /sync:"$syncFile"
4. Replace the values for variables with the actual data:
- source_server is the source server name.
- source_database is the source database name.
- source_user and source_password are the credentials to authenticate and access the source server.
- target_server is the target server name.
- target_database is the target database name.
- target_user and target_password are the credentials to authenticate and access the target server.
- sync_file is the path to the file to store the generated synchronization script.
5. Save the file with a *.ps1 extension (e.g., myscript.ps1).
Running the PowerShell file
1. On the ribbon of the Windows PowerShell ISE, select File > Open to open the created file.
2. On the toolbar, click Run Script or press F5 to run the script.
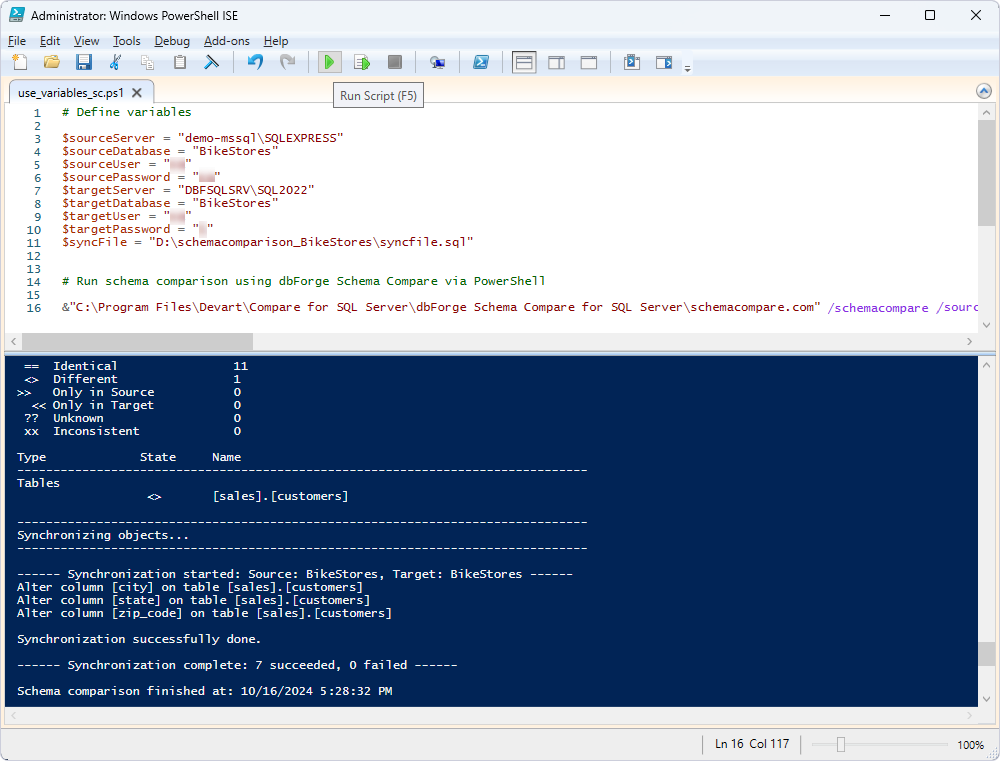
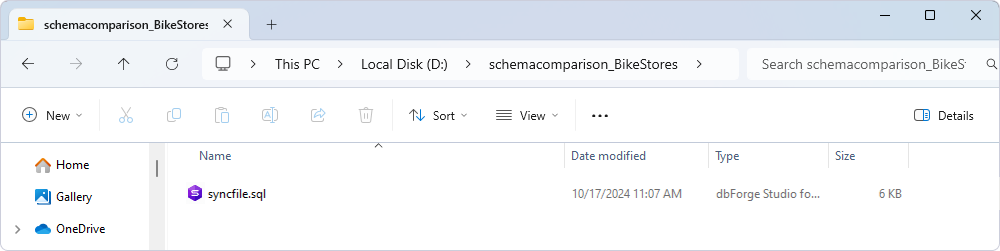
The synchronization process was completed successfully. A synchronization .sql file has also been generated and saved in the specified directory: