How to use Object Filter
The Object Filter feature allows filtering objects right in the Comparison Document. Applying advanced filters makes the analysis of schema comparison results more effective, informative, and bespoke. The feature also allows applying multiple filters and creating custom filters with Filter Editor, which can be saved, and used for further comparisons.
Using the Object Filter
To open the Object Filter, click  on the Schema Comparison toolbar, or press Ctrl+L.
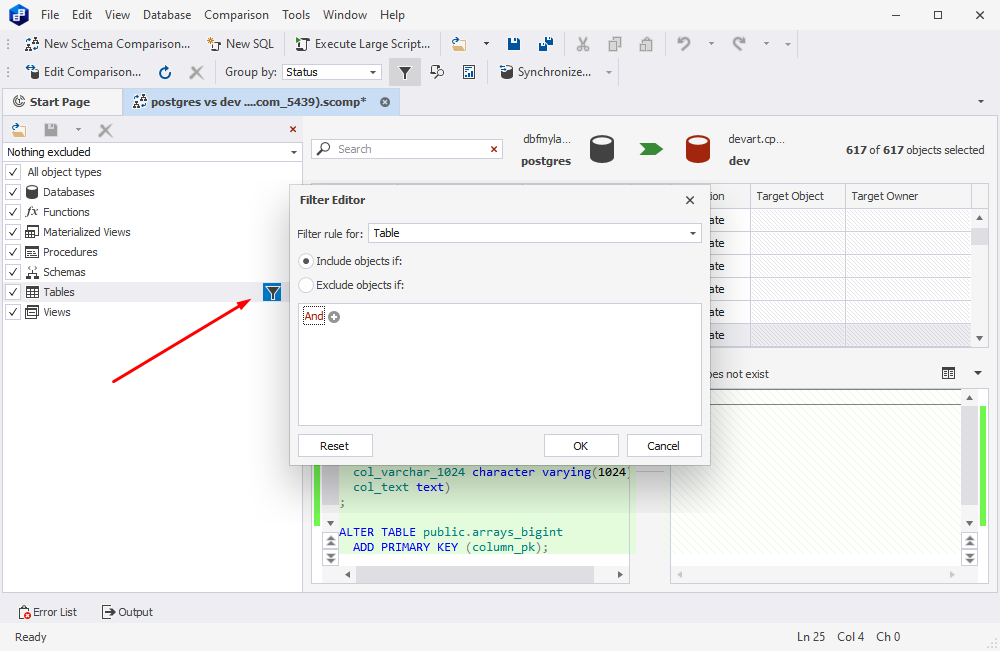
You can use filters to define which objects are displayed in the Comparison results. To include or exclude objects, click to select or unselect a checkbox next to them.
The default filter is Nothing Excluded. If you edit this filter, Custom* is shown in the Filter box. An asterisk is displayed next to the name of any filter you edit, to show that there are unsaved changes.
To open a Filter Editor, click the filter button next to the required object.
Filter rules
With Filter Editor you can create rules to control the specific objects that a filter includes or excludes.
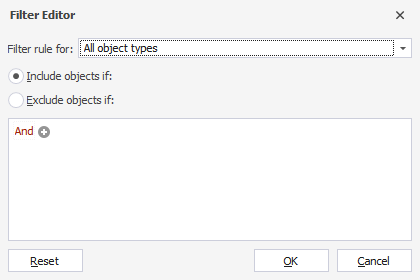
In the Filter rule for box, you can select individual object types or All object types, and edit the rules applying to those objects.
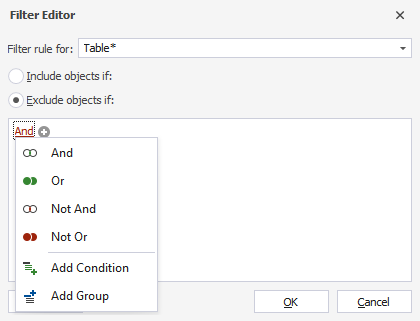
When you create a filter rule, its conditions can be selected from a drop-down list.
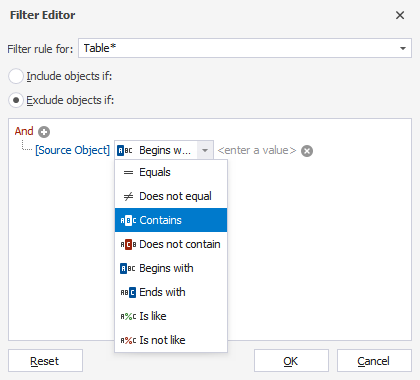
You can also select from a list of different properties when building a filter rule.

- Operation is what happens to a source object in the process of schema synchronization. It can be one of the following: None, Drop, Create, or Update.
- Source Object and Target Object refer to an object in either Source or Target for schema comparison and synchronization.
- Source Owner and Target Owner indicate the owner (or schema) of an object in Source or Target.
- Status indicates the status of an object as a result of schema comparison. It can be one of the following: Identical, Different, Only in Source, Only in Target, Unknown, Inconsistent.
To add a new condition, click the plus icon. To remove a condition, click the cross icon correspondingly.
You can clear all current filter rules just by selecting the filter Nothing Excluded from the Filter box.
Save filters
You can save your filter and later use it across multiple projects. To save a filter, click the diskette icon next to the Filter box and type the name of the filter.

Saved filters have the .scflt file extension. To choose a different filter, in the Filter box, select the filter you want to use.
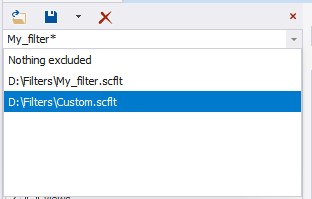
If the filter is not listed, click the folder icon and browse to the filters saved earlier. Select a filter from the list of existing filters.

When you save an edited filter, you can either save it with the same name to overwrite it or change the name to create a new filter.
Note:
All unsaved changes to a Custom* filter will be lost when you select another filter.
If you modify an existing filter, make sure you have saved the changes before closing the tool.
Filters and synchronization
The filter determines which objects will be displayed in the Comparison results window and which, therefore, can be selected for synchronization.
When you use a filter to exclude an object or object type, it is removed from the Comparison results and cannot be selected for synchronization.
If an excluded object is referenced by an object that you selected for synchronization, you will be notified of this dependency, and you can choose to synchronize the affected object on the Dependencies tab of the Schema Synchronization wizard.
Filters and Search
A filter defines which objects are displayed in the Comparison results window. If an object matches the term in the Search box and is excluded by a filter, it is not displayed in the Comparison results.