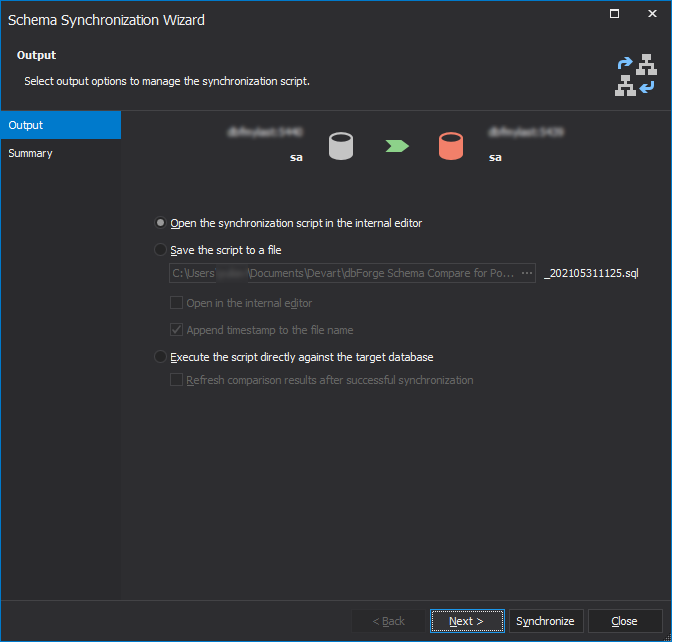
Selecting synchronization output
Note
When you select the Source and Target, the sync operation only applies changes to the target database, while the source database keeps unchanged.
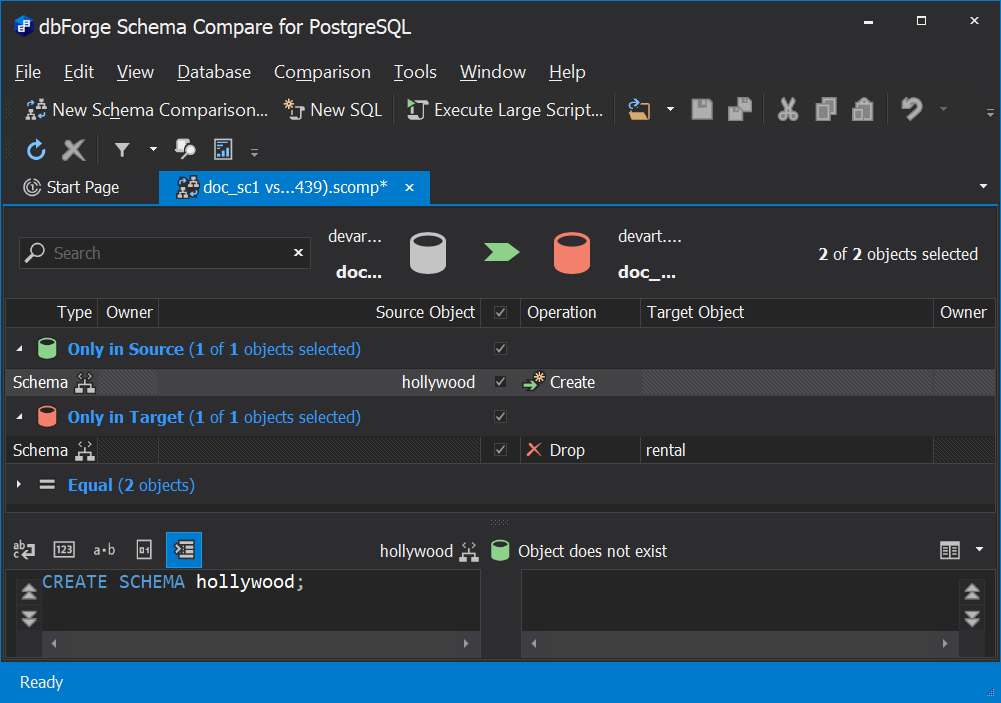
After you have selected the objects for synchronization, you can use the Schema Synchronization Wizard to create the synchronization script. To open the synchronization wizard, click  Synchronize objects to the target database.
In the Schema Synchronization Wizard, you can select one of the following options:
-
Open the synchronization script in the internal editor: The script for database synchronization will be opened in the internal editor of the Schema Compare tool. To execute the script, click
 Execute on the SQL toolbar.
 -
Save the script to a file: The script will be saved locally on your PC. When selected, specify a path to the folder you want to save the script to.
If you want to open the script in the internal editor after saving, select the Open script in the internal editor check box.
To add time and date to the file name, select the Append timestamp to the file name check box.
Tip
When you perform a database comparison and save the synchronization script using the default file name, which includes the source and target database names, re-synchronizing the same databases with the same file-saving option may overwrite the existing script. To avoid this, enable the Add Timestamp option when saving the script. This appends a timestamp to the file name, ensuring each synchronization script remains distinct.
- Execute the script directly against the target database: When selected, the script will be executed without your review.
Schema Compare can also refresh comparison results after successful synchronization. If you want to refresh the results, select the Refresh comparison results after successful synchronization check box.