Migration Issues
Starting from version 3.5, Review Assistant uses Microsoft SQL Server as an engine for its back-end database. The previous versions of Review Assistant have been using SQLite for this purpose. This article describes the problems you may encounter when migrating from SQLite to SQL Server and how to solve them.
Invalid Credentials
After migration you try to login to Review Assistant server and get the ‘Invalid Credentials’ error. This can happen because the path to SQLite database is missing or incorrectly specified in the server settings file and the data did not migrate or partially migrated from SQLite database to SQL Server database.
To solve this problem, complete the following steps:
1. Make sure that the SQLite database exists. By default, it is:C:\ProgramData\Devart\Review Assistant\reviewassistant.db
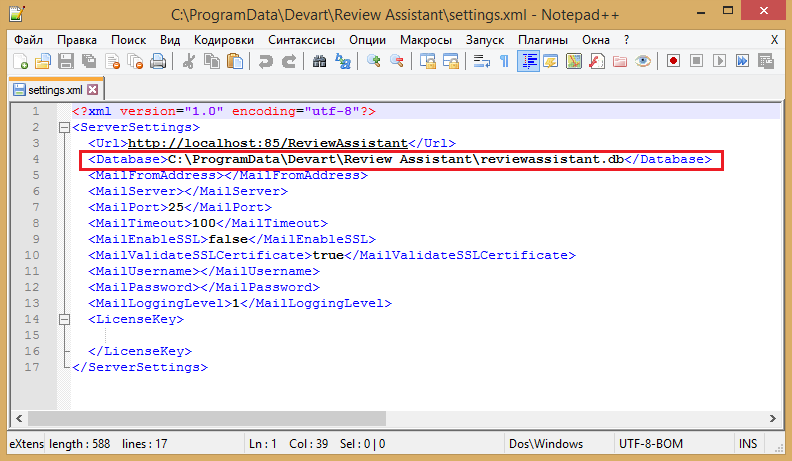
2. Open the server settings file (settings.xml) located in C:\ProgramData\Devart\Review Assistant\
and check whether the Database tag correctly specifies the path to the SQLite database.
3. Delete the ReviewAssistant database from SQL Server.
4. Create a new empty ReviewAssistant database on SQL Server.
5. Invoke Configuration Wizard by running the ReviewAssistantServerConfig.exe file located in the installation destination folder.
By default, it is: C:\Program Files\Devart\Review Assistant\
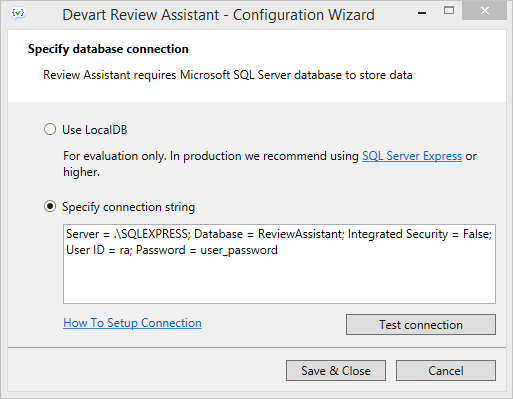
6. Specify the connection string to the SQL Server database created in step 5 and press Test connection.
If connection is successful, press Save & Close. If you have problems with SQL Server connection, click the How To Setup Connection link that opens the relevant topic in the documentation.
After the last step, the data from the SQLite database will be migrated to the SQL Server database. You will be able to connect to the Review Assistant server from the Visual Studio client as you did before.
Connection Error
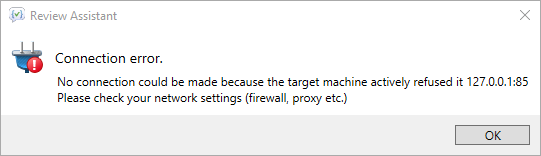
A connection error can arise when you specified an incorrect connection string during the update.
To solve this problem, complete the following steps:
1. Make sure that the SQLite database exists. The default location is:C:\ProgramData\Devart\Review Assistant\reviewassistant.db
2. Open the server settings file (settings.xml) located in: C:\ProgramData\Devart\Review Assistant\
and check whether the /
3. Invoke Configuration Wizard by running the ReviewAssistantServerConfig.exe file located in the installation destination folder.
By default, it is: C:\Program Files\Devart\Review Assistant\
4. Specify the connection string to the SQL Server database you’ve created on SQL Server and press Test connection. If connection is successful, press Save & Close. If you have problems with SQL Server connection, click the How To Setup Connection link that opens the relevant topic in the documentation.

5.After that, the migration process should be executed successfully and you can connect to the Review Assistant server.
Migrating from SQL Server Express LocalDB to SQL Server
To migrate Review Assistant from LocalDB to SQL Server, make sure that the SQL Server version is higher than the LocalDB version.
1. Stop the Review Assistant server.
2. Open C:\ProgramData\Devart\Review Assistant, copy the ReviewAssistant.mdf and ReviewAssistant_log.ldf files to a save location.
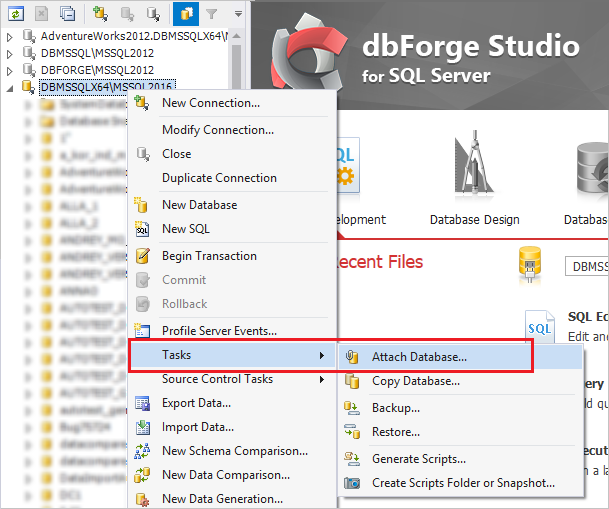
3. Attach the ReviewAssistant.mdf file to SQL Server. For this purpose, you can use MS SSMS or dbForge Studio for SQL Server After the database file is attached, you can rename the database.
4. Invoke Configuration Wizard by running the ReviewAssistantServerConfig.exe file located in the installation
destination folder. By default, it is: C:\Program Files\Devart\Review Assistant\
5. Specify the connection string to the SQL Server database and press Test connection. If connection is successful, press Save & Close. If you have problems with SQL Server connection, click the How To Setup Connection link that opens the relevant topic in the documentation.
