Manage scan results
After the index scanning is complete, the results are displayed as the grid in the Index Manager: [database_name] document. The Action required section shows indexes that need maintenance. The No action required section shows the indexes that don’t require fixing.
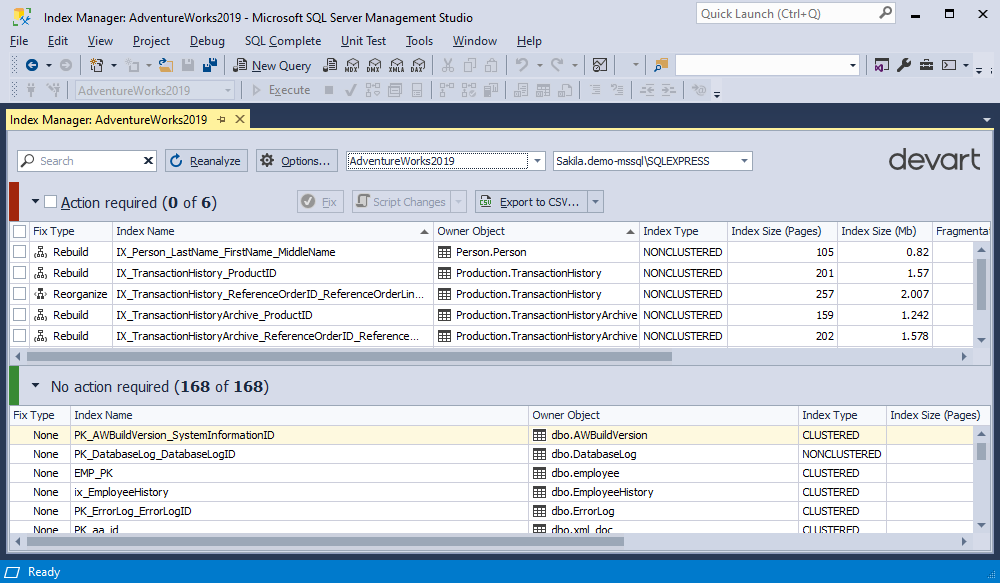
If you want to refresh and re-run the scanning of indexes, click Reanalyze on top of the Index Manager: [database_name] document.
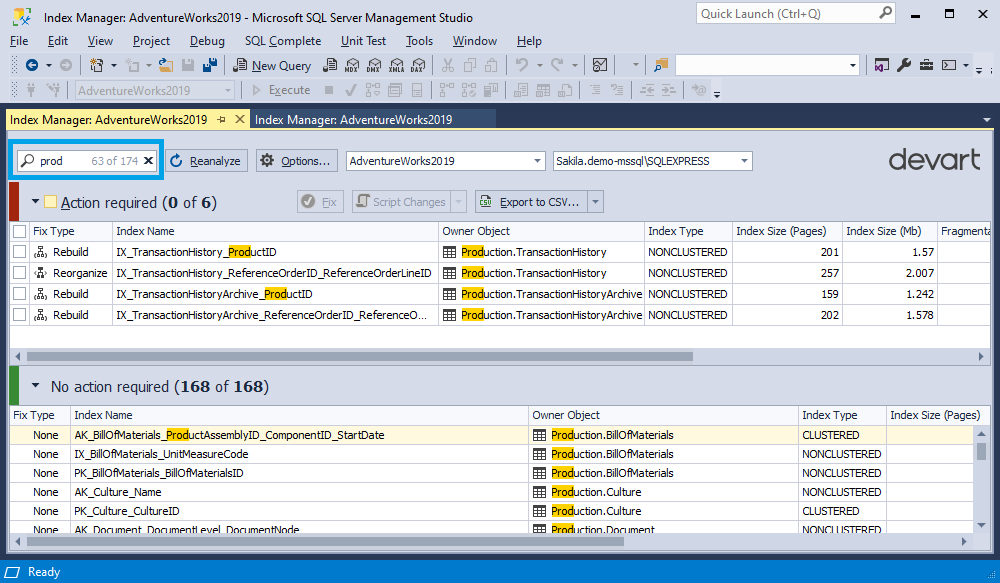
Find indexes
You can search for indexes by typing the text in the search box. As you type, the text that matches your search criteria will be highlighted on the grid.
Note
The search is not case-sensitive.
To clear the search results, click
Clear Filter in the search box.
Filter scan results
Index Manager allows filtering objects of the specific column on the grid. The results can be filtered by a column value.
To filter the indexes
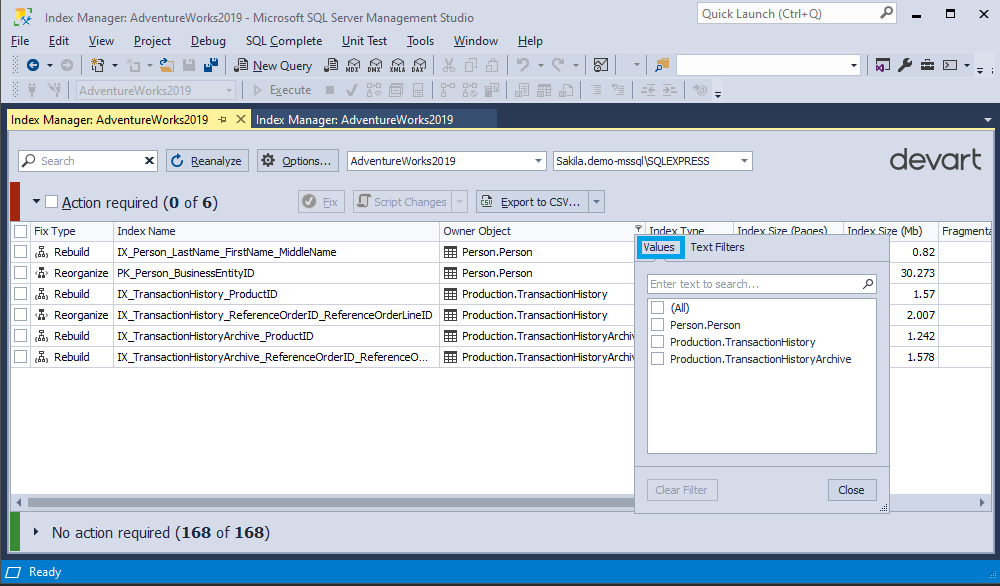
1. In the Action required section, click the filter glyph on a column header you want to filter.
2. In the pop-up window that opens, two tabs are displayed - Values and Text Filters.
3. The Values tab shows all the values specified in the column. Here you can choose to display all rows by selecting (All) or to display only specified values by selecting the corresponding checkboxes.
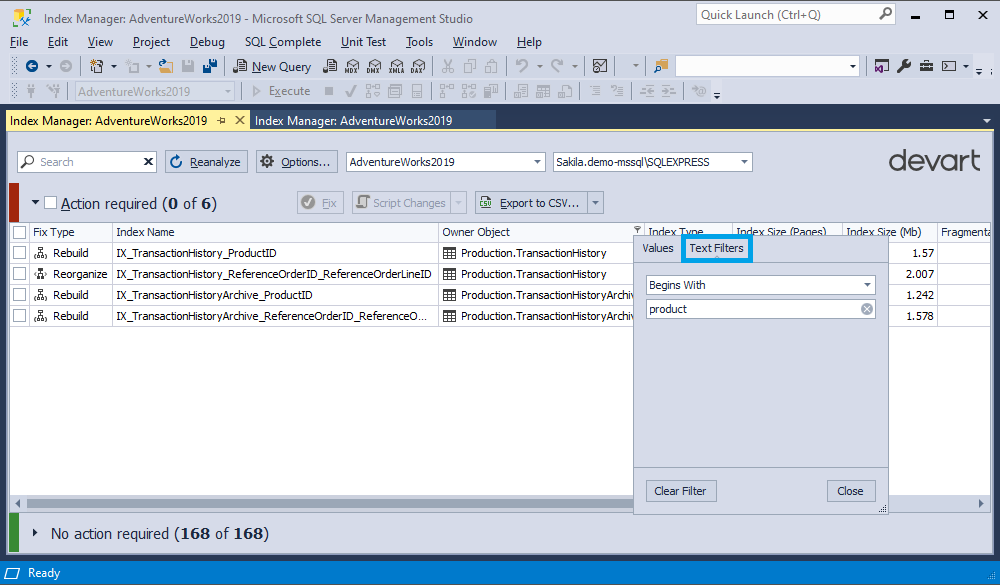
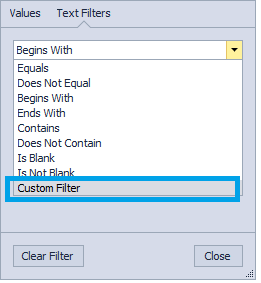
4. The Text Filters tab provides criteria for creating a custom filter. For this, select the operator for the condition from the dropdown list and enter a value.
The available operators are as follows:
- Equals
- Does Not Equal
- Begins With
- Ends With
- Contains
- Does Not Contain
- Is Blank
- Is Not Blank
- Custom Filter
5. To save the changes, click OK.
You can also create a custom filter for the scan results.
Create a custom filter
1. In the Action required section, click the filter glyph on a column header you want to filter.
2. In the pop-up window that opens, go to the Text Filters tab and select Custom Filter from the dropdown list.
3. For the First condition, choose the operator from the dropdown list and enter a value.
4. Select either And to apply both conditions or Or to apply any of the conditions.
5. For the Second condition, choose the operator from the dropdown list and enter a value.
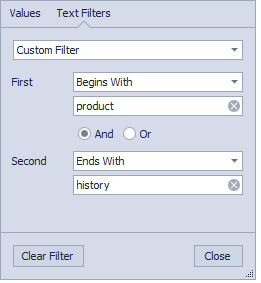
6. To save the changes, click OK.
A blue filter glyph in the right corner of the column header indicates the filter applied to the column.
Sort indexes
To sort indexes in the document or to change the sort order, click the header of a column.
To assign a secondary sorting, click another column header while holding the SHIFT key. You can set as many sorting columns as you need. Click the column while holding the CTRL key to stop sorting on a certain column.
To clear column sorting, click the column header again.
The current sort order of a column is indicated by the sort glyph (a small arrow displayed at the column header’s right edge). If data is sorted in ascending order, the sort glyph represents an up-arrow. When sorting in descending order, the sort glyph is displayed as a down arrow. If the column isn’t sorted, the sort glyph is hidden.