| 1. | On the ribbon, click the DEVART tab and then click the Get Data button. This will display the Connection Editor dialog box. |
 | | Connection Editor |
| 2. | In the Connection Editor dialog box, select your data source from the Data Source list. If you have stored connection for reusing it in Excel, you can select a saved connection to the required data source from the Data Source list. |
| 3. | Specify the corresponding connection parameters in the fields below. |
Each database or CRM server requires its own set of parameters for connection (username, password, etc.). Some of the parameters have the same names for different sources, but the parameter meaning may vary depending on the server. If a parameter is not used for a certain data provider, it will be unavailable in the Import Data Wizard and not used for connection. You can find details about connection string parameters for each supported data source in the Data Source Connection section of this manual.You can test the connection availability by clicking the Test Connection button.
Devart Excel Add-ins for QuickBooks and Mailchimp have a more specific procedure of creating a connection. See details for QuickBooks and Mailchimp.
In addition to required connection parameters, there are advanced options for more detailed connection tweaking. To access them, click the Advanced button and configure the connection string parameters. The generated Connection String is displayed at the bottom of the Connection Editor dialog box.
 | | Connection Editor |
| 3. | In order not to specify the connection details each time when you need to work with the data source, connections may be saved and reused. For this: |
| • | Select the Allow saving add-in specific data in Excel worksheet to allow Devart Excel Add-ins save such information as queries, connections, etc. in the Excel document. |
| • | Select the Allow saving connection string in Excel worksheet check box.This will save the specified connection parameters in the Excel document. |
| • | You can additionally allow saving password by selecting the corresponding check box. (For QuickBooks the corresponding check box is Allow saving security info, for Zoho CRM it's Allow saving authentication token, for Mailchimp - Allow saving API key - in correspondence to the stored security parameters. There is no such check box for SQLite.) |
|
|
It is highly not recommended if you plan to share the document with other people - they will also have your personal data.
|
| • | To allow reuse the saved connection in any Excel document, select the Allow reuse connection in Excel and give the connection a unique name to use it in future. Connection parameters will be saved on your PC and become available every time you run Excel. |
You can set these options later in the Devart Excel Add-ins Security Options.
| 4. | When all the required connection parameters are set, click Next. The Query Builder window opens. Here you can select the table to be imported, add conditions and filters for data import and sorting order. Try creating a query with Query Builder or switch to the SQL Query tab to specify the SELECT statement for getting the required data. Note that SQL SELECT statements are fully supported not only for databases, but also for cloud sources. |
 | | Visual Query Builder |
| 5. | After a table is selected and a SQL query is generated, click Next to proceed to the Preview window, which allows you to preview the query result and specify options for data import to the Excel worksheet: |
 | | Import Preview |
After the Import Data Wizard is finished, the required data is retrieved and displayed in the active Excel sheet.
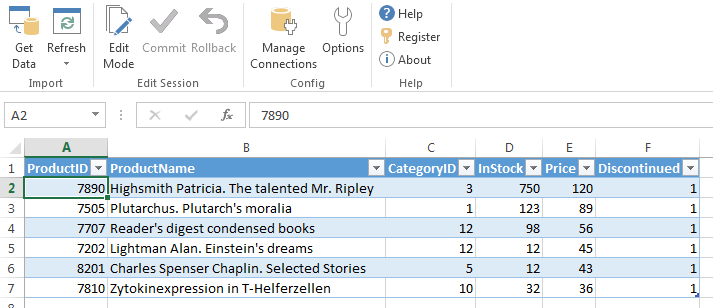
Now you can work with the retrieved data right in the Excel book and apply changes to a database or a cloud data source if needed.
|
 Creating Connection And Importing Data


