Build CI/CD pipelines using Jenkins and PowerShell
Summary
This article demonstrates how to configure Jenkins for Continuous Integration (CI) using dbForge DevOps Automation PowerShell for SQL Server.
Prerequisites
-
Download and install Jenkins server.
-
Download and install Windows PowerShell plugin for Jenkins.
-
Download and install dbForge DevOps Automation PowerShell for SQL Server from the PowerShell Gallery.
-
Download and install all the necessary dbForge tools. For more information on the tools required for the CI process, refer to the Database Continuous Integration with Devart Tools topic.
-
Link the desired database to the Source Control.
Steps for a sample CI process
The article will help you learn how to organize the following steps:
-
Creating a new database from a Scripts Folder.
-
Populating the database with test data.
-
Running unit tests.
-
Publishing the project.
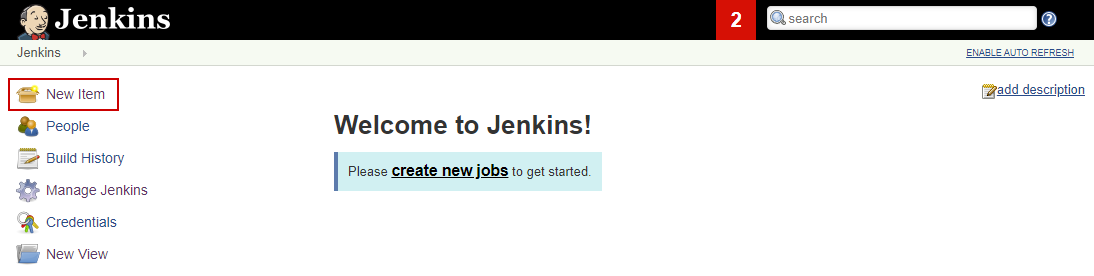
Creating a new Jenkins job
To create a new job in Jenkins server:
1. Click the New Item button:
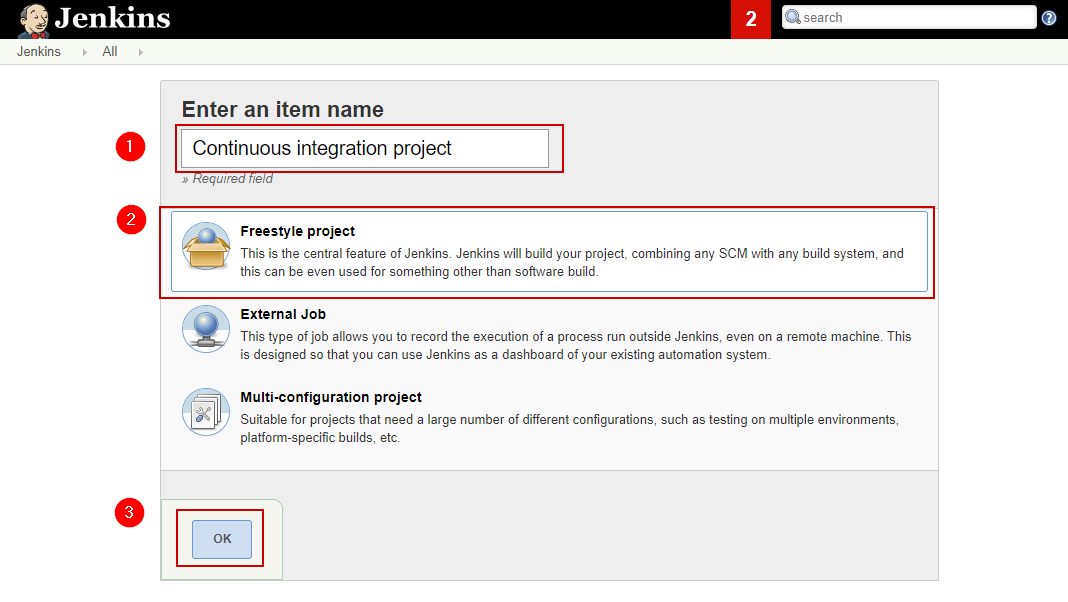
2. In the New Item window, enter an item name (Continuous Integration project in our example), select a Freestyle project, and then click OK at the bottom:
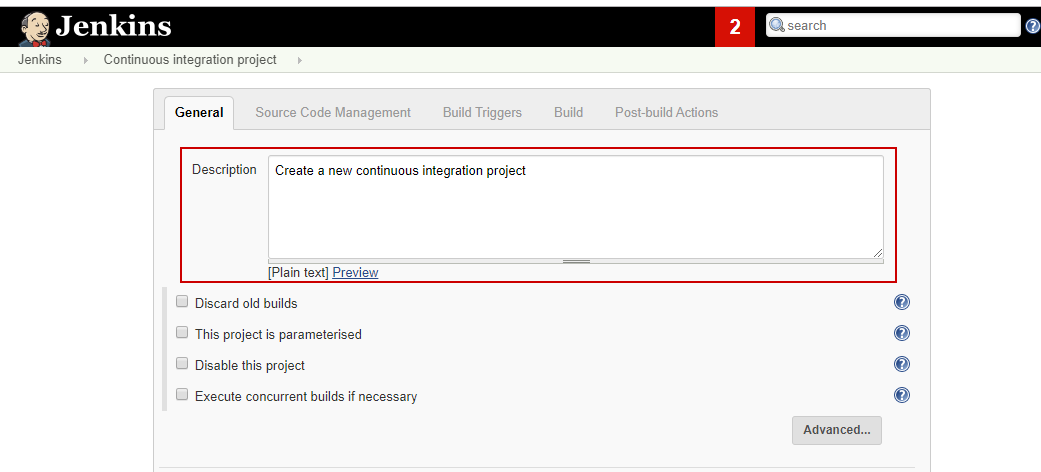
3. Provide a description of the new project in the window that opens.
4. Switch to the Source Code Management to enter the parameters for Git Source Control. You will be receiving the updated Scripts folder every time the job starts.

5. On the Build Triggers tab, select Poll SCM, and enter H **** in the text box near the Schedule option. This means that Jenkins will run the project every hour.
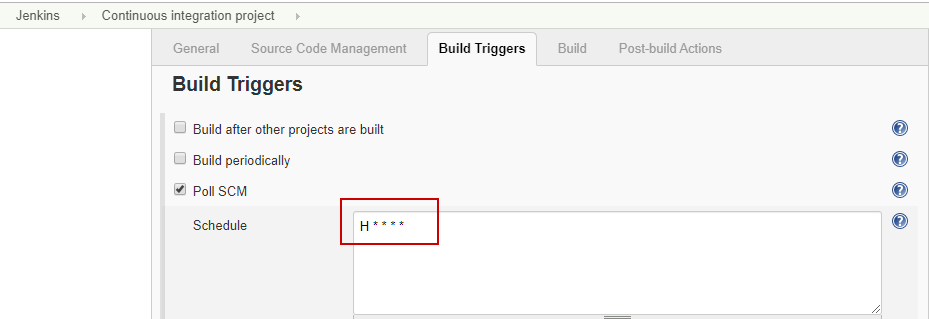
Note
A user can set any build schedule that suits their needs, namely every minute, every half hour, several times a day, etc.
6. In the Add build step, drop-down menu, under the Build tab, select the Windows PowerShell option:
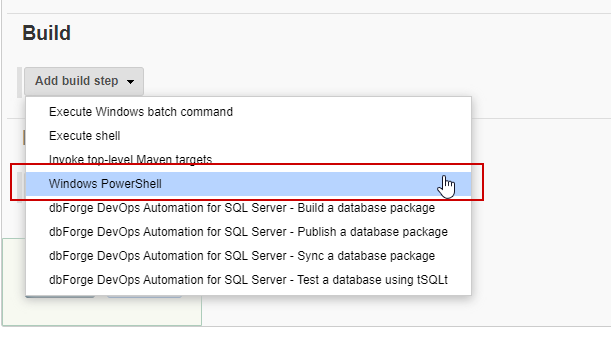
In the Windows PowerShell window that opens, enter the PowerShell script with the required sequence of cmdlets. The full script and the description of the commands are provided below.

Full script
$serverName = "(LocalDb)\MSSQLLocalDB"
$databaseName = "TestDB"
# A script folder
$scriptFolder = "D:\Test\ScriptsFolder"
# A folder where the sql unit-tests are located, for example:
# ...\Test1.sql
# ...\Test2.sql
# ...\Test4.sql
$unitTestsFolder = "D:\Test\UnitTests"
# A file path to a datagenerator file
$generatorFile = "D:\Test\TestData\data.dgen"
# An output report file for unit tests
$testReportOutputFileName = "D:\Test\TestReport\report.xml"
# A file that is created When publishing
$publishFileName = "Test.DevOpsAutomation.Database"
# A path for publishing
$publishOutputFolder = "D:\Test\NuGet\Repository"
Function check {
		param($result)
		if ($result) {
				Write-Host "Success" Write-host ""
		}
		else {
				Write-Host "Failed"
				Exit(1)
		}
}
# Create database connection
Write-Host "Creating database connection..."
$connection = New-DevartSqlDatabaseConnection -Server $serverName -Database $databaseName -WindowsAuthentication $true
# Test database connection
Write-Host "Testing database connection..."
$result = Test-DevartDatabaseConnection -Connection $connection;
check($result)
Write-Host "Recreating database..."
$project = Invoke-DevartDatabaseBuild -SourceScriptsFolder $scriptFolder -Connection $connection
check($result)
# Restore unit tests on the database
Write-Host "Restoring unit tests..."
$result = Invoke-DevartExecuteScript -Input $unitTestsFolder -Connection $connection
check($result)
# Fill database with sample data and run unit tests
Write-Host "Filling database with sample data and running unit tests..."
$result = Invoke-DevartDatabaseTests -InputObject $connection -InstalltSQLtFramework -IncludeTestData -DataGeneratorProject $generatorFile -OutReportFileName$testReportOutputFileName -ReportFormat JUnit -RewriteReport
check($result)
# Publish project
Write-Host "Publishing project..."
Set-DevartPackageInfo -Project $project -Id $publishFileName -Version 3.0.0
Publish-DevartDatabaseProject -Project $project -Repository $publishOutputFolder -AutoIncrementVersion
check($result)
In the above example, the PowerShell script consists of the following segments:
Database connection settings
$connection = New-DevartSqlDatabaseConnection -Server $serverName -Database $databaseName -WindowsAuthentication $true
-
Server is a name or a network address of the SQL Server instance to connect to.
-
Database is a database to connect to on the server specified in the Server parameter.
-
The WindowsAuthentication option allows a user to connect through a Windows user account to a server.
Connection testing
$result = Test-DevartDatabaseConnection -Connection $connection;
- Connection is the DevartDatabaseConnectionInfo or a connection string that identifies the connection to test.
Database deployment from a Scripts Folder
$project = Invoke-DevartDatabaseBuild -SourceScriptsFolder $scriptFolder -Connection $connection - SourceScriptsFolder is a path to the folder with scripts which will be used to build a database.
- Connection is a connection to the server where a database will be built.
Creating unit tests on a database
$result = Invoke-DevartExecuteScript -Input $unitTestsFolder -Connection $connection - Input is a full path to the folder with unit tests.
- Connection specifies a connection to the server to execute the script on.
Populating a database with sample data and running unit tests
$result = Invoke-DevartDatabaseTests -InputObject $connection -InstalltSQLtFramework -IncludeTestData -DataGeneratorProject $generatorFile -OutReportFileName$testReportOutputFileName -ReportFormat JUnit -RewriteReport - InputObject is a database to run the tSQLt tests on. It can be a Scripts folder, a NuGet package, or a database connection.
- InstalltSQLtFramework installs tSQLtFramework before executing tests.
- IncludeTestData, along with the *DataGeneratorProject parameter, adds test data to the database.
- DataGeneratorProject specifies a Data Generator project file (.dgen) that defines the data to be added to the test database.
- OutReportFileName indicates a file path to export the test results to.
- ReportFormat specifies the format of the test results file.
- RewriteReport rewrites a report file.
Publishing a NuGet package
Publish-DevartDatabaseProject -Project $project -Repository $publishOutputFolder -AutoIncrementVersion -
Project is an instance of a DatabaseProject object to be published. This object is produced by the Invoke-DevartDatabaseBuild and Set-DevartPackageInfo cmdlets.
-
Repository is a NuGet feed that the database build artifact will be published to. It must be a valid URL or local path to a NuGet feed.
- AutoIncrementVersion auto-increments the package version if a package with the specified version already exists on the NuGet repository.
7. Having completed the previous steps, click Save.
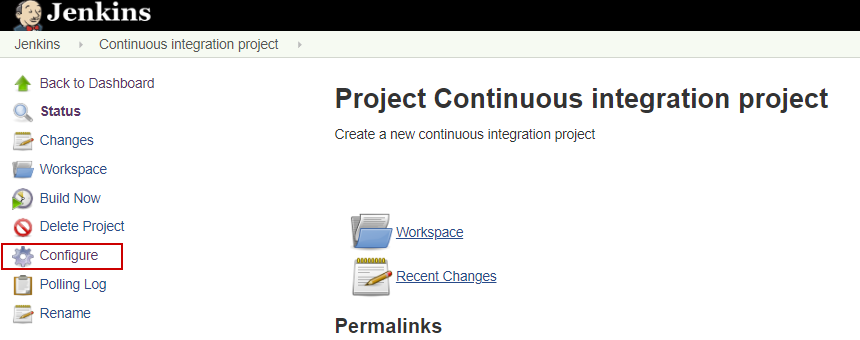
To edit the data you entered for an existing project, click Configure, as shown below:
8. To run the process, click Build Now.
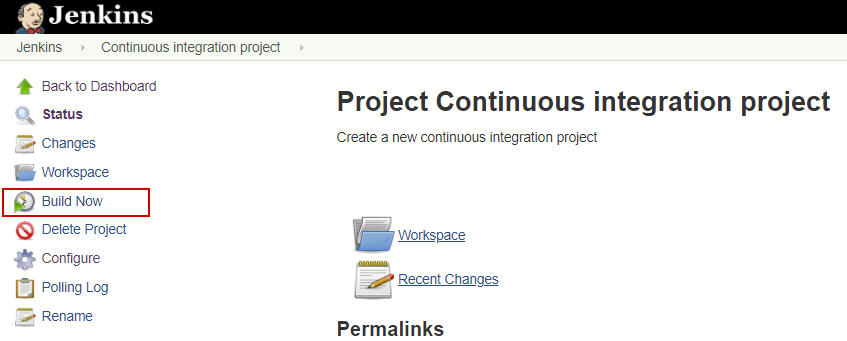
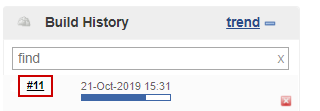
After that, in the Build History window, you will see the running process:
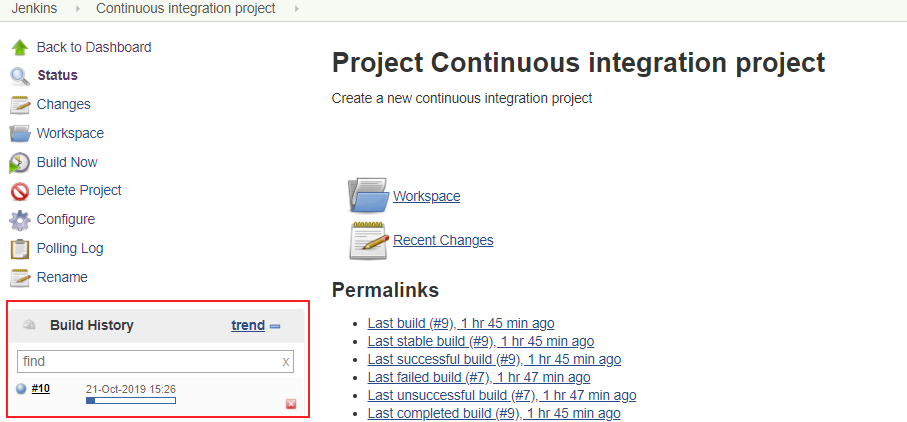
9. To view the output, click the build number link in the Build History window:
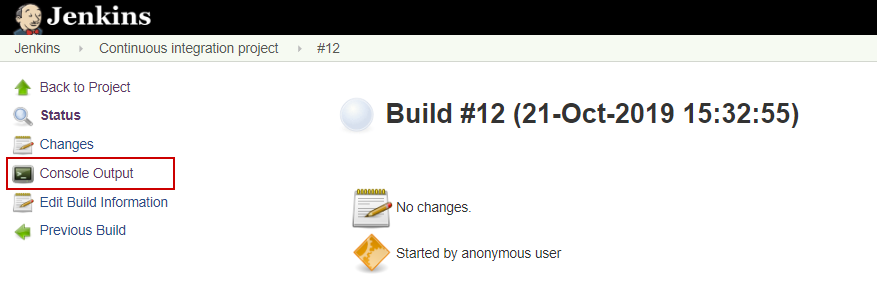
The new window with the build status will be shown. To see the build output, click the Console Output option from the left-side menu:
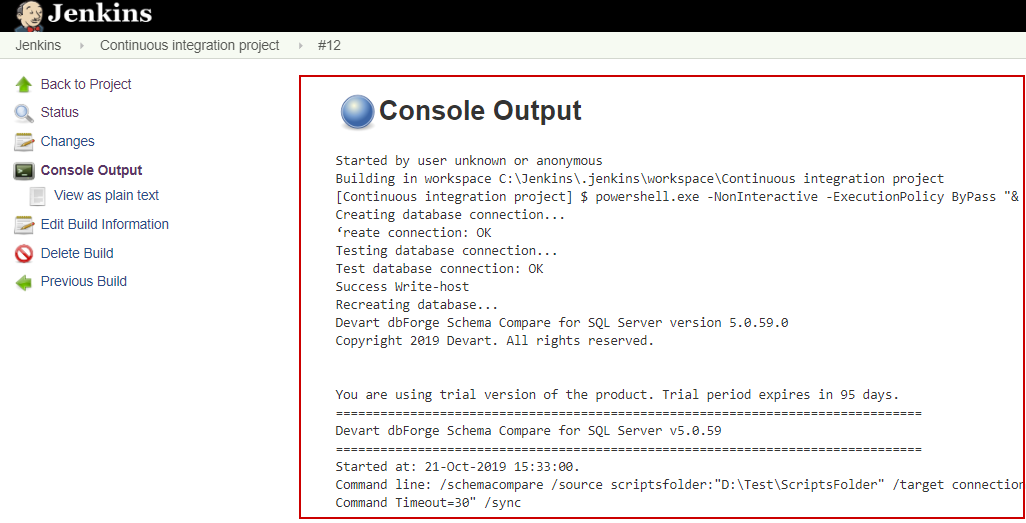
A new window will open, showing the results for the project:
Conclusion
This article shows how to connect dbForge DevOps Automation PowerShell for SQL Server with Jenkins to organize Continuous Integration using the following basic steps: creating a database, filling it with test sample data, and running unit tests. Using PowerShell scripts for Jenkins offers tremendous flexibility in customizing your Continuous Integration process.
Additionally, watch these videos to discover how dbForge products can boost database development.
- How dbForge SQL Complete is involved in the Database DevOps process
- How to import data to SQL Server database with dbForge Data Pump during the DevOps process
- Creating database documentation during the Continuous Integration workflow
- How to automate database schema changes for the CI process during database deployment
- dbForge Source Control in the DevOps pipeline
- How dbForge SQL Complete is involved in the Database DevOps process
- Unit Testing for SQL Server Database in DevOps process