Populate a database
To populate a database, follow these steps:
1. On the Data Generator toolbar, click Populate data to the target schemas.

2. On the Output tab, choose the required option and click Next:
- Open the data population script in the internal editor: Opens the script in dbForge Studio after the population process is complete.
- Save the script to a file: Saves the script as a file. You can select Open script in the internal editor to open the file in dbForge Studio after the population is complete or Append timestamp to the file name to include a timestamp.
- Execute the data population script against the database: Runs the generated data population SQL script on the target Oracle database.
3. On the Options tab, customize the data population options and click Next. To explore the description of each option, point to the desired one and the explanation will be visible in the Description field.

Additionally, you can save the customized options as a template for reuse. To do so, click Save As My Defaults. The next time you want to apply this template, click My Defaults, and the saved options will be selected automatically.
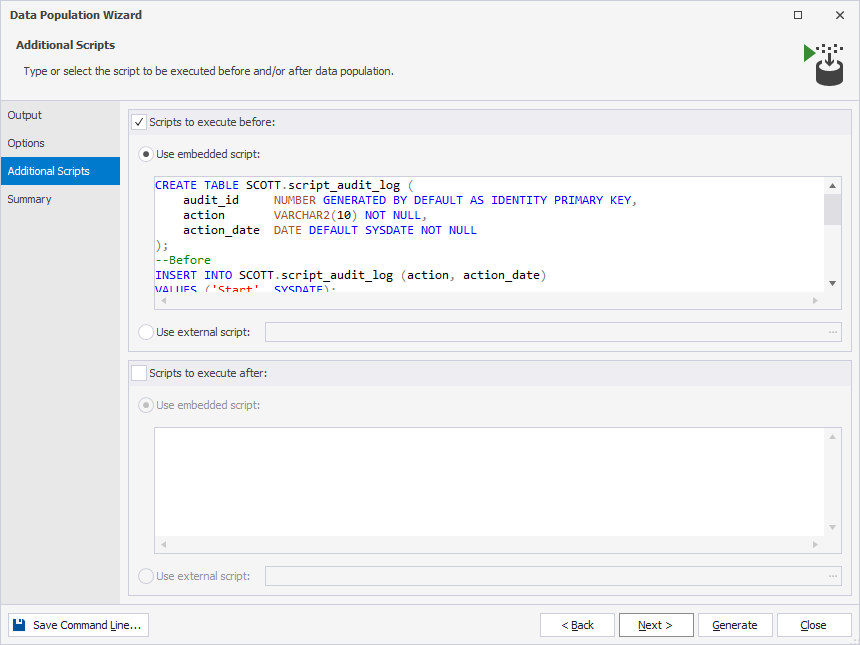
4. On the Additional Scripts tab, optionally, you can type or choose scripts that will be executed before and/or after the data population process finishes. For example, you can add the script to create a table and insert data into it to log actions.
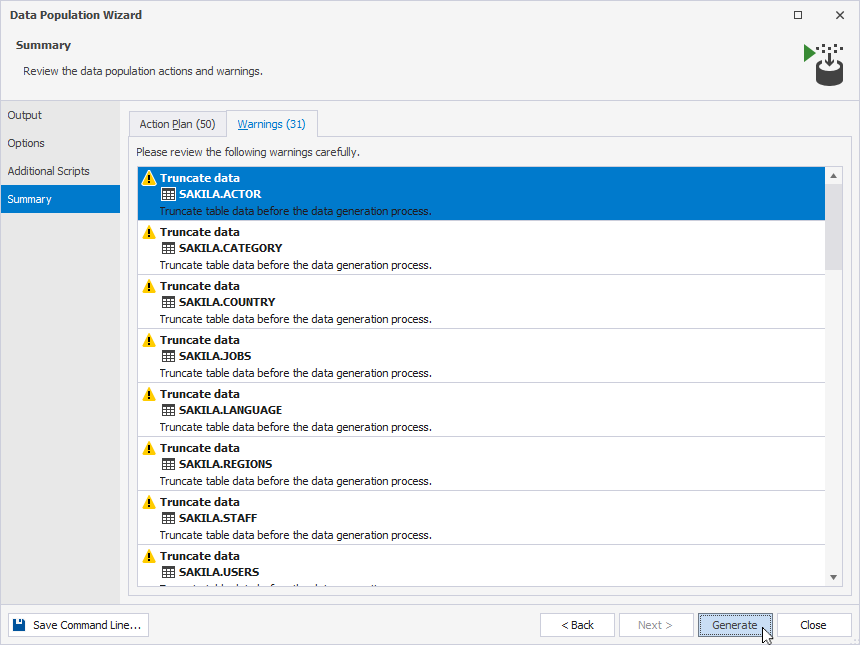
5. To proceed further, click Next. On the Summary tab, view the details of the action plan and warnings and click Generate.