Hide columns and filter data in the grid
dbForge Data Compare offers multiple ways to hide columns and filter data in the grid. Both column-level and row-level filtering are available.
Hide columns
You can hide columns in the following ways:
Using the Hide this Column option
Right-click the column header you want to hide and select Hide this Column. The column will be invisible in the grid.
Using the Visible Columns window
To hide the column:
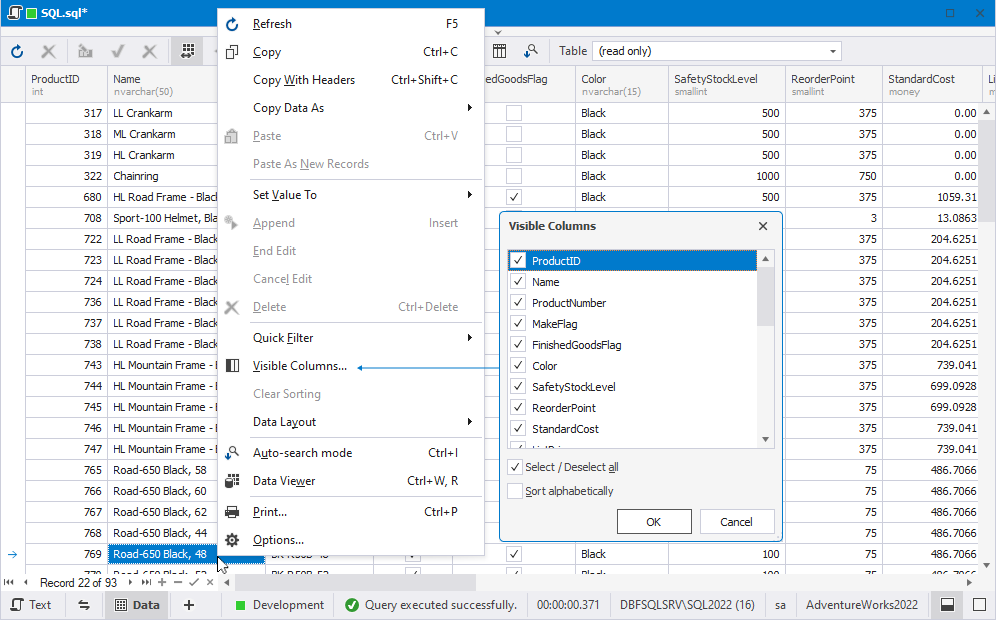
1. Right-click the column and select Visible Columns.
2. In the Visible Columns window that opens, clear the checkboxes next to the columns you want to hide from the grid.
3. Click OK to close the window and apply the changes.
To show the hidden columns, right-click the columns and select Visible Columns. In the Visible Columns window, select the checkboxes next to the columns you want to show in the grid.
Filter data by column
You can filter data by column in the following ways:
-
On a column header, click Filter. Select the filter value from the dropdown list by which you want to filter data. The list includes a set of values encountered in the column and a customizable filter. To remove the filter condition, right-click the column header and select Clear Filter.
-
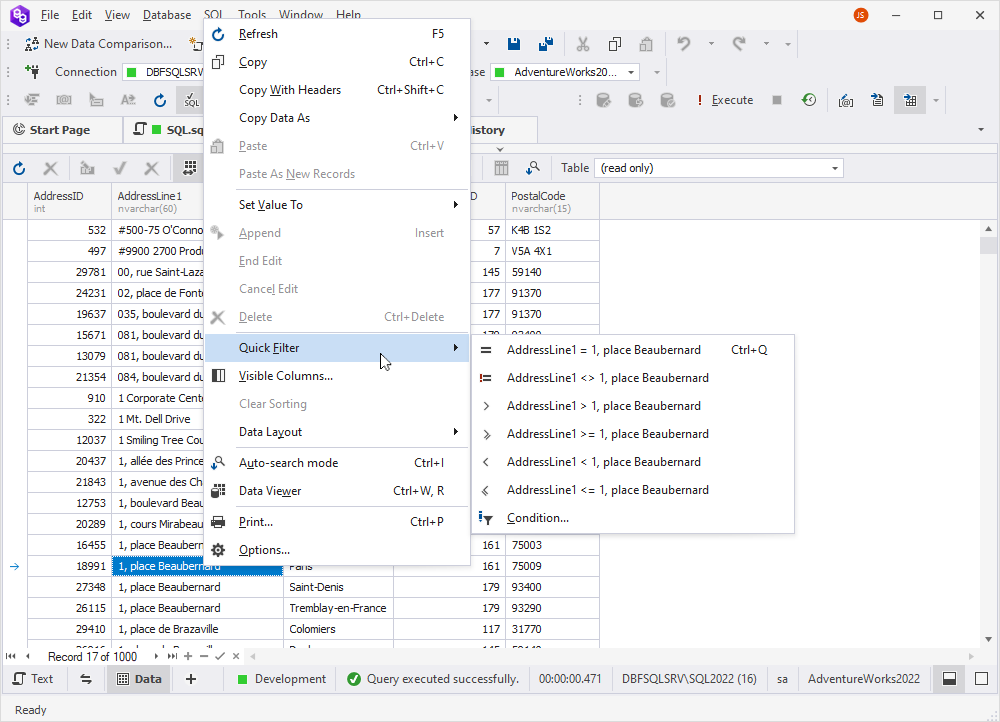
Right-click a column and select Quick Filter. Then, select one of the predefined options or select Condition to open the Filter Editor and customize your condition.
-
Right-click the column header and select Filter Editor.
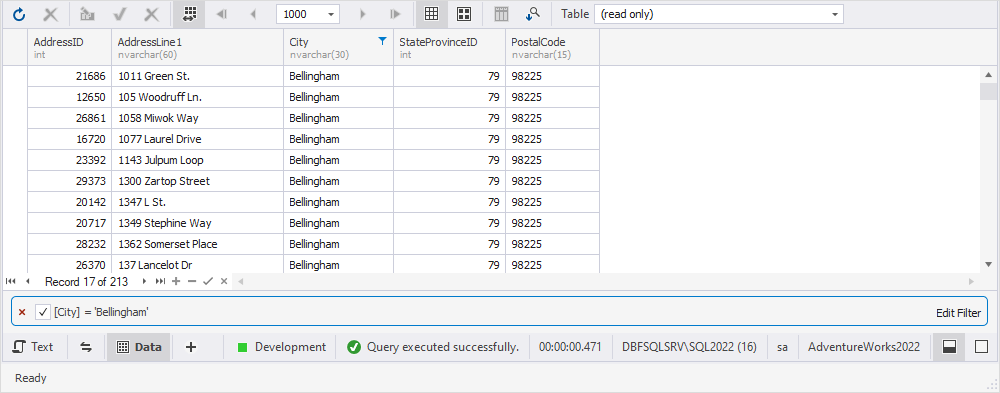
When the data is filtered, the column Filter icon will be changed to active filter to indicate the applied filter. The filter condition appears at the bottom of the grid providing you a one-click quick access to the filter condition parameters. You can manage them in the following ways:
-
To remove all filter conditions, click the cross sign.
-
To switch from the filtered data to the full data display, clear the checkbox next to the condition.
-
To edit the filter condition, click Edit Filter. The Filter Editor dialog opens.
Apply a custom filter condition to a column
To apply a custom filter:
1. Right-click the required column and select Quick Filter > Condition.
2. In the Filter Editor dialog that opens, choose a relation type and enter a value to set up a filter condition.
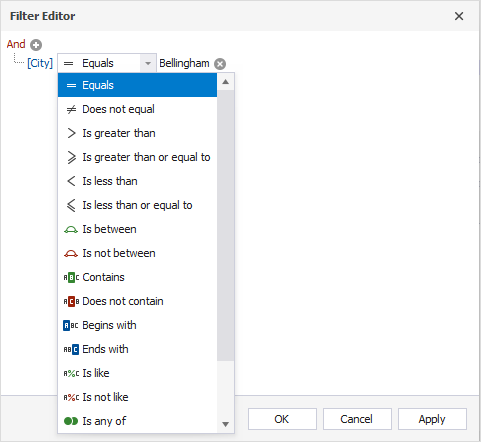
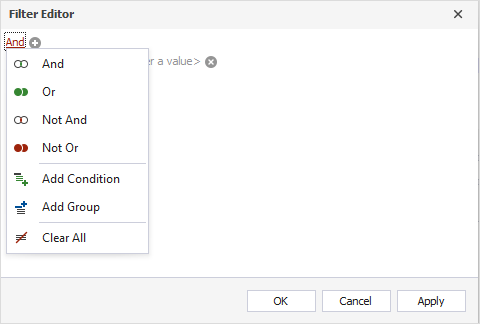
In the Filter Editor dialog, filter conditions are displayed as a tree with the condition and group nodes. A group consists of several conditions or subgroups united with a logical operator. To change a group logical operator, click it and select another one from the menu.
To navigate between conditions and groups, use the UP ARROW and DOWN ARROW keys. To navigate between a condition column, a criteria operator and an operand value, use the LEFT ARROW and RIGHT ARROW keys.
To remove a condition, click the delete icon or navigate to the condition and press the DELETE or MINUS SIGN key. To remove a group, click its logical operator and select Remove Group on the menu. You can copy, cut, and paste conditions and groups with the CTRL+C, CTRL+X, and CTRL+V keys.
3. Click OK to apply the filter condition to the data in the grid.
Create a new filter condition
1. To create a new group, do one of the following steps:
- Click the upper-level group operator and select Add Group from the menu.
- Press CTRL + PLUS SIGN.
2. To create a new filter condition, do one of the following steps:
- Click the upper-level group operator and select Add Condition from the menu.
- Navigate to a group you would like to enhance and press INSERT or PLUS SIGN.
- Click
 next to the group you would like to enhance.
3. Click the condition column and select the column from the menu.
4. Click the condition criteria operator and select the criteria operator you want to apply.
5. If the condition operator requires operand values, specify them.
6. Click OK to apply the changes.